
Today, we’ll be going over the best way to tackle each section – as well as something very simple you can do to make the Final-Final Test: Badge Marathon in Super Mario Bros. Wonder so much easier. If you’re ready to beat the challenge once and for all, then let’s get started.
For the most part, Super Mario Bros. Wonder’s levels – while fun – aren’t particularly difficult. That all changes when you reach the game’s final level, which is one of the toughest stages in the entire series. It’s a true test of skill and endurance, as it consists of multiple sections and multiple checkpoints throughout.
How to beat the Final-Final Test: Badge Marathon
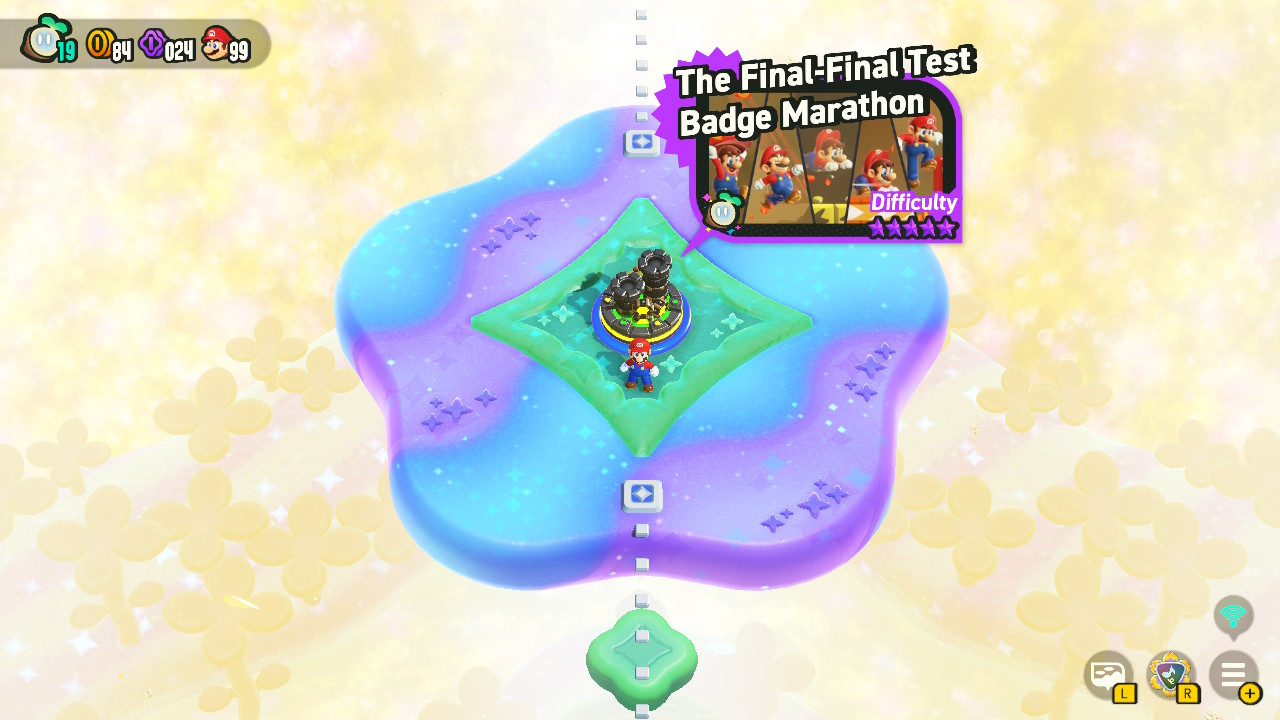
Super Mario Bros. Wonder’s final level is called The Final-Final Test: Badge Marathon. As you might expect from the title, you’ll take turns equipping each badge and navigating difficult obstacle courses specifically designed for each one. If you want to take a look at all of the badges before we continue, you can check out our full list of them right here.
If you’re reading this post, chances are you’re having a little bit of trouble getting through the level. We’ll break down each of the level’s sections in just a bit, but here’s a helpful idea in the meantime: play online! Players challenge this course quite often, and at this point in the game’s release cycle you should have no problem joining a lobby of other players. When you do connect to the internet, standees will appear around the course that have been placed by other players. When you die or fall off a ledge while online, you turn into a ghost for a moment — simply mash your way towards one of these standees and you’ll be revived without actually losing a life!
If you coordinate your timing well, the other players within the course can revive you as well. It’s possible to slowly make your way through the level with another online player and revive each other periodically along the way. Some of this level’s sections are impossible to place standees on, so playing the Badge Marathon in multiplayer will drastically reduce the number of lives you lose.
Parachute Cap, Floating High Jump, and Dolphin Kick
Here’s our breakdown of each individual section of the level! We’ll be splitting these into checkpoints, so if you lose a life during any of these sections, you’ll have to do them all over again. Fortunately, the first few areas aren’t too bad (but they still might take you a couple of tries).
- First up is a gliding section with the Parachute Cap. Take a running start and follow the mini-flower buds and coins while avoiding the obstacles. As the first section of the level, this one should be pretty easy!
- The next level uses the Floating High Jump badge, and you’ll need to use a moving trampoline to get through the area. You can jump on it to send it ahead, but you can ground pound on it to send it far, far ahead. You’ll need to do this and then immediately crouch to get past the wall of Piranha Plants. Continue to jump and ground pound on the platform before jumping over the goop spouts. When the platform looks like it’s going to sink, ground pound on it again and then jump onto it when it emerges from underneath the goop.
- This is an underwater area using the Dolphin Kick badge. There’s a ton of electricity, and you need to time your R button press so you don’t get zapped! This is more of a timing challenge than anything, so take your time and advance when you’re ready. There’s a square area toward the top with mini-flower buds — collect them all to spawn a 10-Flower Coin. You don’t have to re-collect these upon dying, which saves lots of time. The area with alternating currents is the last of this area — stay toward the middle and steer up or down depending on which one is active.
Crouching High Jump, Wall-Climb Jump, and Spring Feet
You’ve hit a checkpoint! These next few areas are, for one reason or another, the trickiest of the entire Badge Marathon. You’d think they’d be near the end, but nope — these sections will likely be the ones that drain your life count. Remember to play multiplayer, as mentioned before, to save on lives as you run through the course!
- The Crouching High Jump section is tough, but it becomes easy when you’ve mastered what to do. It’s kind of difficult to provide instructions here because this section requires that you get a feel for what’s asked of you. Basically, as soon as you land on a grounded rail, you’ll want to charge up a high jump as soon as possible. There are a few jumps that don’t require a jump charge, though, and these are marked with coins.
- The next challenge equips the Wall-Climb Jump badge. Basically, you’ll need to bounce off the seeds from the watermelon Piranha Plants and then climb up the blocks while avoiding the spark enemies. The next 10-Flower Coin is in this section, and you’ll need to once again bounce off of some seeds to grab it. All in all, this particular section isn’t too bad! Just take care not to fall in the goop down below. If you’re playing online, other players often put standees at the end of this section.
- The Spring Feet section is actually evil! Since you can’t stick to the ground, you can’t place standees — you’re on your own for this one. Unfortunately, this is another part of the challenge where it really just comes down to timing. Try to land your jump in the middle of the firebar so that you can perform a mega bounce as soon as the fire comes back around. Remember to press R in the air to perform a quick spin to delay your descent if you need it. It helps a ton if you save a power-up for this point — that way, you can take damage once before you lose a life.
Jet Run, Boosting Spin Jump, Grappling Vine, and Invisibility
Another checkpoint achieved! At this point, you’ve completed the most difficult parts of the level, but you’re not done just yet. You might still lose a few lives here, but it should be much more manageable than the last section’s firebar challenge. You can actually place standees here!
- Jet Run is pretty simple! This badge lets you run off a ledge for a moment, so run off each one as far as possible and perform a big jump at the very last second. Toward the end of the section you’ll ascend some diagonal platforms pointing right. These are tricky, because one of them requires that you turn left and start going that way instead. Be ready to turn around and you should be good to go!
- Boosting Spin Jump isn’t too bad either. You’ll need to make some big leaps and then press the R button at the last moment to gain some extra height. Thankfully, the jumps that require a boost are well-telegraphed here.
- Grappling Vine is another relatively straightforward one. Latch onto the fire blocks when they’re not blazing hot! You’ll also need to perform a few wall jumps here and there. At the end of the section is a big wall full of fire blocks. The second they stop burning, grapple up them as fast as you possibly can!
- The Invisibility section is the last one. The final 10-Flower Coin is above one of the bouncy platforms, too. If you’re playing online, you can press the X button to use an emoji, which will make it a little bit easier to keep track of your location. You’ll also need to jump across some balloon enemies at the end. You’ve only got one chance to hit the top of the flagpole at the end, so bounce as high as you possibly can!
You’ve officially done it! The end of the Badge Marathon is a little bit anticlimactic, but you’ve now completed the toughest challenge Super Mario Bros. Wonder has to offer. Online play certainly makes the process much easier, as it does reduce the number of lives you lose. Have you finished this level already, or are you still having some trouble making it through? Feel free to let us know down below. You’re welcome to post some of your own tips too, if you’ve got any to share!
Super Mario Bros. Wonder is available now on Switch. Visit the official website here.