
The Adamantine Forge is a unique location in Baldur’s Gate 3 that’s more than just a fancy environmental setpiece. It is an actual working forge that can be used to craft some much-needed gear upgrades for the entire party.
Getting to the Adamantine Forge is one thing, and using it is another. It’s not overly complicated, but there are a few things Baldur’s Gate 3 players should know before attempting to craft new equipment.
Baldur’s Gate 3: Where to Use the Flower Key (Finding the ‘Stern Librarian’ Ffion Walkthrough)
Discover how to find and where to use The Flower Key in Baldur’s Gate 3, an essential item that helps you progress your game in Act 3.
Updated on March 31, 2024, by Nahda Nabiilah: A total of six moulds can be found scattered around the Grymforge in Baldur’s Gate 3. Creating any piece of equipment using the Adamantine Forge will require certain materials as well as following a series of complicated steps. Additionally, players’ forging process will get interrupted by a boss that must be defeated in order to proceed with forging the object. Luckily, the Adamantine Forge can be used as a weapon against the boss to end the battle faster.
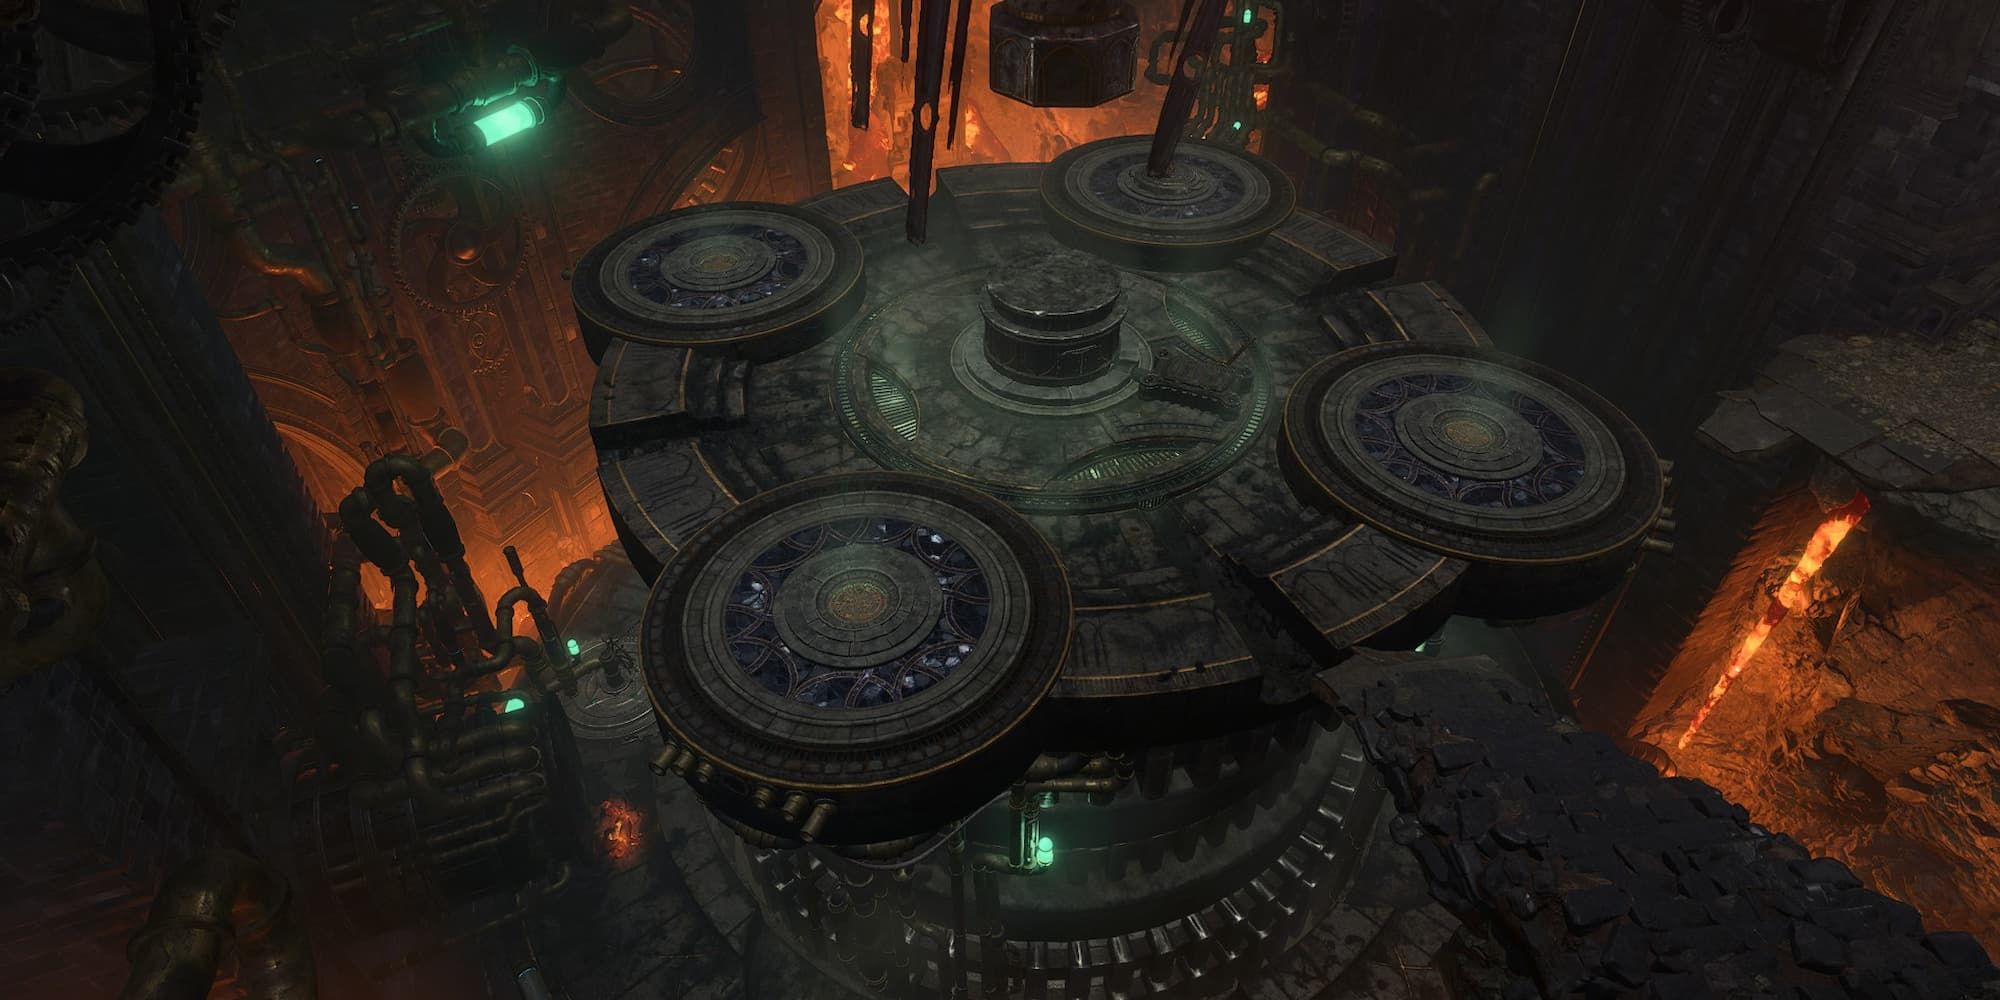
How to Use the Adamantine Forge

After exploring the Underdark and getting to Grymforge, the party will eventually reach the Adamantine Forge far below the Duergar staging area. In order to craft items with it, players will have to do the following:
- Insert a Weapon or Armor Mould into the Mould Chamber.
- Insert Mithral Ore into the Crucible.
- Release the Lava Valve.
- Pull the Forge Lever.
Keep pulling the Forge Lever to drop the giant hammer down on the Crucible. A finished item will eventually pop out of the Mould Chamber, which will let players do the process all over again. This can only be done after defeating Grym, the large golem protecting the forge.

Grym is resistant to all forms of damage unless it has the Superheated debuff, which it gains by walking through lava. Make sure to keep someone near the Lava Valve at all times. Players can kill Grym in two attacks by baiting it onto the anvil and dropping the hammer down.
There appear to be some issues regarding the Adamantine Forge. First, if Grym dies and clips into the anvil, then players may not be able to insert more Mithral Ore into the Crucible, locking them out of future crafting sessions. There is no known way to move Grym out at the time of writing, but this may get patched in the future.
Another issue involves a bug causing a never-ending stream of lava, preventing players from raising the forge. This can be circumvented by saving and reloading the game or by entering Turn-based Mode and waiting for the environment to take a turn.

Players will have to manually collect Mithral Ore and the six different Moulds scattered across Grymforge. Ore veins can be spotted along the streams of lava, while Moulds can be obtained by visiting specific spots on the map. Mithral Ore seems to be limited, so unless players can get their hands on more, they should heavily consider what items to craft for which character.