If you have an iPhone, you can play full console games like Resident Evil with amazing graphics. While Apple’s A17 Pro chip makes the iPhone 15 a capable mobile gaming device, the smaller controls mean that a dedicated game controller is all but essential.
For gaming on your iPhone or iPad, you could buy any number of third-party game controllers, but if you own a Nintendo Switch, you don’t need to spend any money at all.
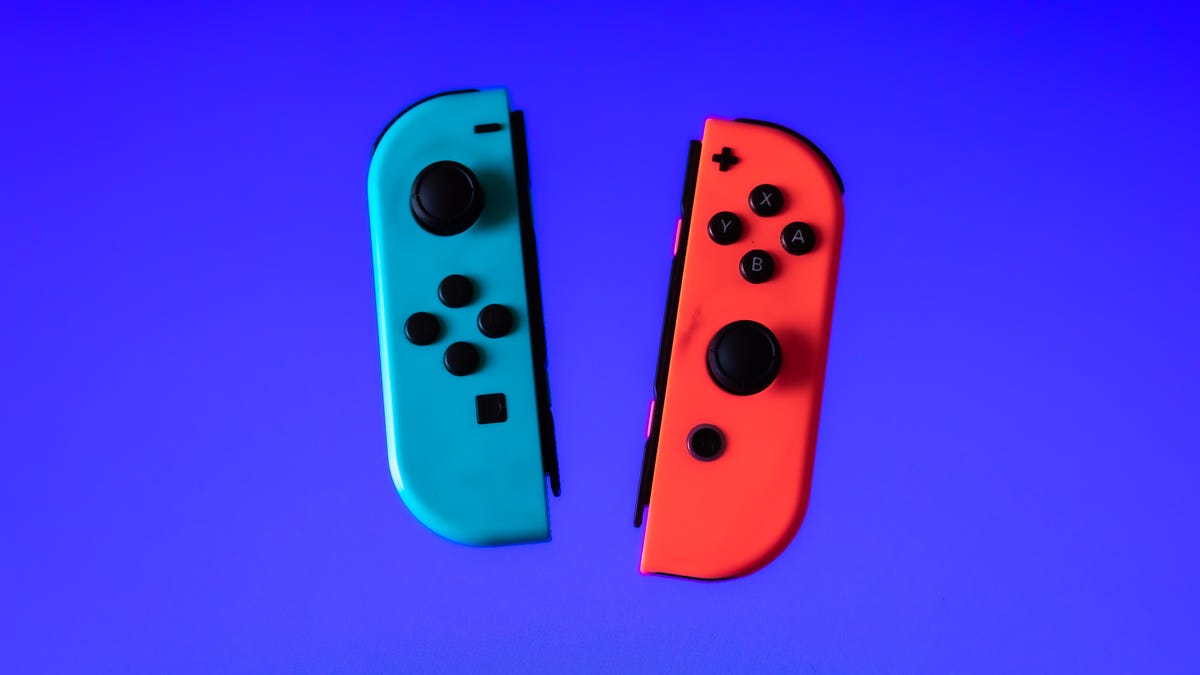
Even since iOS 16, you can pair your Joy-Con controllers to your iPhone and iPad for gaming, and it only takes a few seconds to do.
Read more: Best Controllers and Accessories for Xbox Cloud Gaming
For more, learn how to save space on your iPhone or check out seven hidden iOS 17 settings and features you should know about.
You can either use one or both Joy-Con controllers.
How to pair your Joy-Cons to your iPad or iPhone
To start, you’ll want to make sure that your Joy-Cons are charged and ready for use. If not, simply attach them to the Nintendo Switch while it’s charging in the dock. Once your Joy-Cons are charged and ready to go, slide them off of your console and do the following:
1. First, press and hold down the black pairing button on top of the Joy-Con until the green light starts running back and forth. This means the Joy-Con is now in pairing mode.
2. Next, on your iPhone or iPad, go to Settings > Bluetooth.
3. Now, scroll down and find your Joy-Con under Other Devices. You should see either Joy-Con (L) or Joy-Con (R), depending on which Joy-Con you’re currently pairing.
4. Finally, tap the Joy-Con option to pair it. Repeat this process for the other Joy-Con, if needed.
Once your Joy-Cons are paired, you can go into any game that supports third-party controllers, like Minecraft, Among Us and Call of Duty, and play with your newly paired Joy-Cons. Not all mobile games will support both Joy-Con controllers at once, so you might need to pair only one.
To unpair the Joy-Cons, go to Settings > Bluetooth, tap the blue information icon, and then hit Disconnect.
For more iPhone tips and tricks, check out our iOS 17 cheat sheet.