Screenshot: Kinetic Games
One of the items you can obtain in Phasmophobia that can help with your paranormal assignments comes in the form of the Head Mounted Camera. This special head gear only becomes available once your character reaches level 8, at which point you can purchase the item for 60 in-game dollars. But of course, buying a potentially useful item and actually using it are two different things. Having said that, turning on the Head Mounted Camera to use in your assignments shouldn’t prove very tricky once you know how. In case you need help, though, this guide will cover what to do.
Related: How to use the camera to take photos of ghosts in Phasmophobia
Activating the Head Mounted Camera
According to what I have read online, the Head Mounted Camera should turn on automatically when you pick it up from the van at the start of an assignment. However, I have also seen some players report that they have had their Head Mounted Cameras turned off by default when equipped, leaving them unsure how to turn them on.
The solution commonly suggested by players involves holding down the “special” key, which you normally press to activate the flashlight. If you play using a keyboard and mouse, this is mapped to the T key by default. After you hold it down for a few seconds, you should hear two beeps indicating that you have successfully activated the camera.
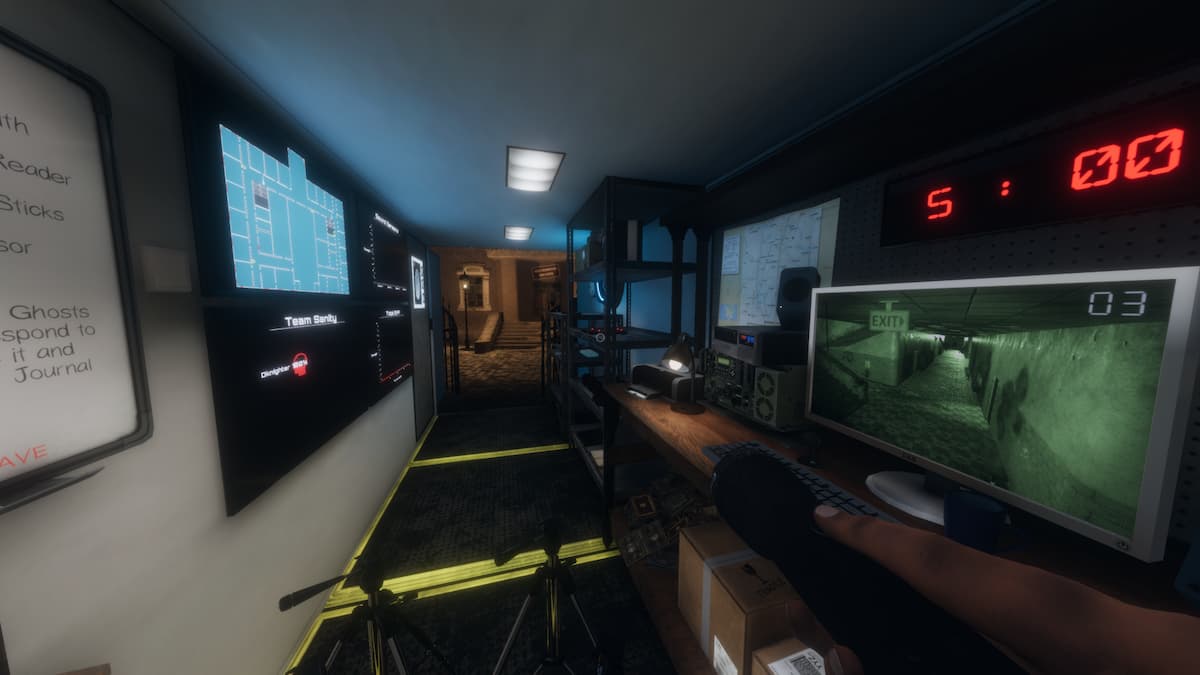
The Head Mounted Camera boasts some rather useful functions in Phasmophobia, so it pays to learn how to activate it. Other players can view the camera’s first-person video feed from the van, allowing them to survey the environment from safety. Additionally, the camera’s night vision mode can detect Ghost Orbs that serve as pieces of crucial evidence for your current assignment. And last but not least, the game does not assign the Head Mounted Camera to one of your inventory slots, so you’ll have a decent amount of room for other items even with it equipped.
More Phasmophobia articles

Screenshot: Kinetic Games