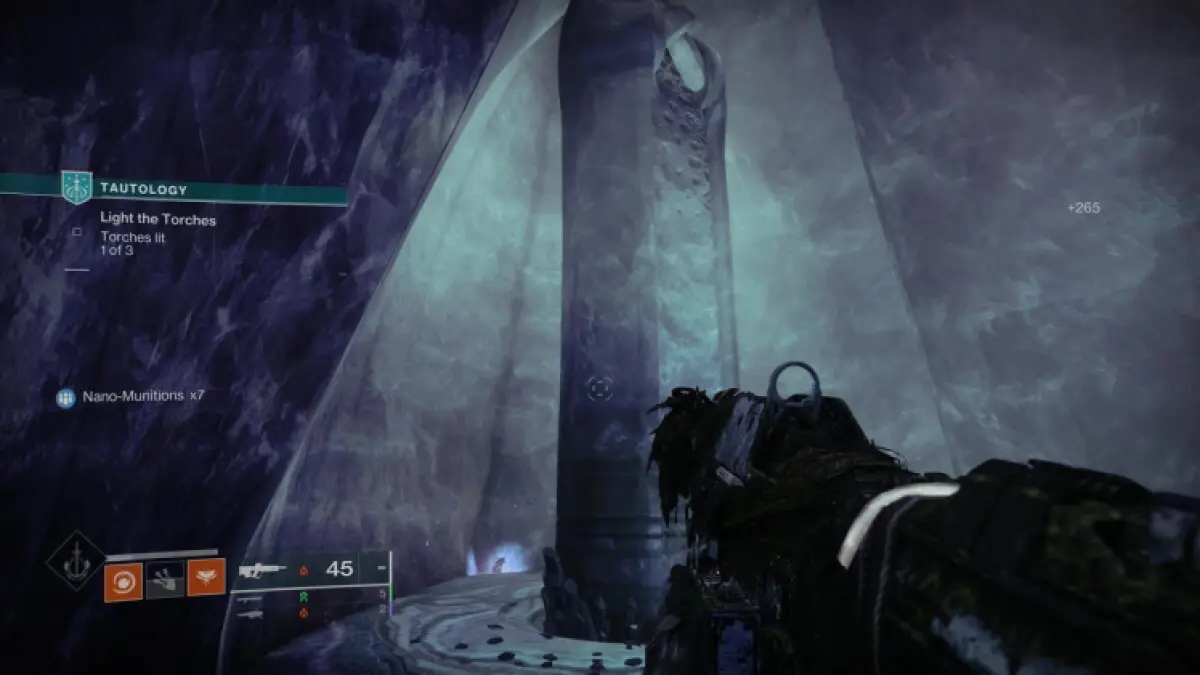
Destiny 2 Season of the Wish has a Triumph called Familiar Felines that requires you to find 14 Starcats. This Triumph is necessary if you want the Wishbearer Title, so here is how to find and collect all Starcats in Destiny 2.
Best trick to find Starcats in Destiny 2 Season of the Wish
Upon learning about this Triumph, I realized that it’s extremely similar to the They’re Not Dolls Triumph attached to the Lightfall Virtual Fighter Title. Two or four Starcats are released per week which means it’ll take around seven weeks to collect all 14 Starcats and complete the Familiar Felines Triumph.
Related: How to get Wishbearer Title in Destiny 2
While I advise you to continue reading to find detailed instructions on how to get each Starcat in Destiny 2, if you want to try and complete this Triumph on your own, the trick you need to learn is to look at the Starcat location hint in the Secret section of the Season of the Wish Triumphs page.
It’s here you’ll find a lot of other secrets to uncover throughout Season of the Wish, but we’re interested in the Starcat location Triumphs which offer a little sentence hint to where you can find that Starcat.
Destiny 2 Garden of Plenty Starcat location #1
The sad news about the Garden of Plenty Starcat is that you have to get lucky and get the Garden of Plenty area in Riven’s Lair. I tried getting Garden of Plenty for a long time with no luck until I completed the “Polysemy” mission which is part of the main Season of the Wish questline.
After completing “Polysemy,” any plate I pressed at the beginning of Riven’s Lair opened a portal on the left and I always got Garden of Plenty through there. So, if you don’t open the portal on the left, you might as well return to orbit and launch into Riven’s Lair again.
Related: How to get Wish-Keeper Strand Exotic Bow in Destiny 2
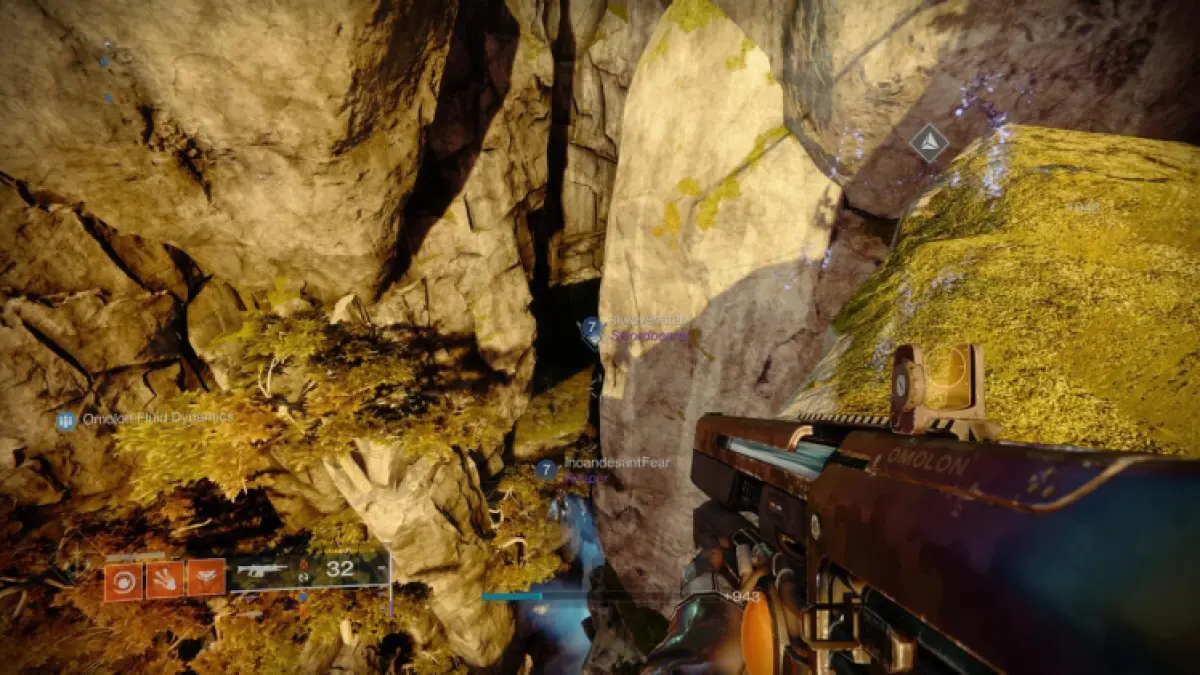
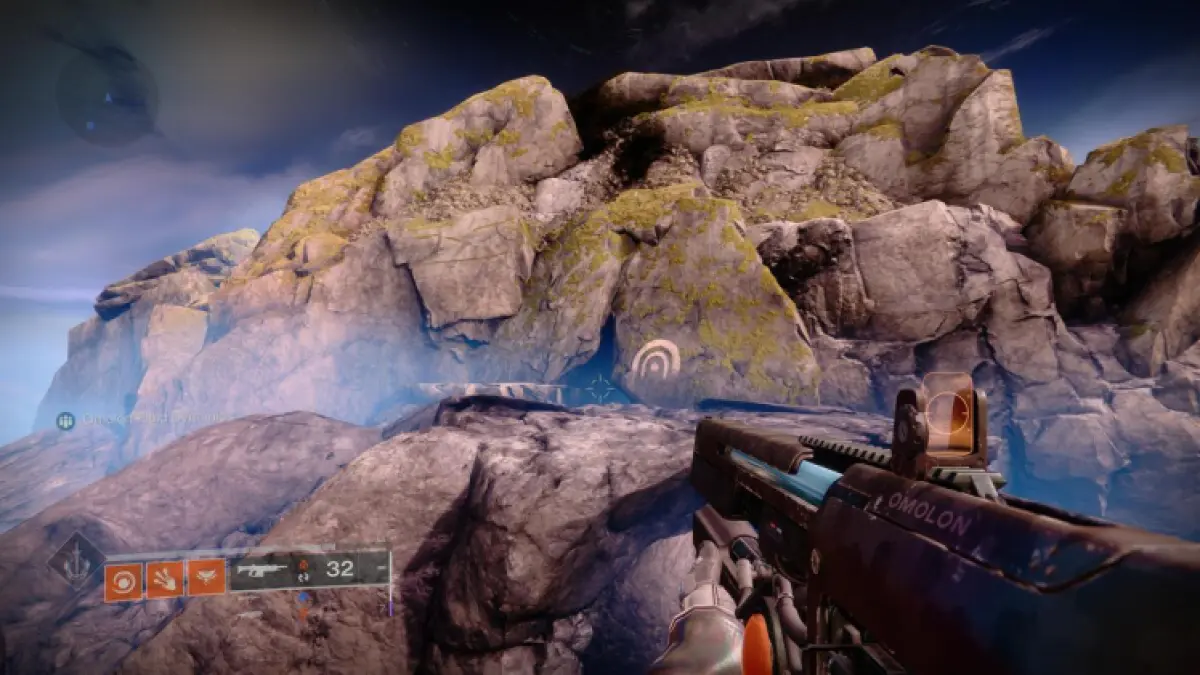
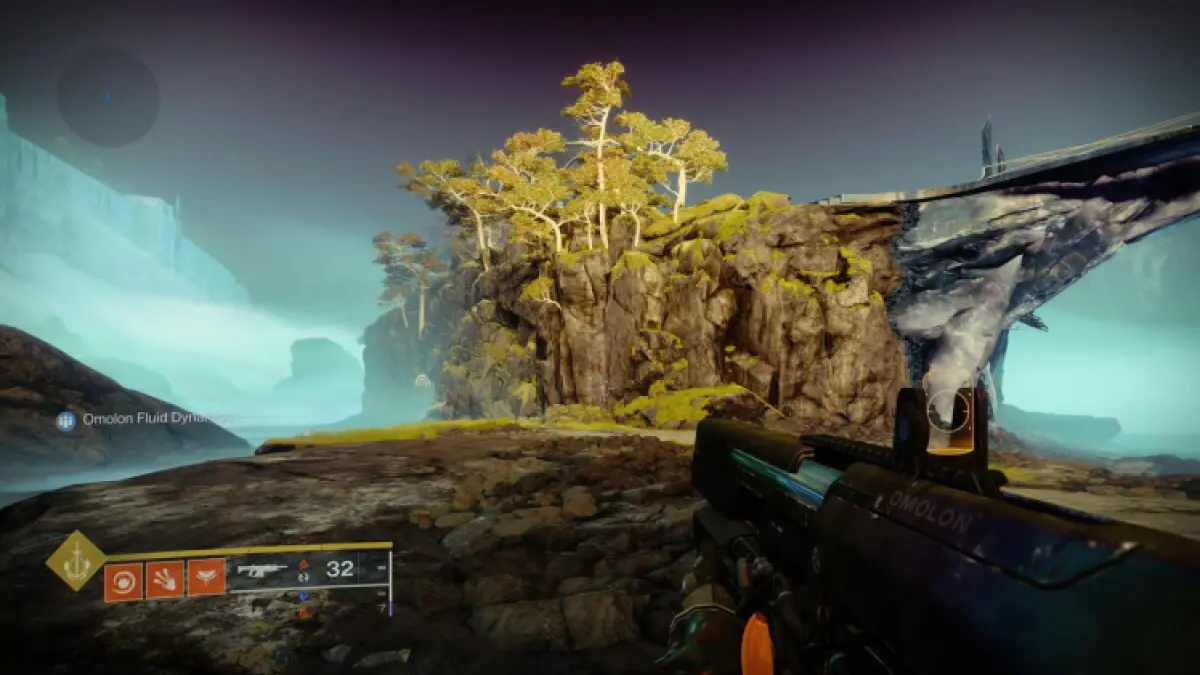
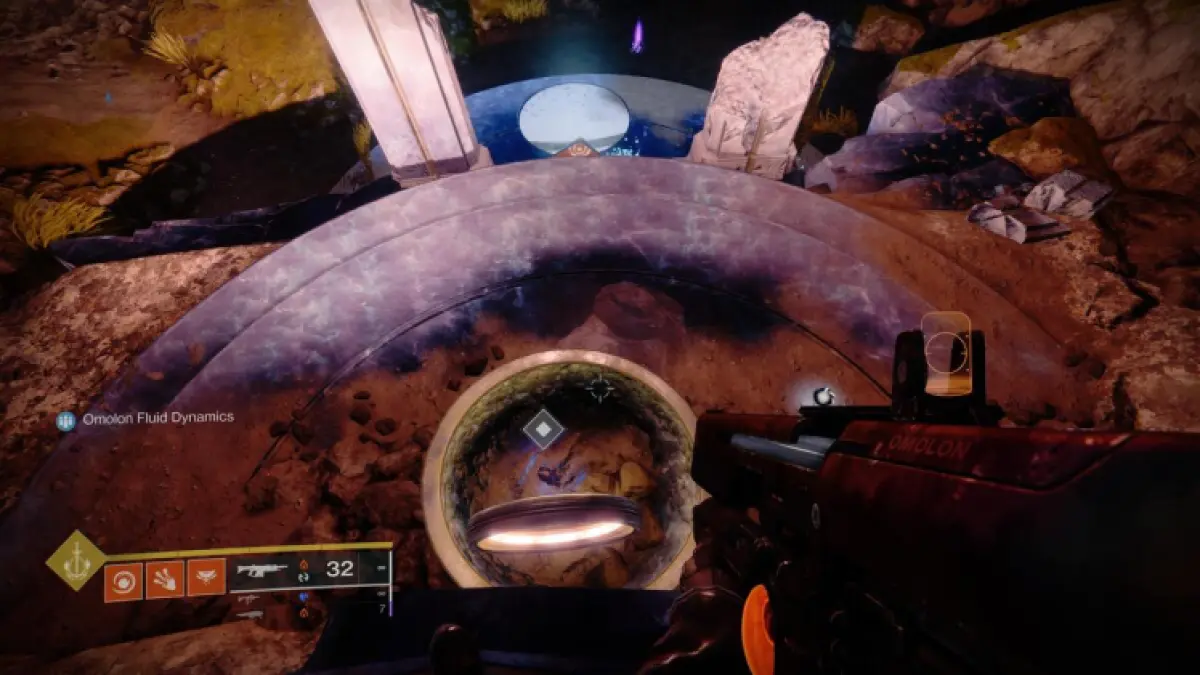
Once you’ve made it to Garden of Plenty, go to the far end of the area near the white stage with the white pillars. To the left of that, you’ll see two rocks jutting up. Carefully traverse directly between these rocks and turn around. Here, you’ll see a small pool of water and the Starcat.
Destiny 2 Blind Well Starcat location #2
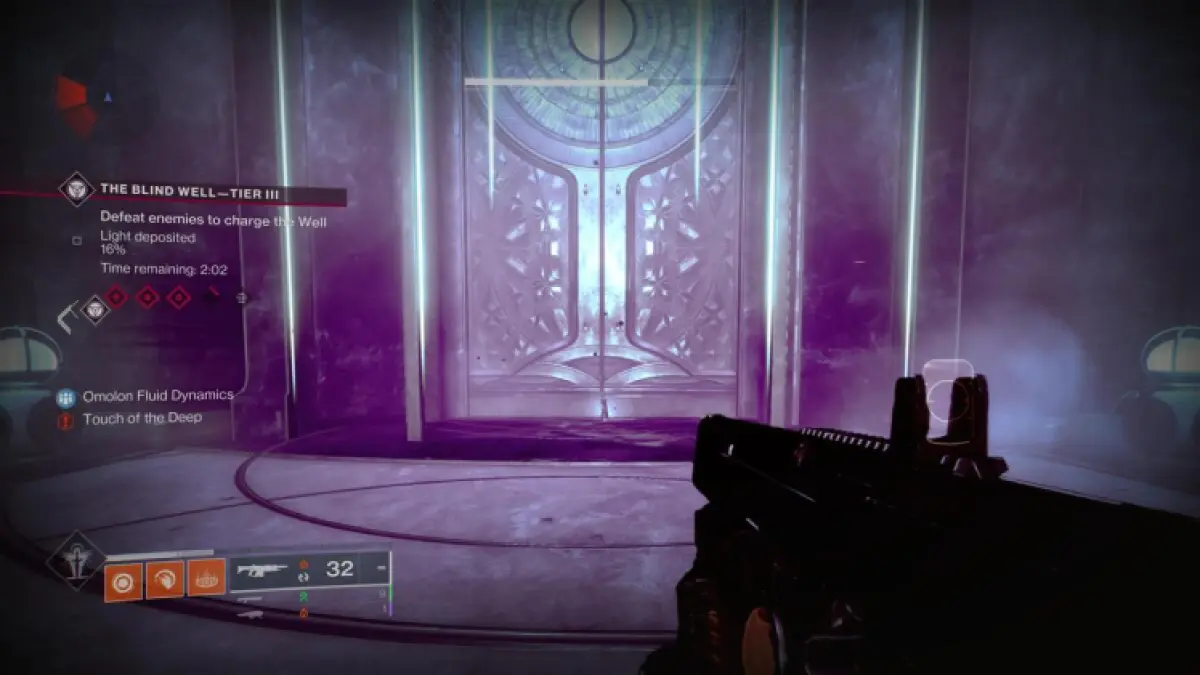
The Blind Well Starcat is one of the easier ones to get. All you have to do is deploy to a Blind Well activity. You may die once or twice trying to get this cat because you’ll periodically lose health when you aren’t near the Light and a boss isn’t out, but it’s worth it for the Starcats.
Once there, go to the front of the area, and up the stairs. Head to the large, skinny door in the center. Right where the door crack is is where you’ll see the Starcat. Interact with it to collect it.
Destiny 2 Temple of Queen’s Wrath Starcat location #3
Just like the Garden of Plenty Starcat location, the Temple of Queen’s Wrath is a location within the Riven’s Lair activity that you need to get lucky to find. It took me three tries to get it.
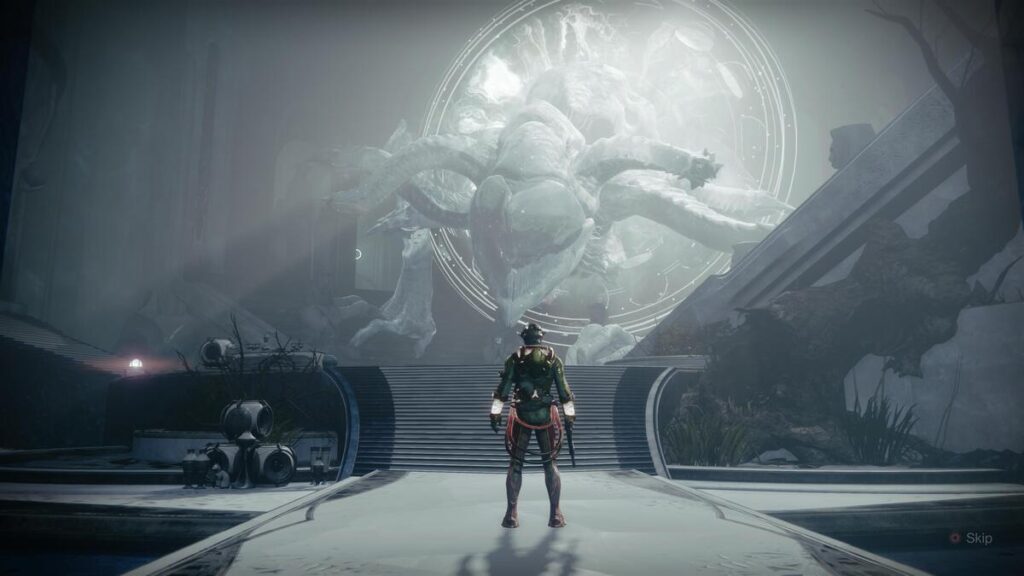
Once you arrive at Temple of Queen’s Wrath, the Starcat is located to the right and front of the stage, on the side you came in. Look behind the large statue and you’ll see the Starcat in the crevice.
Destiny 2 Chamber of Starlight Starcat location #4
The next three Starcats are really easy to find since they are all found in Dreaming City Lost Sectors. In fact, I found Starcat #4 while completing the Week 2 mission which requires you to complete the Chamber of Starlight Lost Sector.
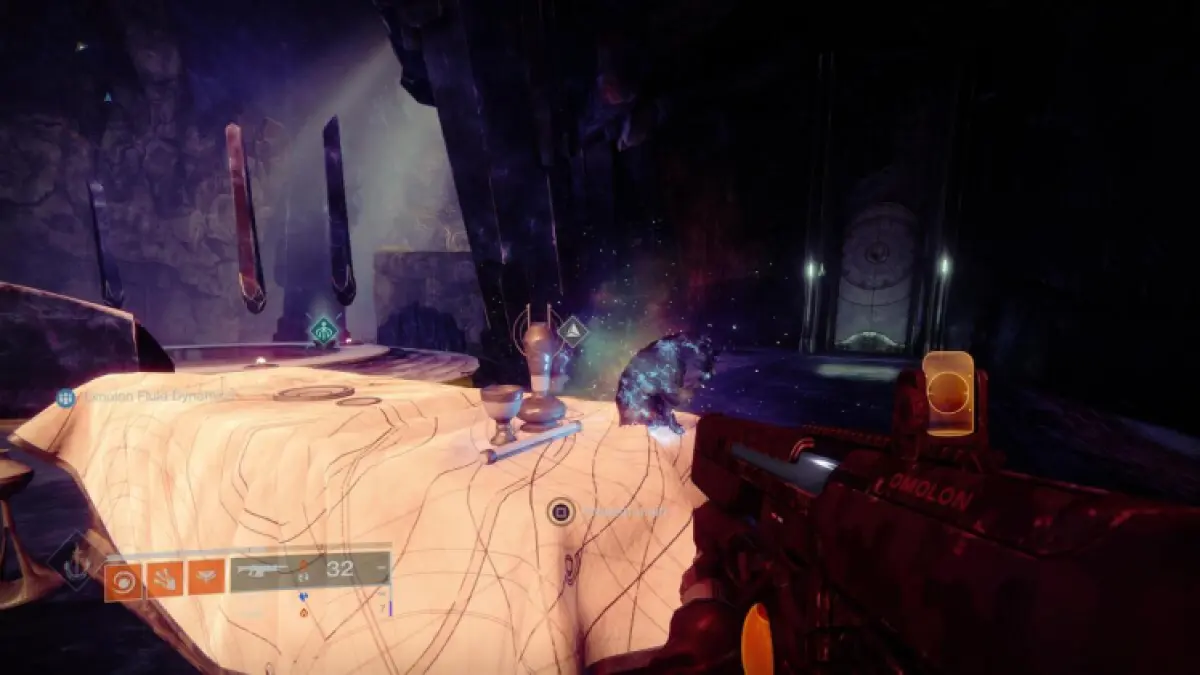
You’ll find Chamber of Starlight by traveling to the Rheasilvia area and, once you reach the divide there, look down to see the Lost Sector symbol. Complete the Lost Sector and you’ll find the Starcat sitting on a table which is on the platform right of the chest.
Destiny 2 Bay of Drowned Wishes Starcat location #5
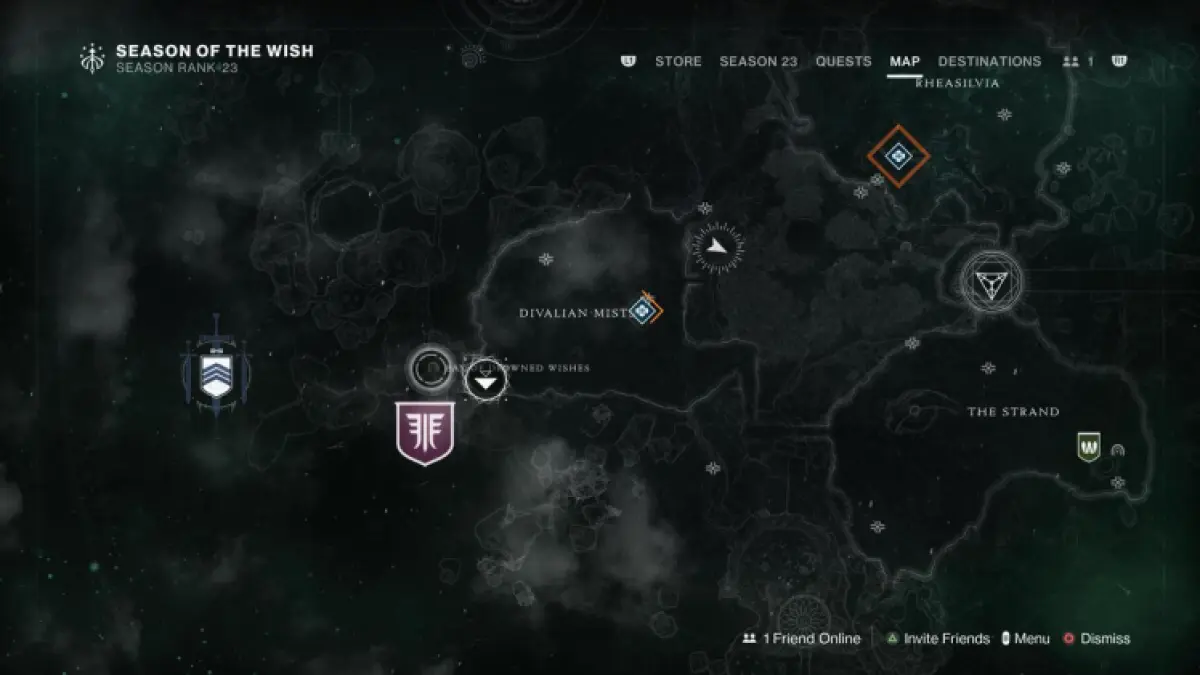
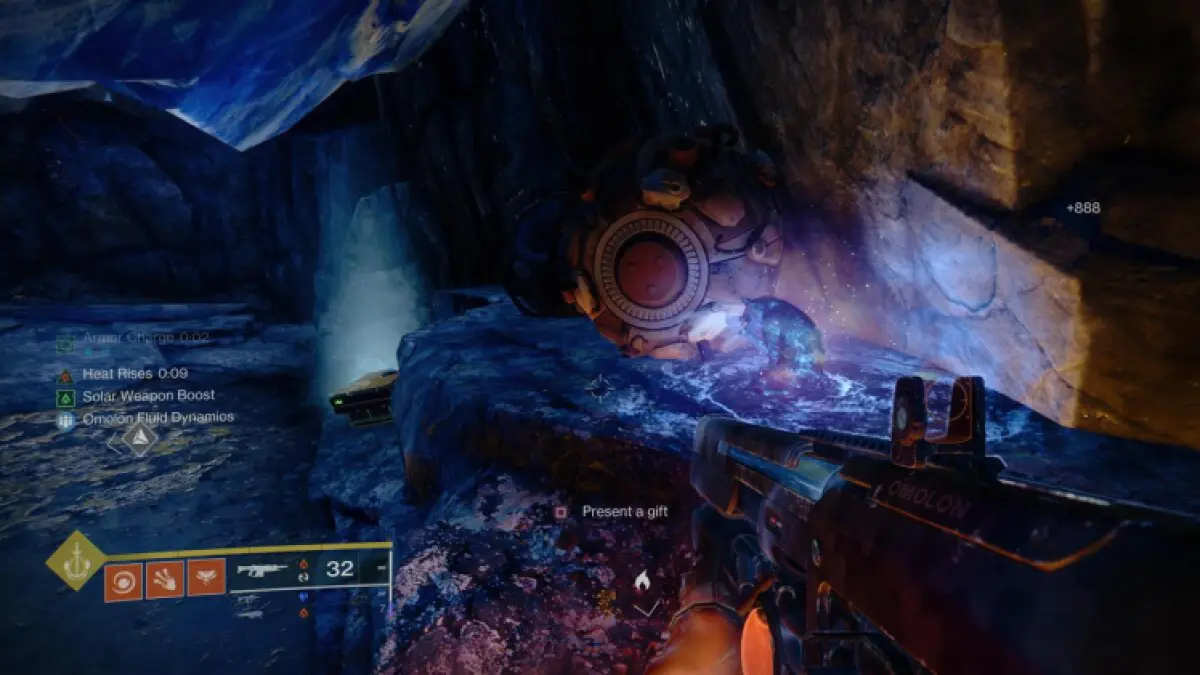
Bay of Drowned Wishes is the easiest Dreaming City Lost Sector to find — spawn in to the area and turn around to see the entrance. Complete the Lost Sector and you’ll find the Starcat on the ledge just right of the chest.
Destiny 2 Aphelion’s Rest Starcat location #6
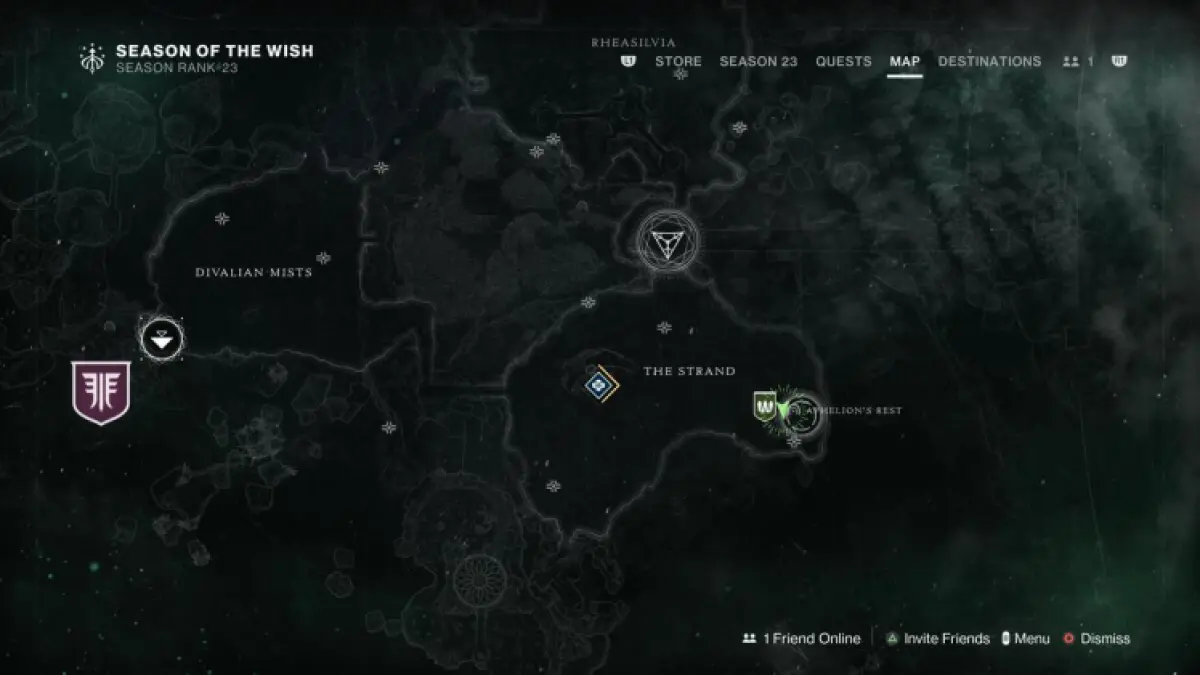
For the Aphelion’s Rest Lost Sector, you need to spawn in to Divalian Mists and ride your sparrow right into the caves. Meander through the area to get to The Strand (no, not Strand the subclass) and continue to the back of the area near where Petra is. Jump down to the left and you’ll see the entrance to Aphelion’s Rest.
To find the Starcat, complete Aphelion’s Rest and, just above where the chest is, look inside the bowl. It’s here you’ll find the cute Starcat just chilling.
I’ll be back next week to give you the locations of Starcat three and four!
Other Destiny 2 articles
