In Starfield, most of your adventures can relate to challenges you set for yourself. However, there are several factions you can join to find scripted missions that explore some neat lore. Several of the more interesting missions, such as The Best There Is, relate to the Crimson Fleet faction. Here is our guide telling you how to complete The Best There Is mission in Starfield.
Starfield – how to complete The Best There Is faction mission
Working for the Crimson Fleet, while serving as a double agent, gets you in some pretty tight spots. You have to decide where your loyalties lie, while working alongside people who might kill you if they knew what you’re thinking. To complete The Best There Is, you must raid the SY-920 space station and steal research built into a prototype ship.
Your mission only becomes available once you have completed the Breaking the Bank faction mission. Before you get to work, you should have the Security skill unlocked and sufficiently upgraded that you can pick Expert locks. It’s also not a bad idea to bring along healing items, just in case. As with most missions, try to start without a lot of excess materials in your inventory. It’s important to travel light.
Related: How to complete Breaking the Bank in Starfield
Meet Naeva and Jasmine on the Key
Fast travel to the Key. When you arrive, Dock and head inside. Follow the quest markers to find Naeva Mora and Jasmine Durand (also known as Jazz) talking in a room downstairs. Eavesdrop for a bit. Then, speak to Naeva. She tells you about a contact named Huan Daiyu, who you will meet in New Atlantis. The idea is that Huan will lead you to the research you need to steal by the end of this mission: the ComSpike.
Meet Huan Daiyu in New Atlantis
Fast travel to New Atlantis. Once you arrive, follow mission markers to reach The Well. This is an underground portion of the city that I missed noticing for my first few dozen hours of play. The game leads you to an elevator at the end of a corridor next to Jemison Mercantile, which in turn leads you to the underground area.
Related: How to get to The Well in Starfield
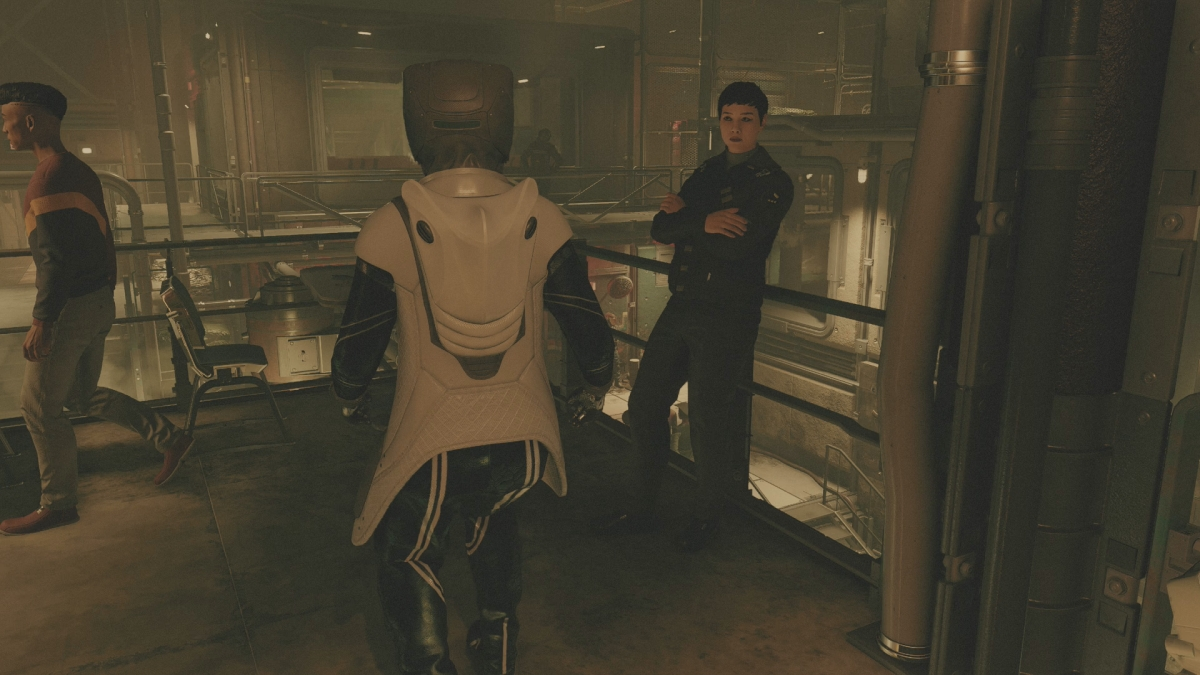
In The Well, follow the mission marker to find Huan Daiyu. She waits on an upper balcony, so you need to climb some steps to reach her. Once you find her, speak to Huan Daiyu to earn her trust. Then you receive your next objective.
Meet Huan on the Jade Swan
Exit The Well and head to the Spaceport. Get there however you like. The mission markers guide you, if you’re not yet comfortable in New Atlantis. Huan’s ship, the Jade Swan, has been docked on one of the pads.
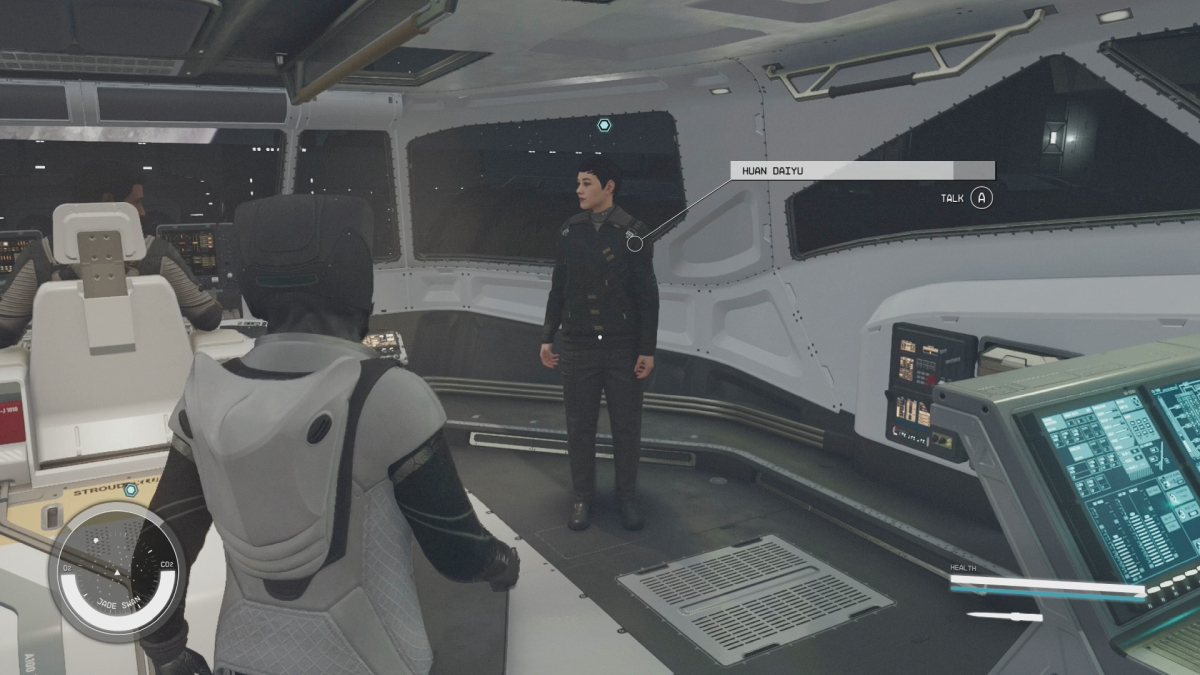
Board the Jade Swan and make your way to its cockpit area. I’m terrific at getting lost on nearly every ship I visit, including the Jade Swan. You can turn on your Scanner to produce arrows that lead you through the ship, if you suffer from a similar affliction. You will discover Huan waiting near the pilot’s seat. When you talk to Huan, she cautions you to finish up any other chores you might have. You’re going on a trip and can’t conveniently return to New Atlantis and your ship until after you complete the mission. The warning sounds more ominous than it really is. You should be able to complete this mission without bloodshed.
Travel with Huan to SY-920
Confirm you are ready to visit SY-920. A scene follows. Sit in one of the seats in the cockpit, if you like, and enjoy the ride while listening to some banter. You need to wait for the Jade Swan to dock and then you should speak to Huan again.
When you talk to Huan after docking, she tells you more about the mission. Then you can wander back through the Jade Swan and find an exit hatch to board SY-920. You have now completed the easy portion of the mission. The mission’s remainder takes place with less in the way of direct assistance.
Gain access to the barracks to find a uniform
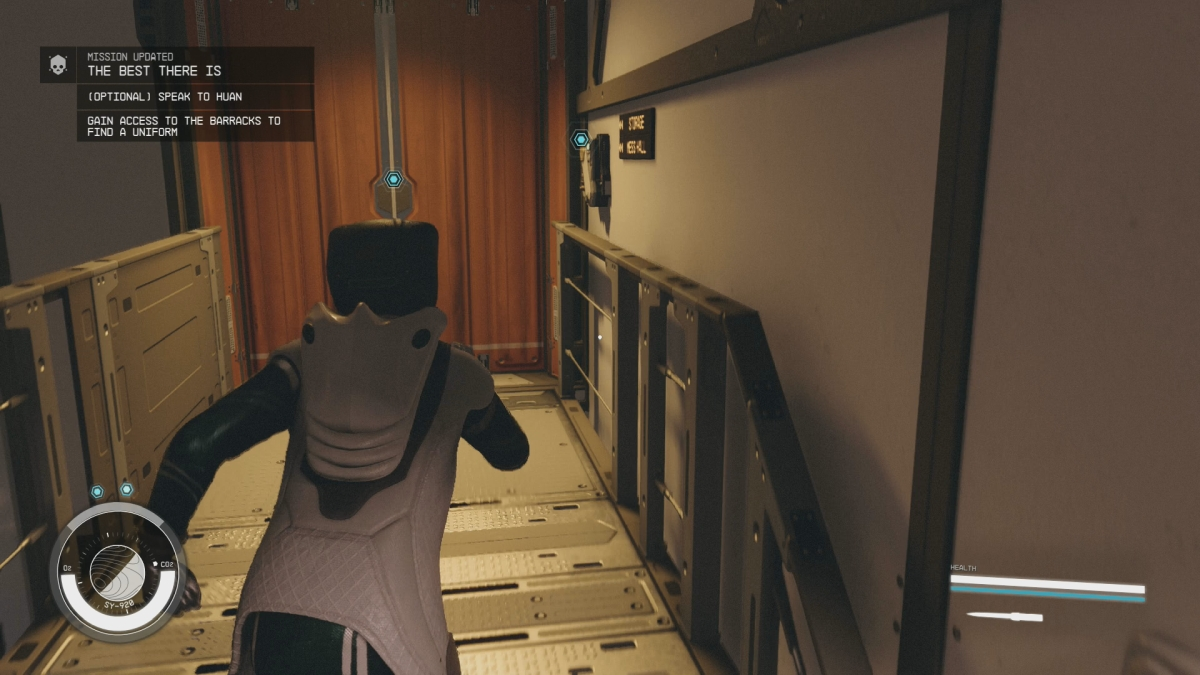
When you arrive on SY-920, look for the barracks. Unfortunately, you can’t simply walk to them because guards will take notice and question you. Instead, you must get creative.
Head forward from the entrance but veer left and descend to the lower level (there’s a lift you can ride, if you wish). In one corner of that lower area, find a Door (Locked). Next to it is a device you can use to speak to Huan, which satisfies an optional objective. There are workers nearby, including two UC Cargo Hauler characters. If you talk to them, you will receive an optional objective advising you to talk to Elijah.
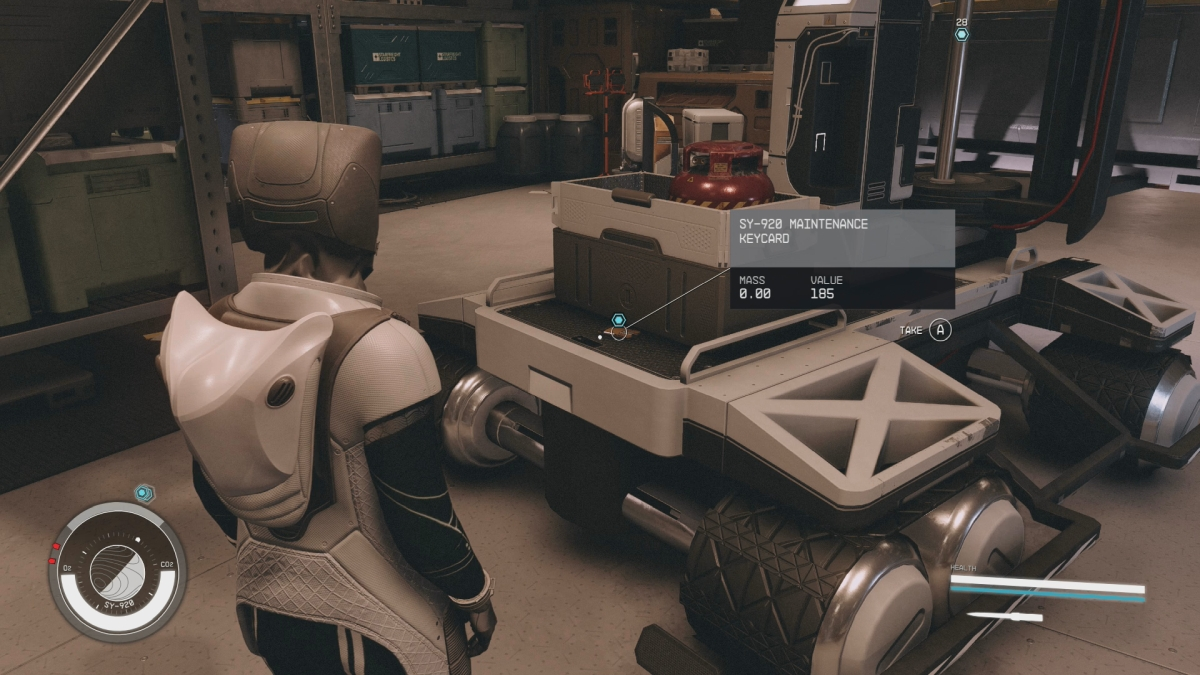
Find Elijah Schilling near some containers. Talk to him and ask ‘Where haven’t you looked?‘ to learn he hasn’t yet checked a nearby forklift. Head around some shelving to find the forklift. A UC Marine stands in front of it. Tell him someone wants to talk to him. He’ll wander away. Then you can grab the SY-920 Maintenance Keycard resting on the machine.
Take the keycard to the locked door you found, near the corner of the area. Use the keycard to open the door and receive your next objective.
Find an ensign uniform
Move quickly through this area. Before you even start, you may wish to manually save your progress. If someone spots you as you search for the uniform, they may raise the alarm. Then you would have to shoot your way out of a secured area. Not good.
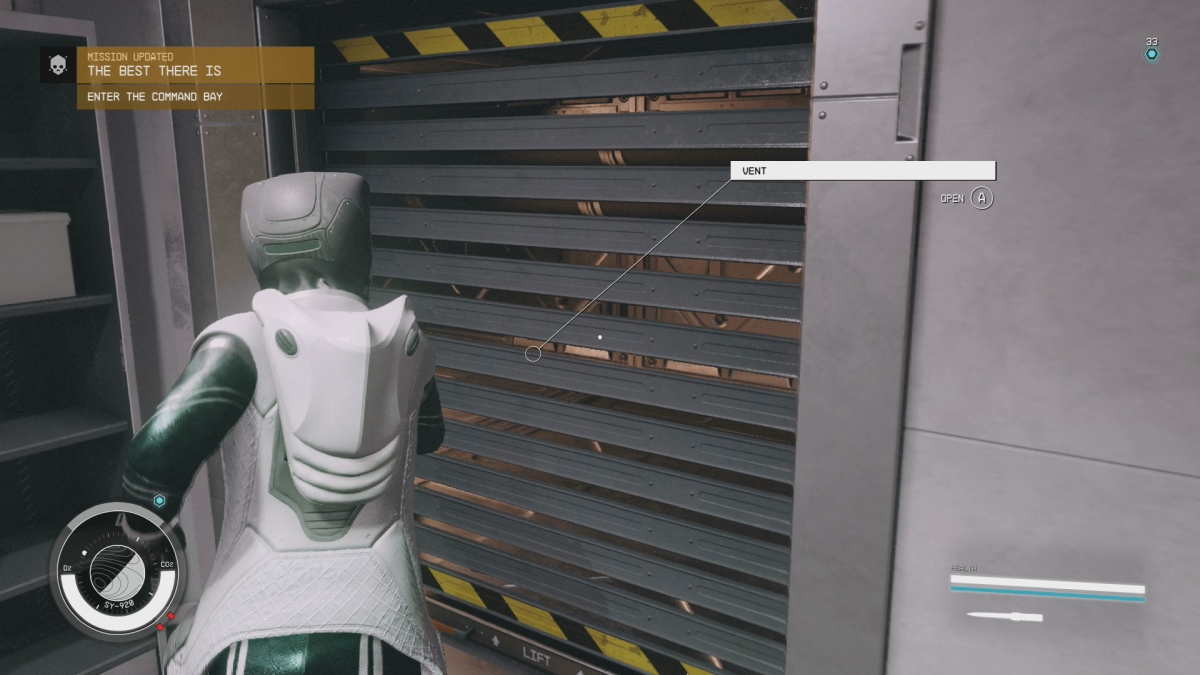
Follow the hall forward and to the right to find a door to Storage. Enter the door and veer left as you proceed. You will spot a large vent along the wall. Enter the vent to immediately activate the ‘enter the command bay‘ objective, which you should ignore for the moment. Ahead, you will see a Vent (Locked).
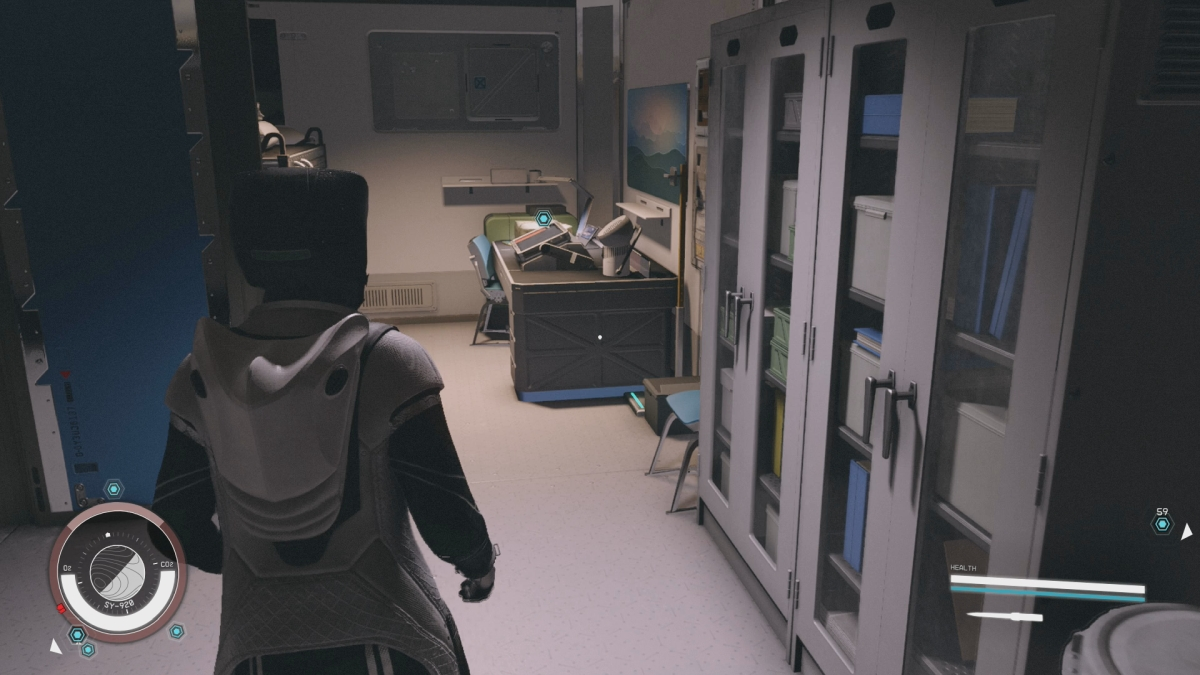
Turn left ahead of that locked vent. Ascend in that direction and follow the corridor as it twists right to yet another vent. Push through that vent and emerge in a restroom with several stalls. At the room’s far end, pass through a door and emerge in a new corridor. Follow the corridor to the door indicated by the mission marker.
Enter the door to find Ensign Ziremi’s Uniform resting on a table next to a computer terminal. Equip the uniform. It won’t stop every guard from viewing you as a threat. I learned this the hard way, when I backtracked to the starting area and everyone started shooting at me. However, the uniform will help with the next leg of your journey through the facility.
Enter the command bay
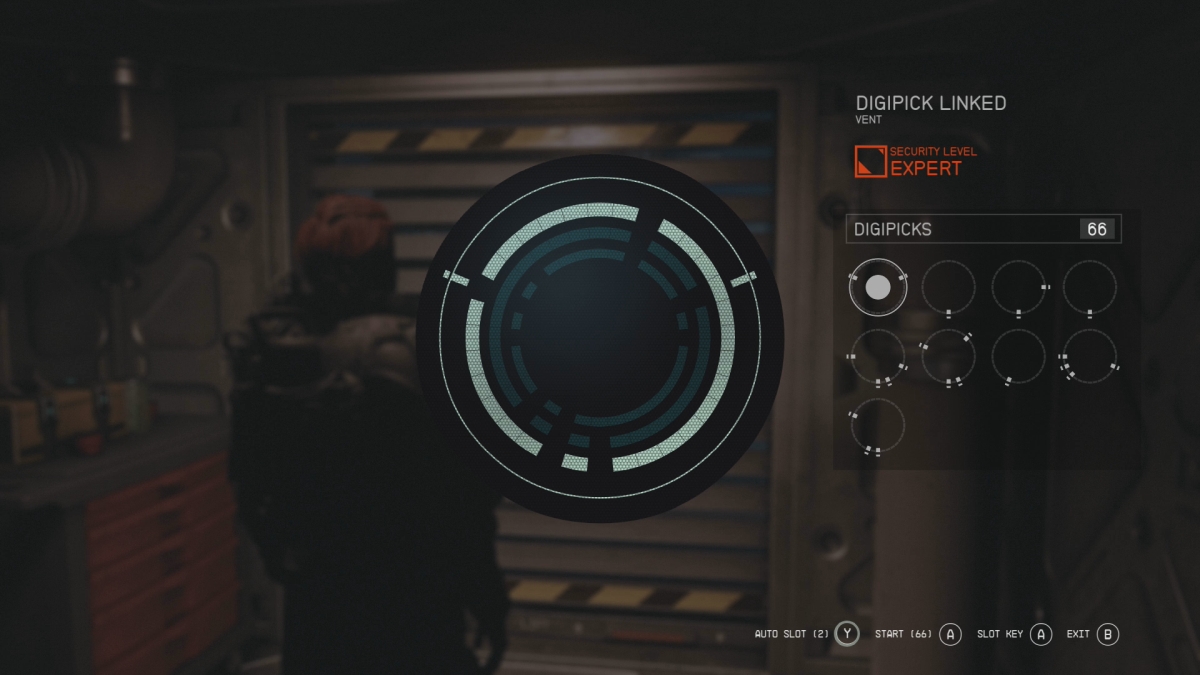
Now that you have acquired the uniform, backtrack to the vent system. This time, you should make your way to the Vent (Locked) that you ignored previously. It’s now along a shaft leading to your left as you descend. Use a digipick to open the locked vent (remember: this requires that you have the skill to open Expert locks). Cross to the far side of the next room and access the ID Card Reader. You will open the door and gain access to the command bay.
Related: How to pick locks in Starfield
Find information on the Comspike
Start working your way through the command bay. As you head right along the corridor, keep an eye on your surroundings. You will find an Intercom to speak to Huan. It is situated on the wall to the right, ahead of the open area. Your conversation should prompt an optional objective asking you to find a ventilation shaft.
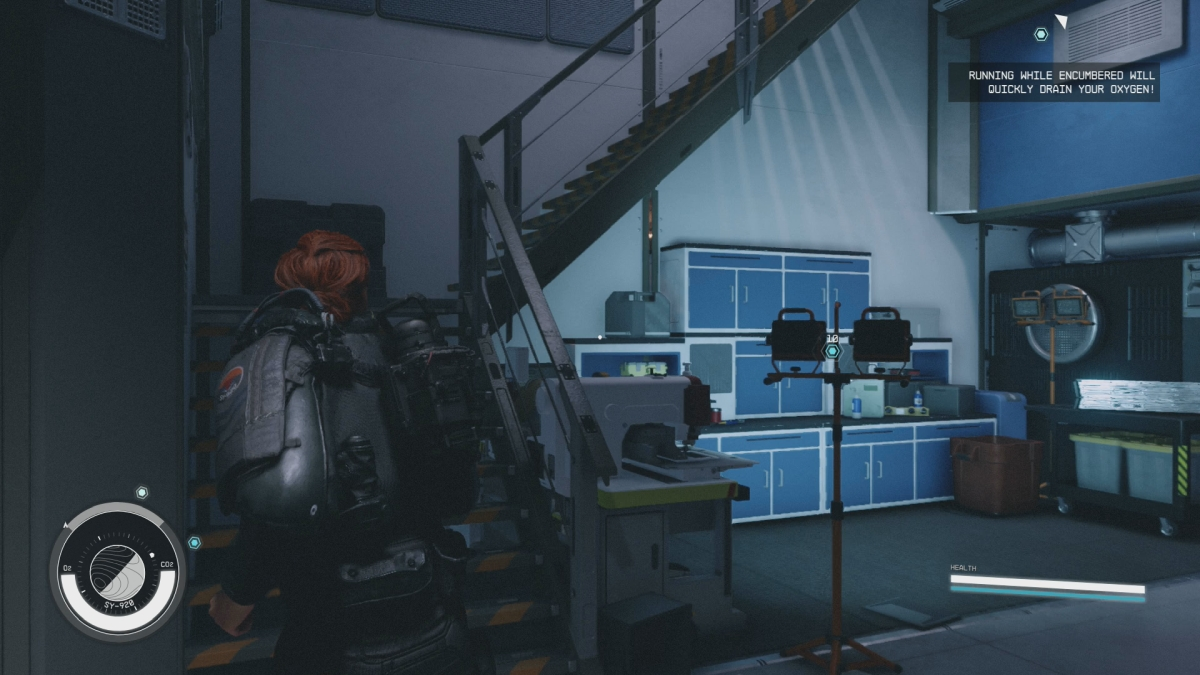
Proceed through the next room. Past the supply shelf, veer right to find another door. Keep going in that direction, past some tool chests, and watch for a set of stairs ascending along a wall to your left. Climb those metal stairs to a higher platform, which you can follow to reach another Vent.
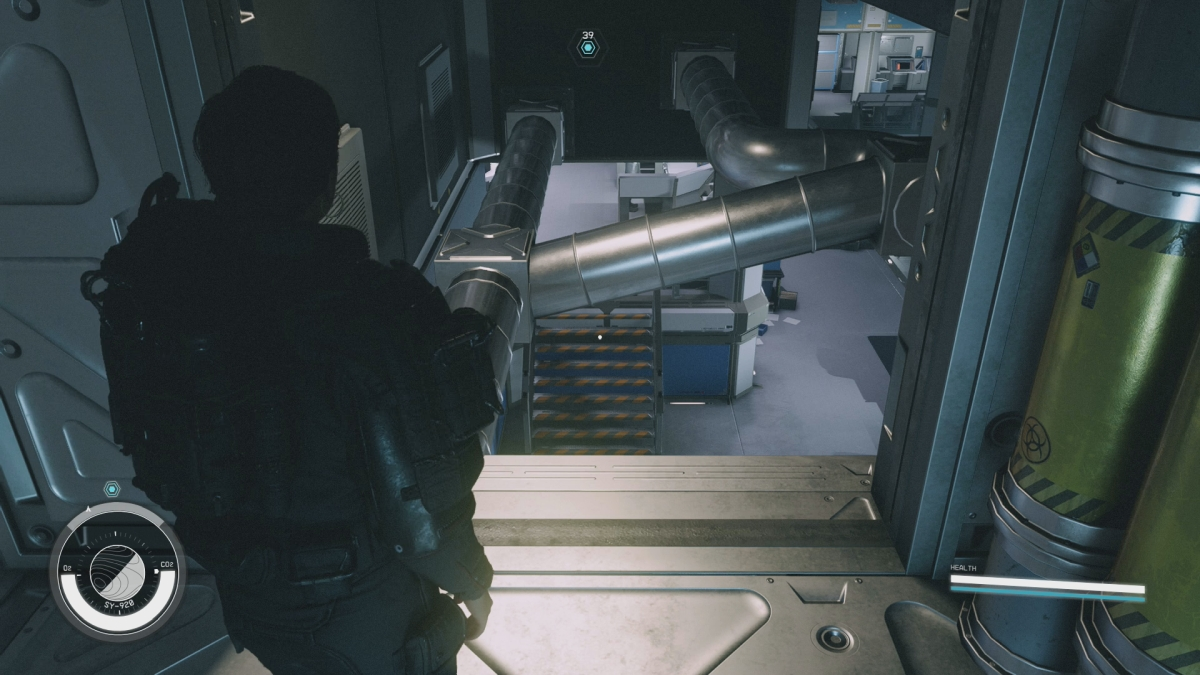
Enter the vent. Follow it to arrive at an opening looking out at some narrow platforms. They are smaller vent tubes. Shimmy (carefully) along these. I moved along them at a snail’s pace to avoid dropping into the lower room and startling workers. You might want to save your progress before you start this effort. I made the whole journey to the other side of the room without any errors, but it was tense going.
At the far side of the room, access another Vent. Through that vent, proceed a short distance to reach a square opening in the metal floor. Drop through that opening and take a few steps forward to reach the Data Access Computer.
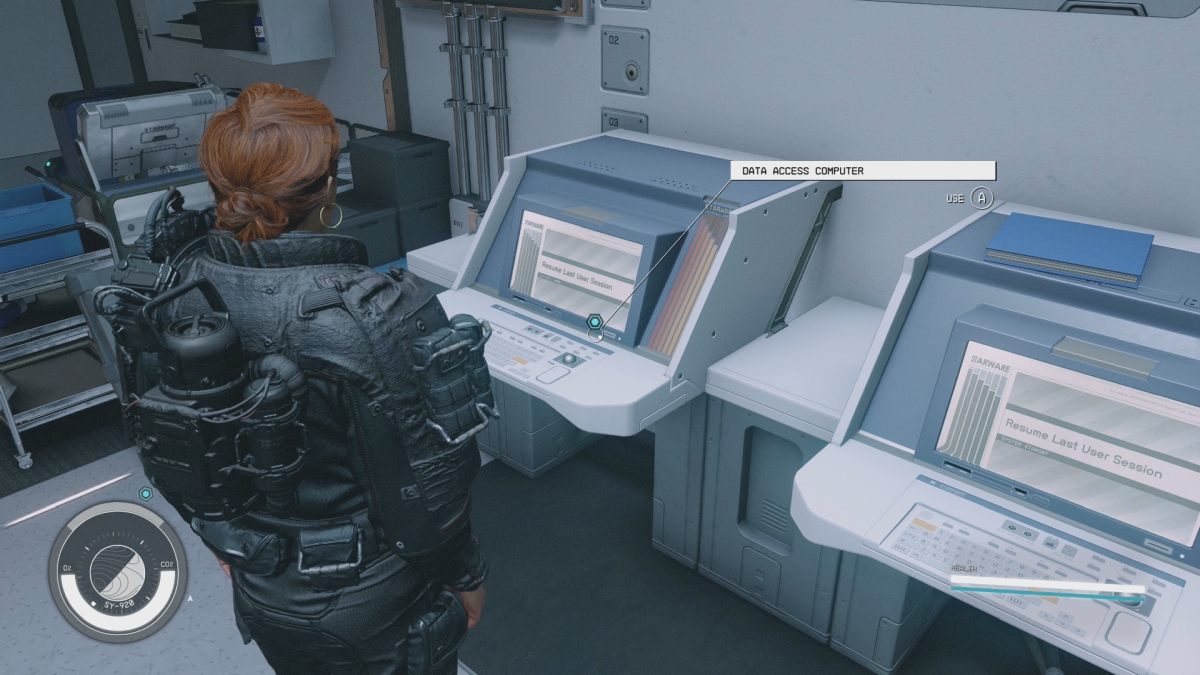
Review the materials on the Data Access Computer. Start by choosing UCE-86 ComSpike. Then select Upgrade Security Clearance. Next, choose Project Lead and Permissions. The other materials seem to be unnecessary. When you have reviewed everything relevant, you receive your next objective.
Go to Engineering Bay 4
Enter the door near the Data Access computer. It leads to a red door with a ‘Secure Access’ label. To its right, check the Emergency Access Computer mounted on the wall. Use the Open Door command and enter the next corridor.
Follow the corridor to arrive at one edge of an office area with cubicles. Follow the outer wall and proceed into the next area. If you get a little lost, remember that you can pull up your Scanner again and it will point out a route to your destination. The people you meet here shouldn’t shoot at you, since you are dressed in the uniform you found. Continue through the area, along a couple of long hallways, and finally you will arrive at your destination. Use the ID Card Reader to gain access to the lift, which carries you to the lower floor.
Locate the ComSpike
Step out of the lift and follow the hallway leading left. Watch the left wall, where you can find an intercom to speak to Huan again. She offers some final advice. Then you’re truly on your own for the next little bit.
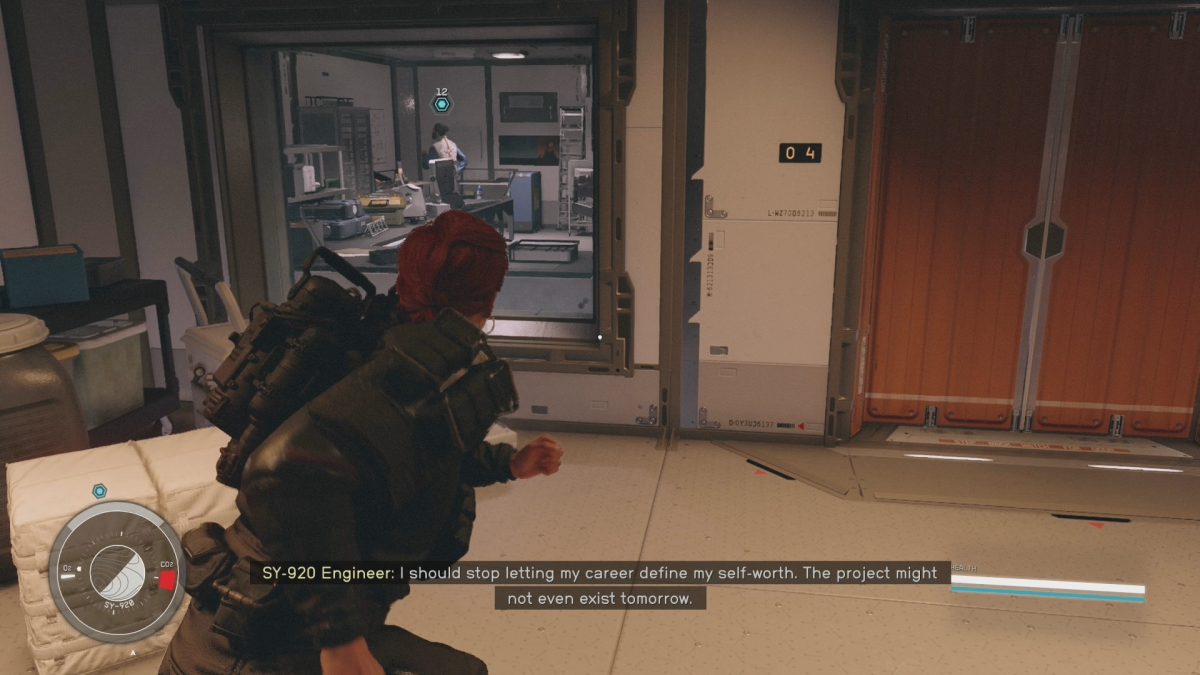
Proceed through an area that looks like a cafe with a long counter and barstools. Keep going past there, through more of the complex, until you finally can descend to a lower area that resembles a traditional office environment. Keep going as the mission marker directs you and you’ll finally spot a room with a large window. You can see a man standing in the corner. Here, I suggest saving your progress. Then you should enter the room.
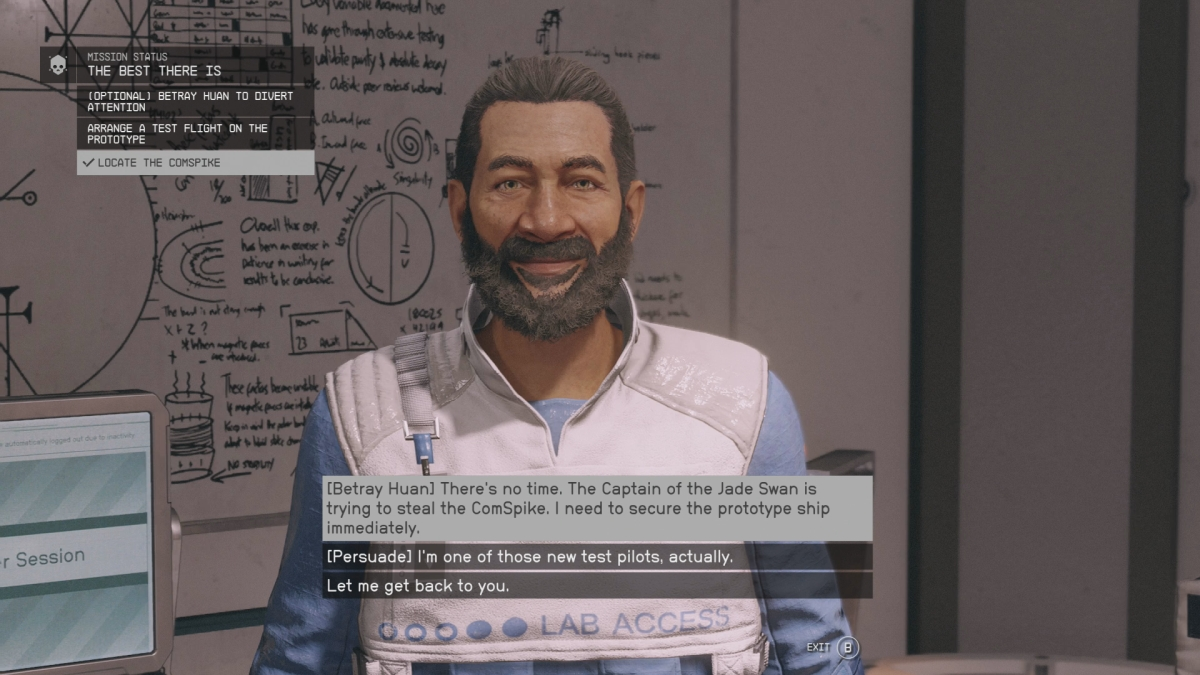
Talk to the man inside, Dr. Gabriel Vogel. This conversation can go a variety of ways. There’s a bit of opening discussion before you get to pressure him to let you have the ComSpike. Now that you know where it is, you need to take next steps.
Arrange a test flight on the prototype
As the conversation progresses, you have options. Although it is possible to satisfy an optional objective if you betray Huan to divert attention, I don’t recommend doing so. Instead, you should Persuade the good doctor that you are a pilot sent to test the prototype. This attempt may fail, depending how lucky you are. In that case, you can simply load your most recent manual save and try again.
Once you persuade Dr. Vogel, head for the prototype. You have two optional objectives along the way: find a pilot uniform and find a route to bypass the checkpoint.
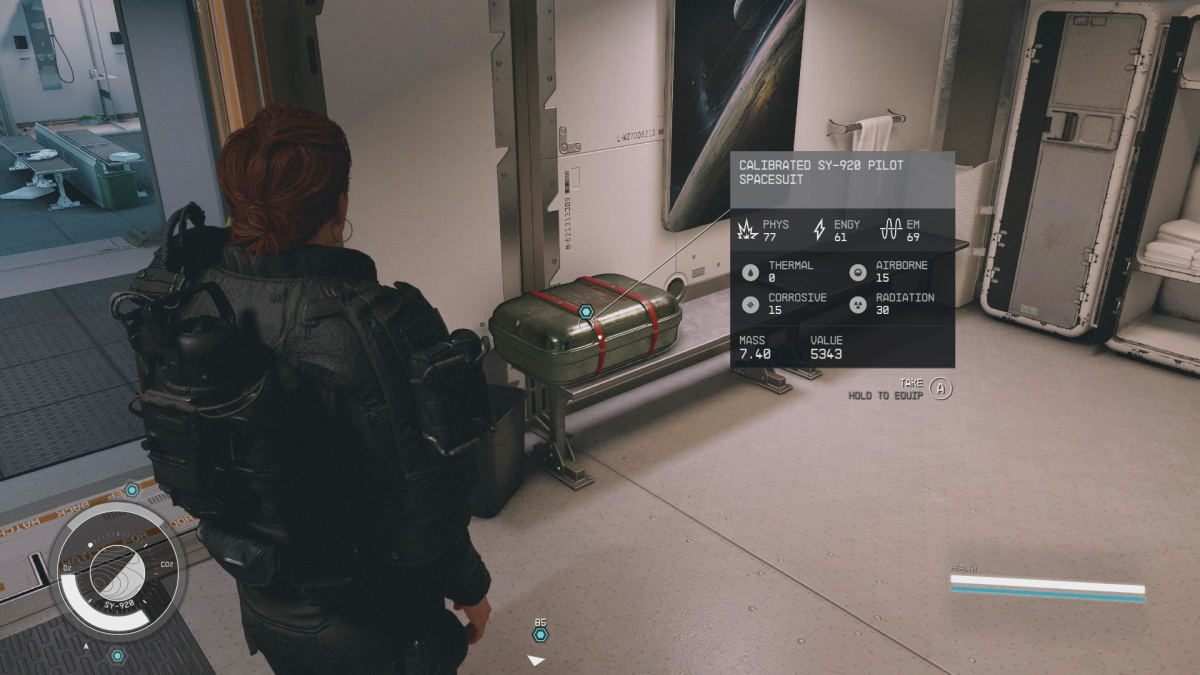
To find a uniform, look not far from the office where you met Dr. Vogel. Head around toward the right, and just stick to the wall on your right as it curves around and leads to a locker room. Enter the locker room and veer slightly left to find the Calibrated Sy-920 Pilot Spacesuit in a briefcase resting on a bench. Equip it.
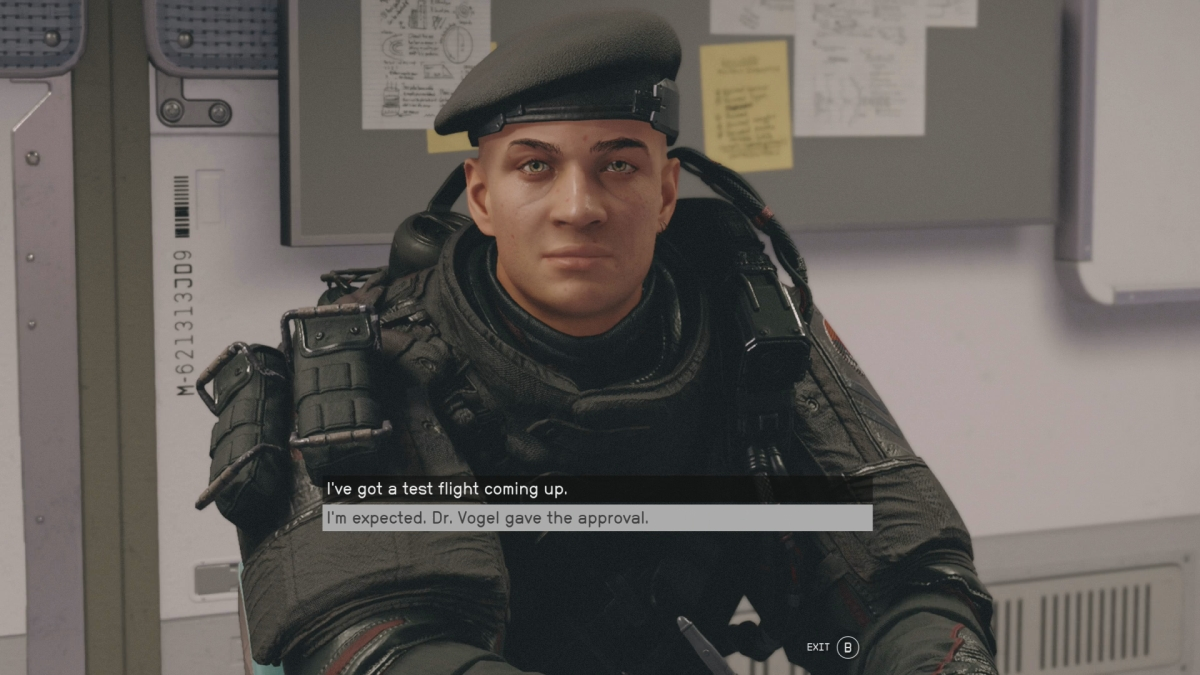
Head back into the previous room and cross the hallway to find a small office where a UC Marine Sergeant is writing a report at his desk. He addresses you through a window. Tell him that, ‘I’m expected. Dr. Vogel gave the approval.‘ This should do the trick, and you will receive your next objectives.
Escape SY-920 in the prototype ship
Continue past the office window and proceed into a hangar area. Ahead, you’ll see a high office on the upper level. You need to access that upper room to schedule a test flight.
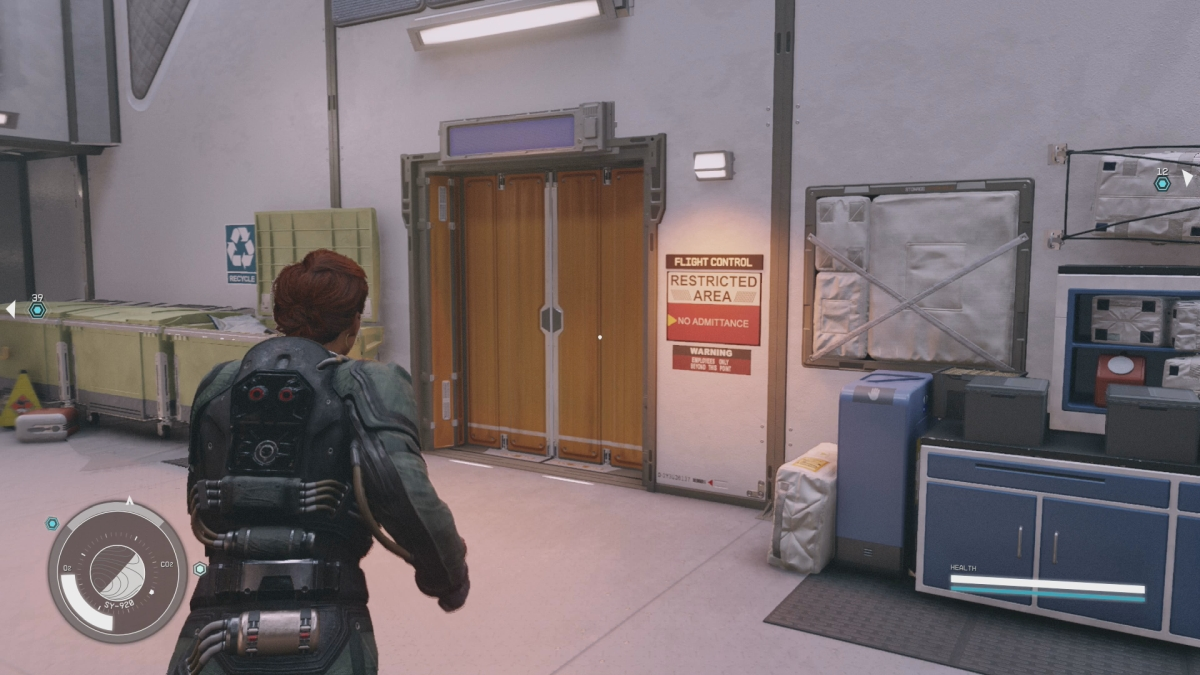
Near the base of the high wall, look for a door with a sign to its side that indicates ‘Flight Control Restricted Area.’ Enter the door and climb the stairs. Pass through another door to enter the high room, where you can check the Flight Control Computer. Once you access it, enter the ‘Select Project to Add‘ option and then choose ‘Project: UCE-86 ComSpike‘ to authorize your impending flight.
Return downstairs and follow the mission marker. It takes you to a hatch door, which you can enter by using the ID Card Reader. On the far end of that short hall, enter the next door to board the Prototype Ship. Inside that vessel, head to the cockpit and settle into the Pilot Seat. Finally, Undock to receive your next mission objective.
Return to the Key
Fast travel to the Key. You can select it from the list of current mission objectives, rather than searching your Starmap. You will have to designate energy to your ship’s Grav Drive to make the jump. I reallocated some of the energy that had been assigned to the engine. When you arrive at your destination, dock with the vessel and board it.
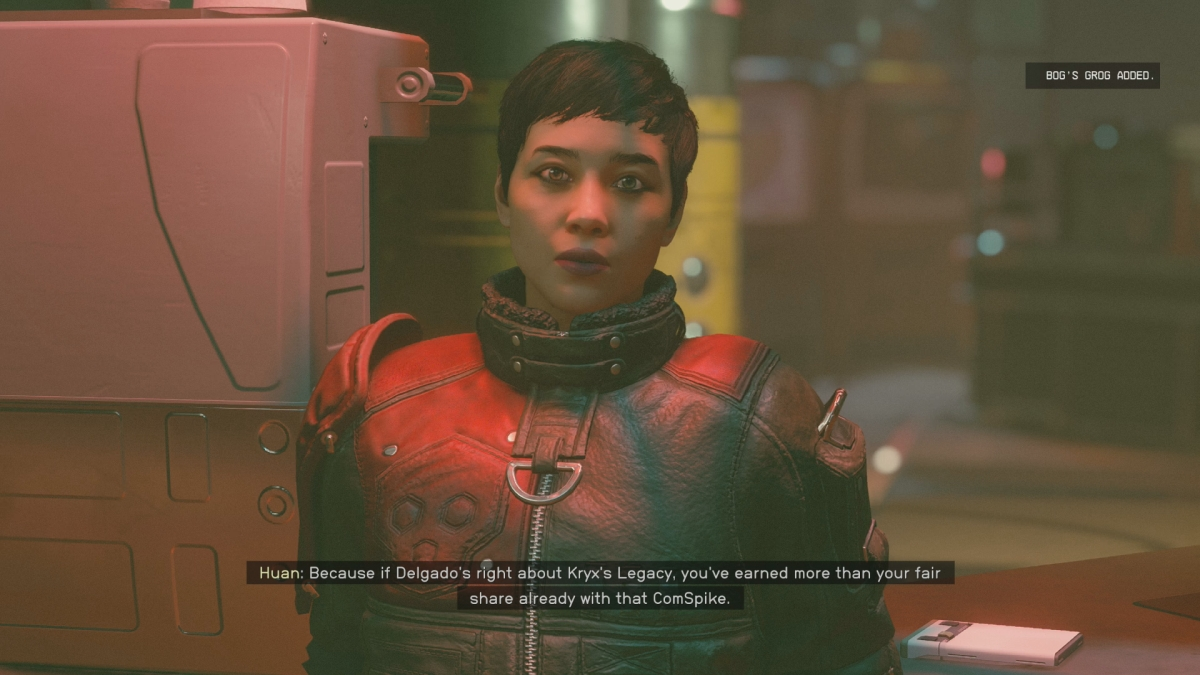
At the Key, you have a few final objectives. First up, you should speak to Huan at the Last Nova. Have a drink with her and you’ll receive the Bog’s Grog. Consider it your reward for not betraying her.
Next up, speak to Delgado. You’ll find him upstairs, not far from the top of the lift. Talk to him and Naeva and answer their questions however you wish. In the end, you will receive the mission’s final objective.
Proceed to the UC Vigilance
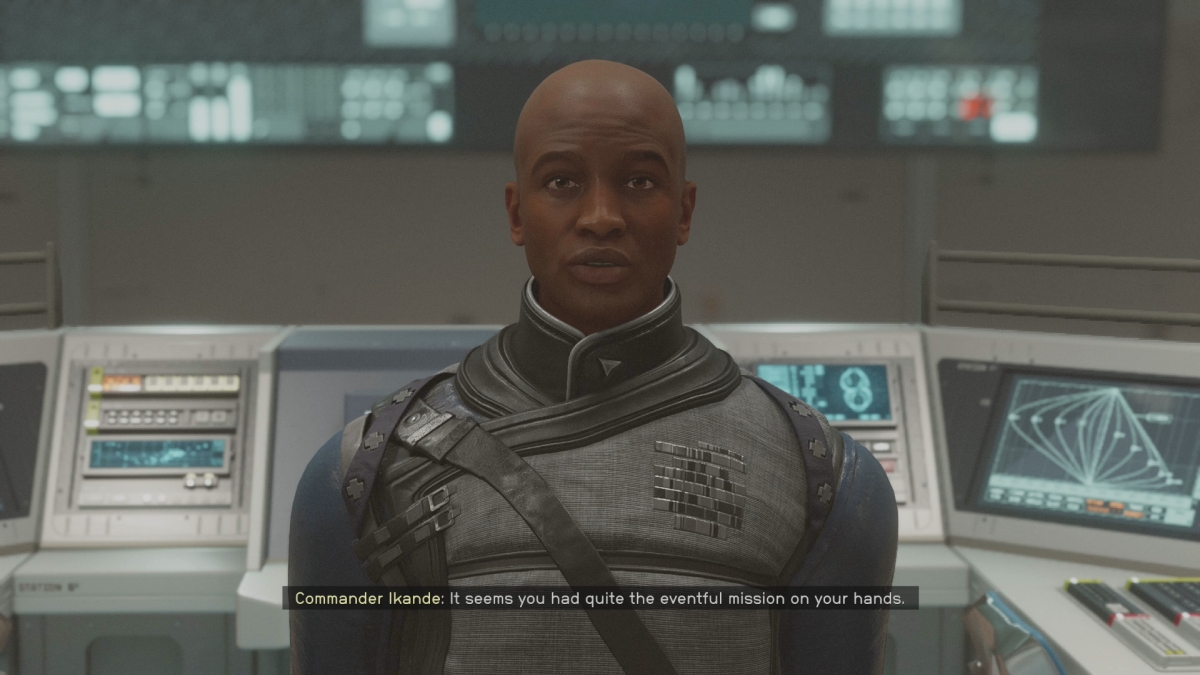
Fast travel to the UC Vigilance. Once you arrive, make your way to the deck to speak to Commander Ikande. He will be thoroughly pleased with how your mission went, since you avoided casualties and achieved the desired result with minimal fuss. Exhaust the dialog options and finally you will receive your mission rewards: 15,600 credits, 250 XP, and an achievement with the same name the mission itself bears. You also activate the Absolute Power mission, but there’s no rule saying you have to get to work on it immediately.
Other Starfield articles