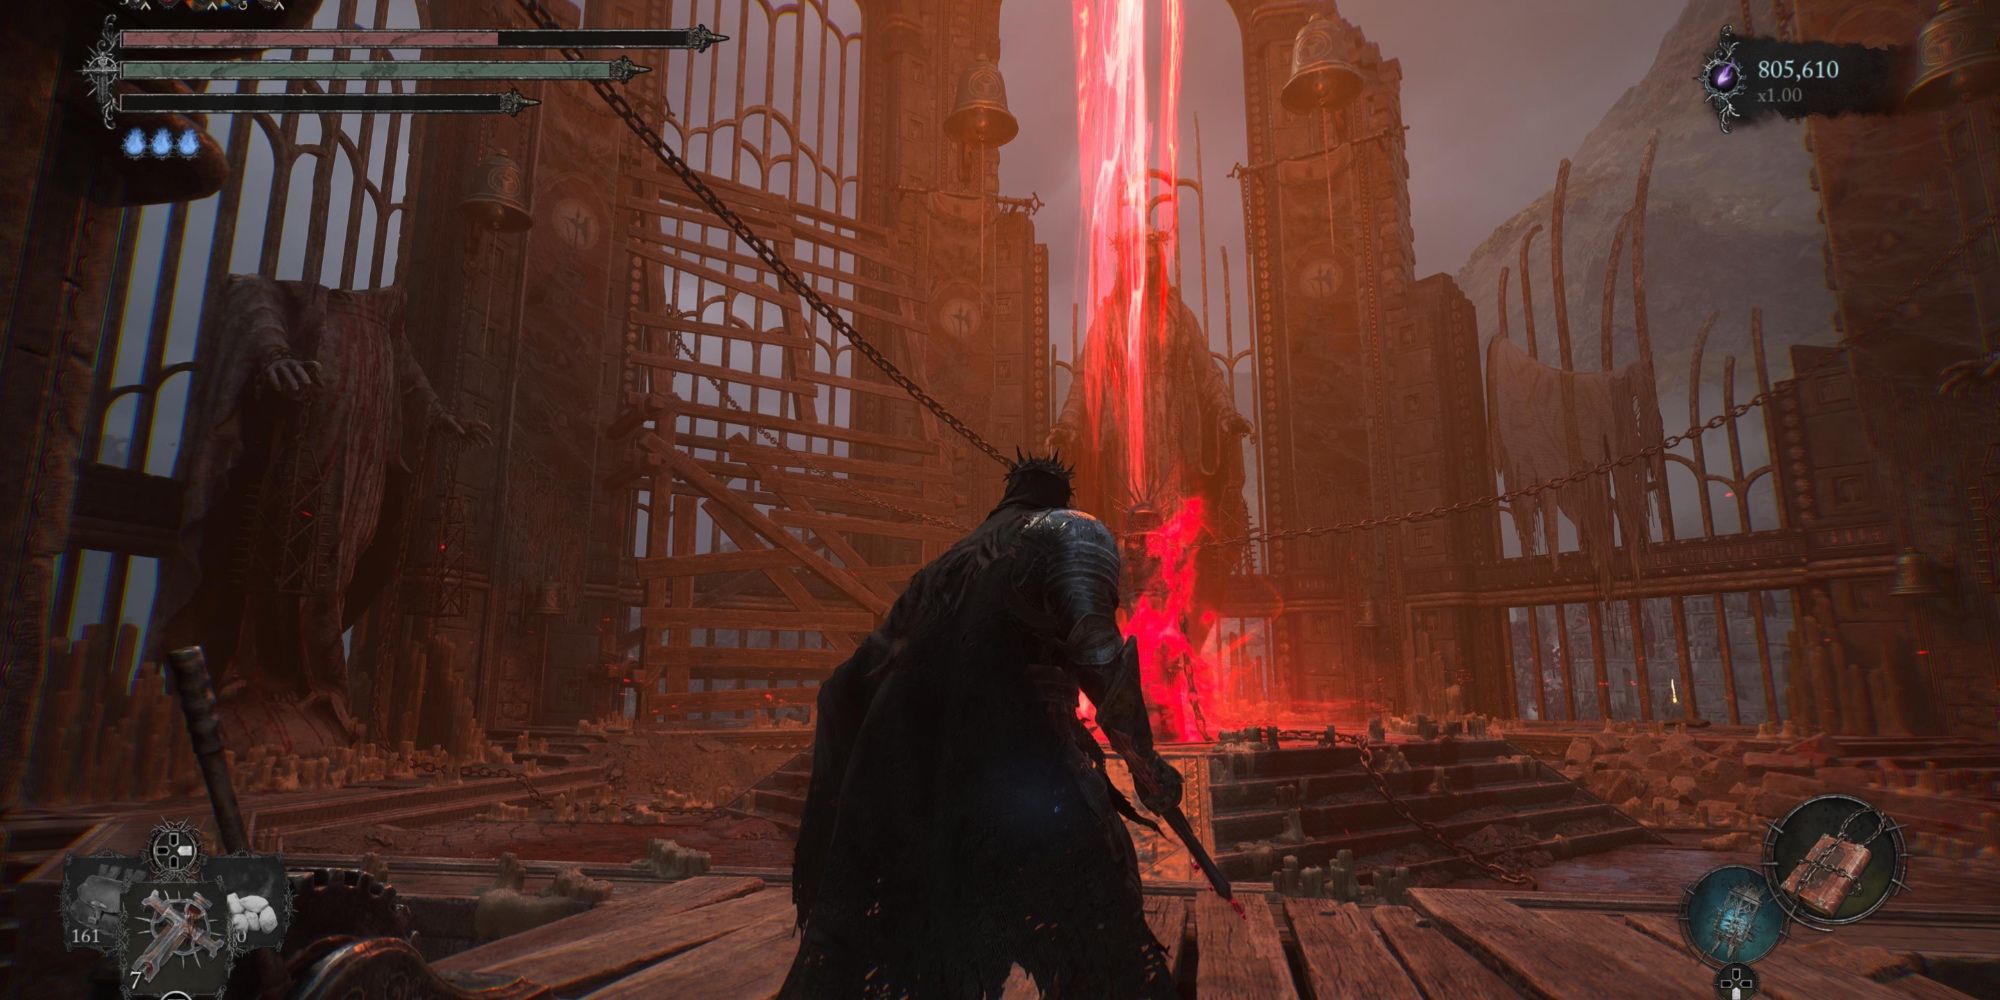
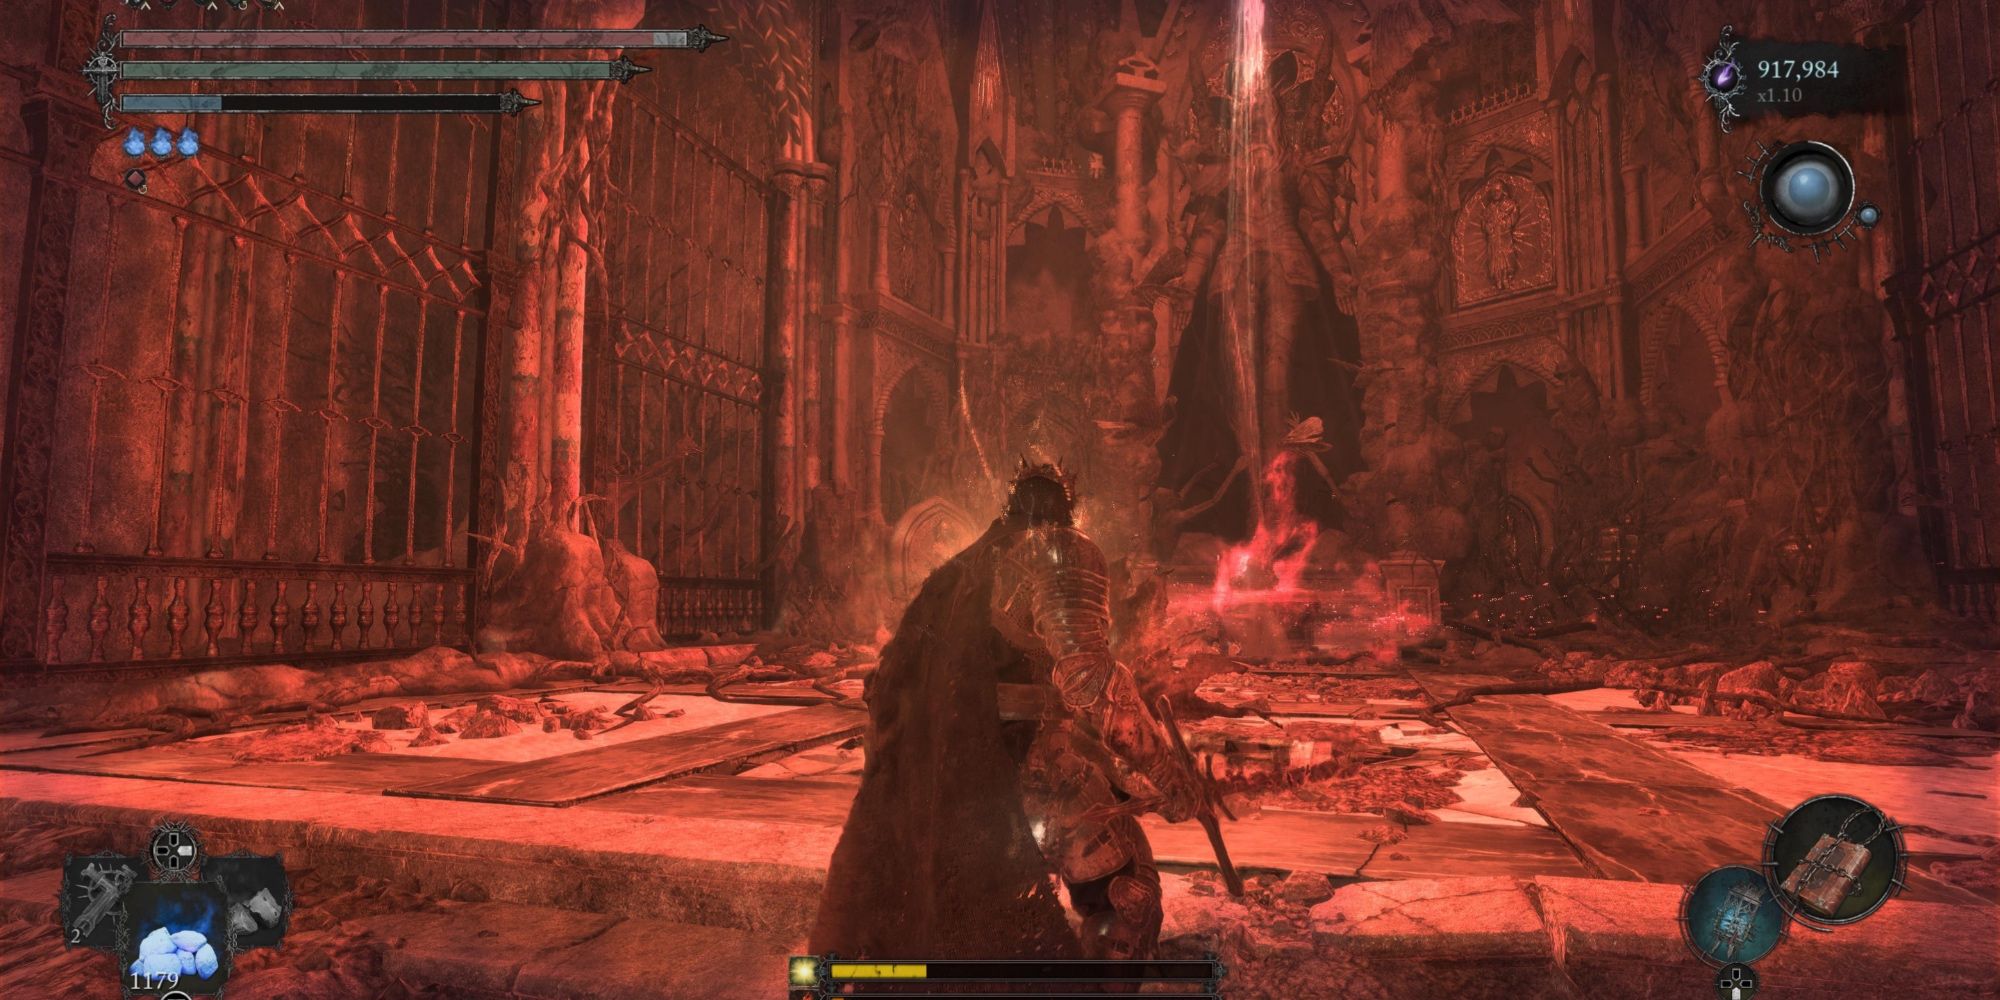
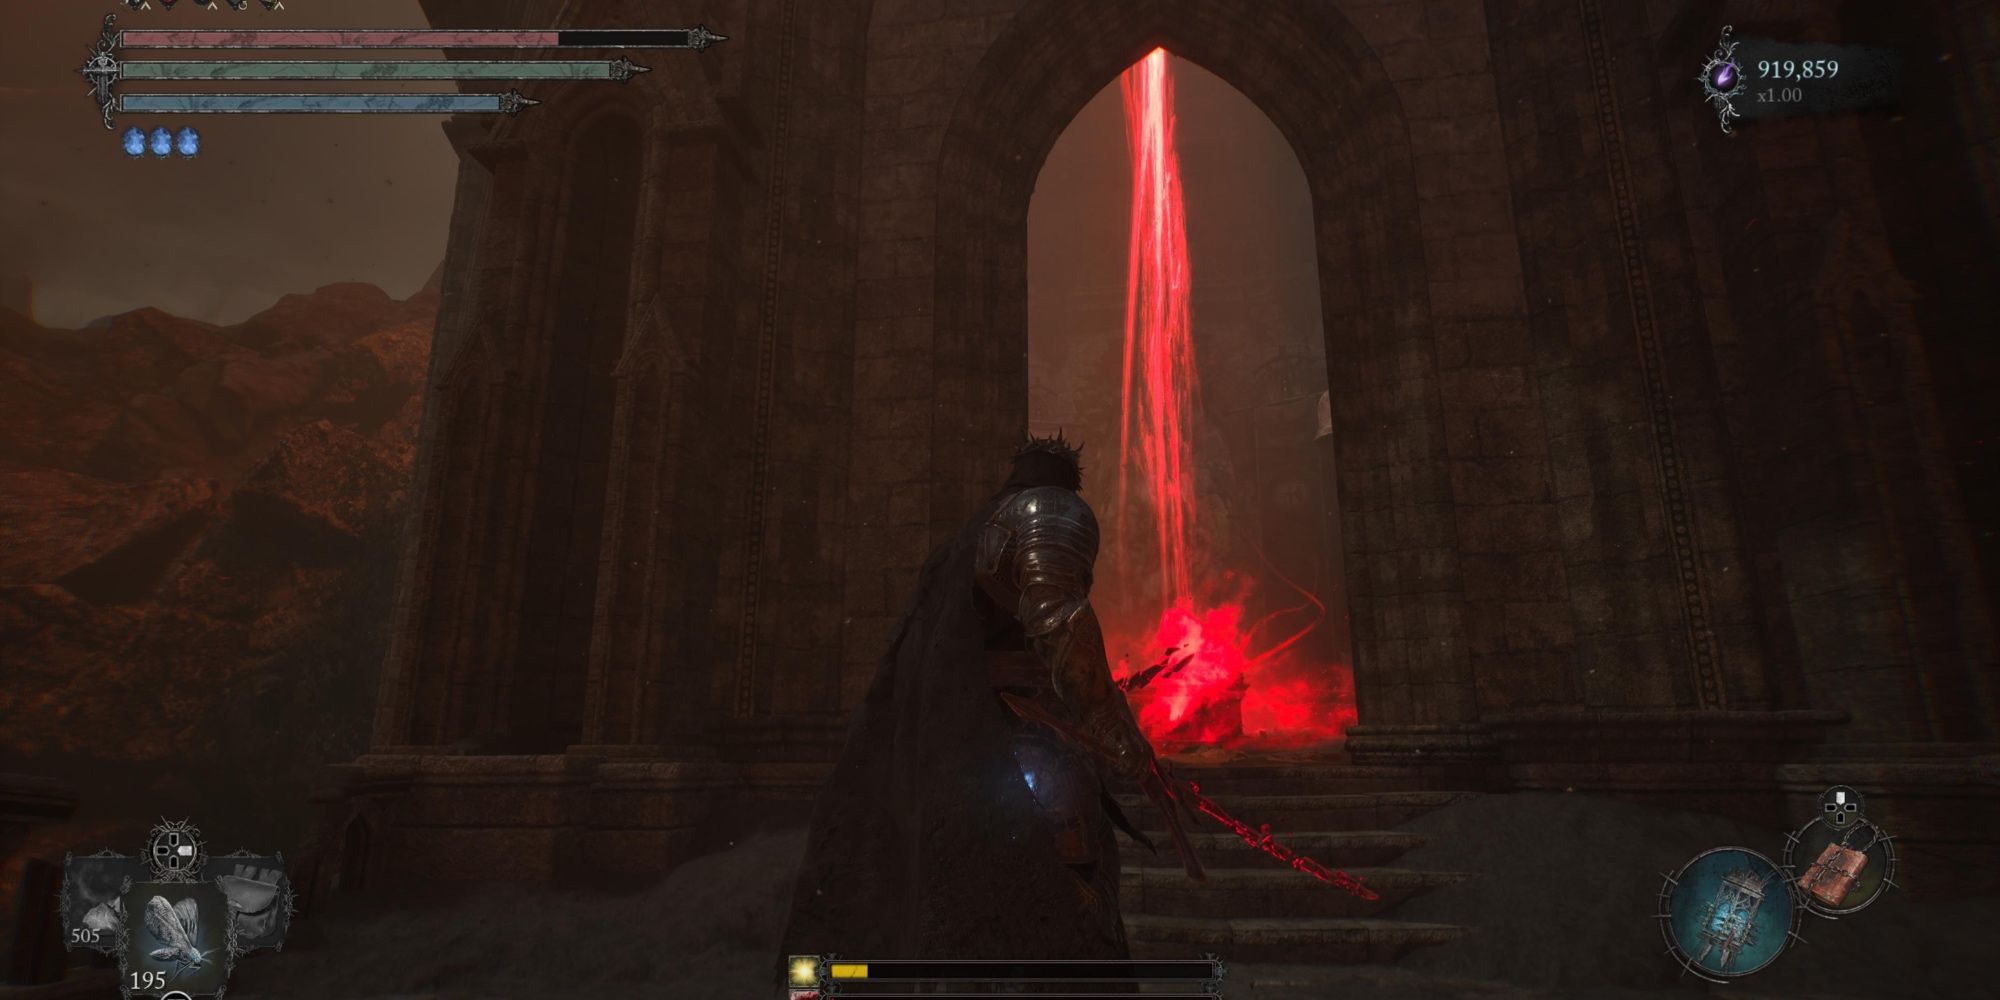
There are five beacons in Lords of the Fallen, but not all of them are easy to reach. With this guide, players can find them all with ease.
Quick Links
- What Are The Beacons In Lords Of The Fallen?
- All Beacon Locations In Lords Of The Fallen
Lords of the Fallen can be a difficult game when it comes to exploring areas and finding key objectives. Beacons are the main objectives in the game, which are often guarded by a strong Colossus boss. Interacting with all of them is a must in order to complete the game, but finding some of these beacons can be confusing at times.
These beacons act as checkpoints in Lords of the Fallen, allowing the player to progress in the story. This guide highlights the purpose of these beacons and describes where each of them can be found.
Lords of the Fallen: How To Get Plucked Eyeballs
Plucked Eyeballs are a special currency that can only be found in certain places in Lords of the Fallen.
What Are The Beacons In Lords Of The Fallen?
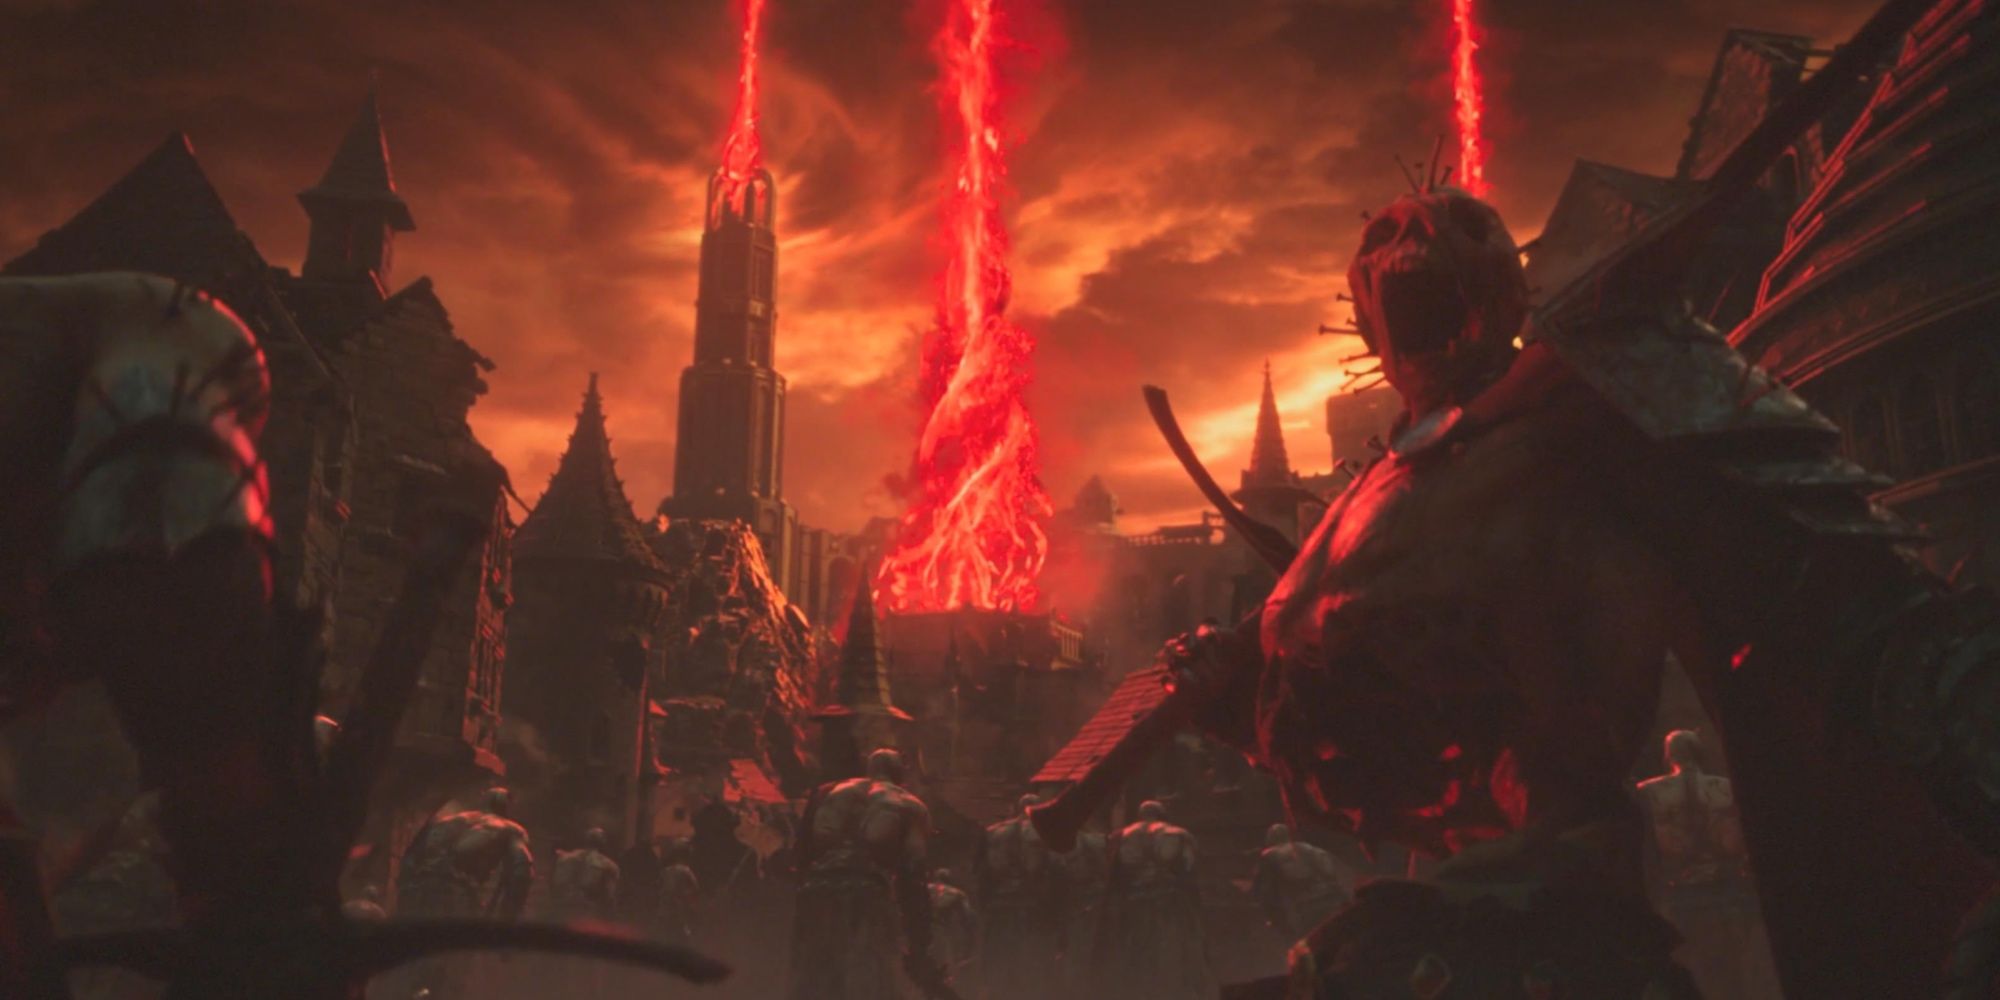
Every Soulslike game has a habit of not guiding the player to a clear-cut objective, and Lords of the Fallen follows the same path. In most of these games, you have to explore hostile environments and face bosses in order to proceed further in the story. However, throughout Lords of the Fallen, you can look up to see several beacons of red light in the sky.
The purpose of these beacons is to empower Adyr, the demon God. There are multiple endings in Lords of the Fallen, and in them, the player has to interact with the beacons, either to cleanse them or empower them in order to free Adyr. All of these beacons can be interacted with before reaching the final area of the game.
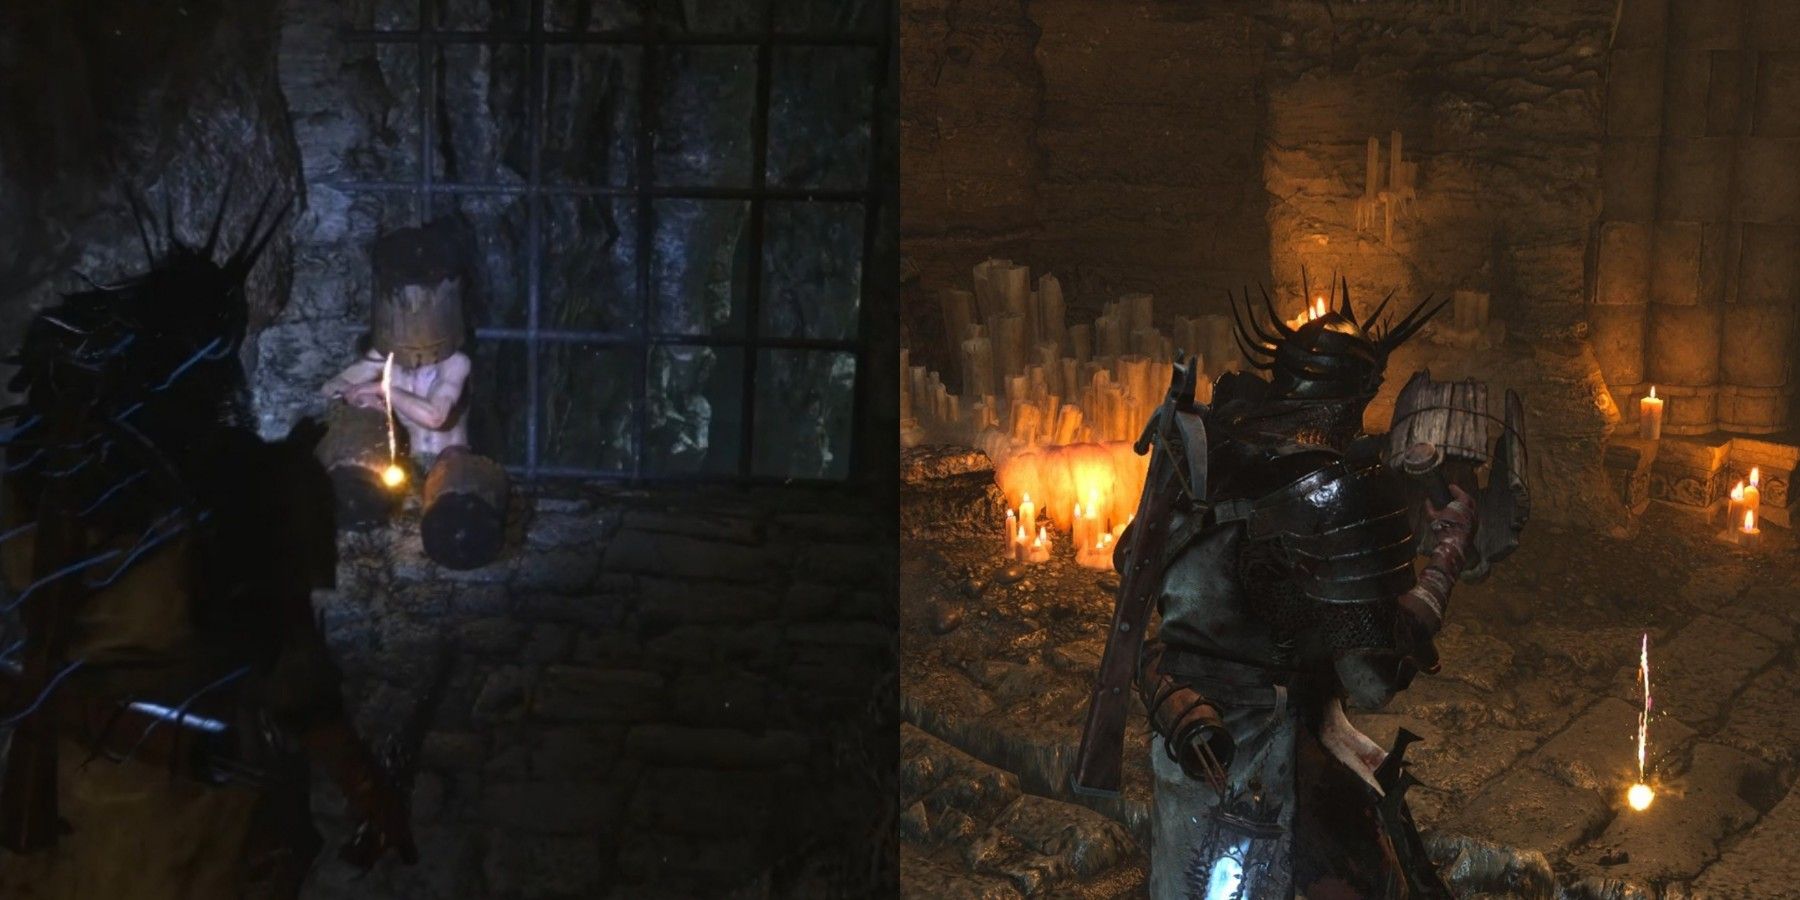
Lords of the Fallen: How To Complete The Way of The Bucket
The Way of the Bucket requires Lords of the Fallen players to find 12 special items.
All Beacon Locations In Lords Of The Fallen
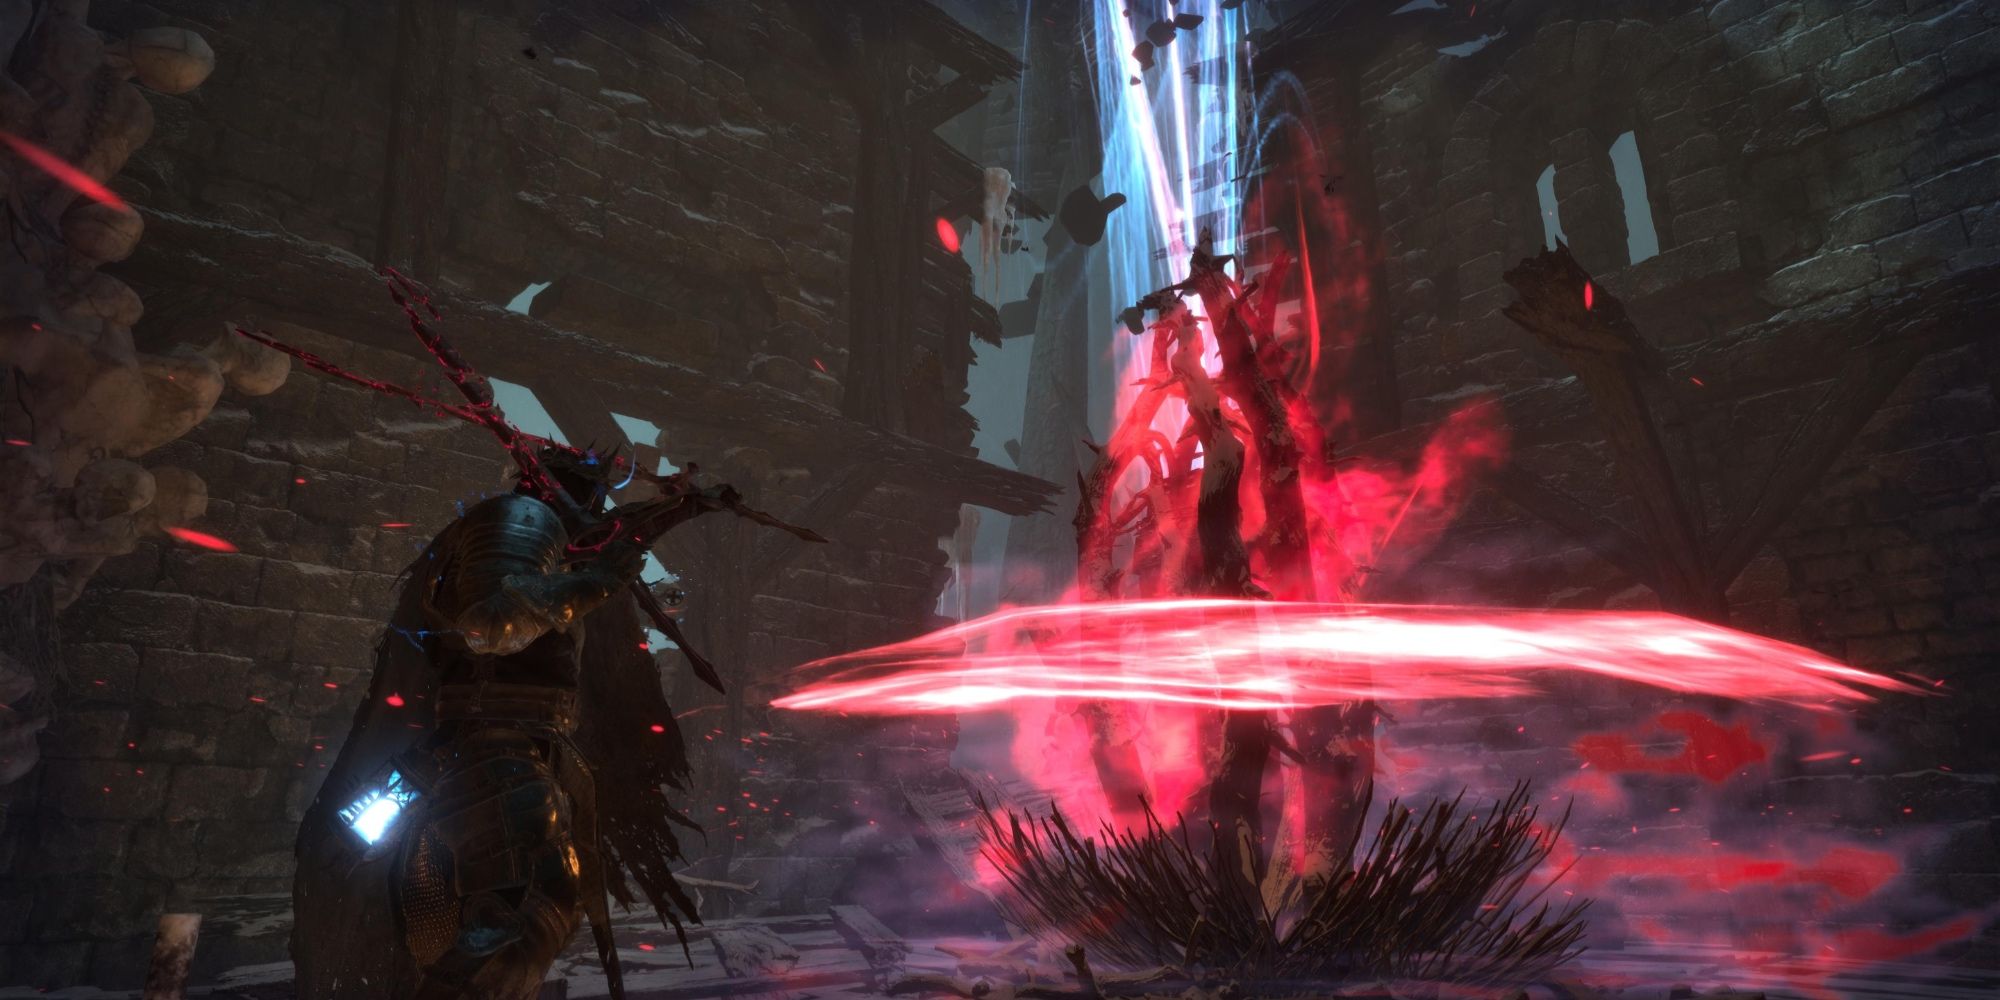
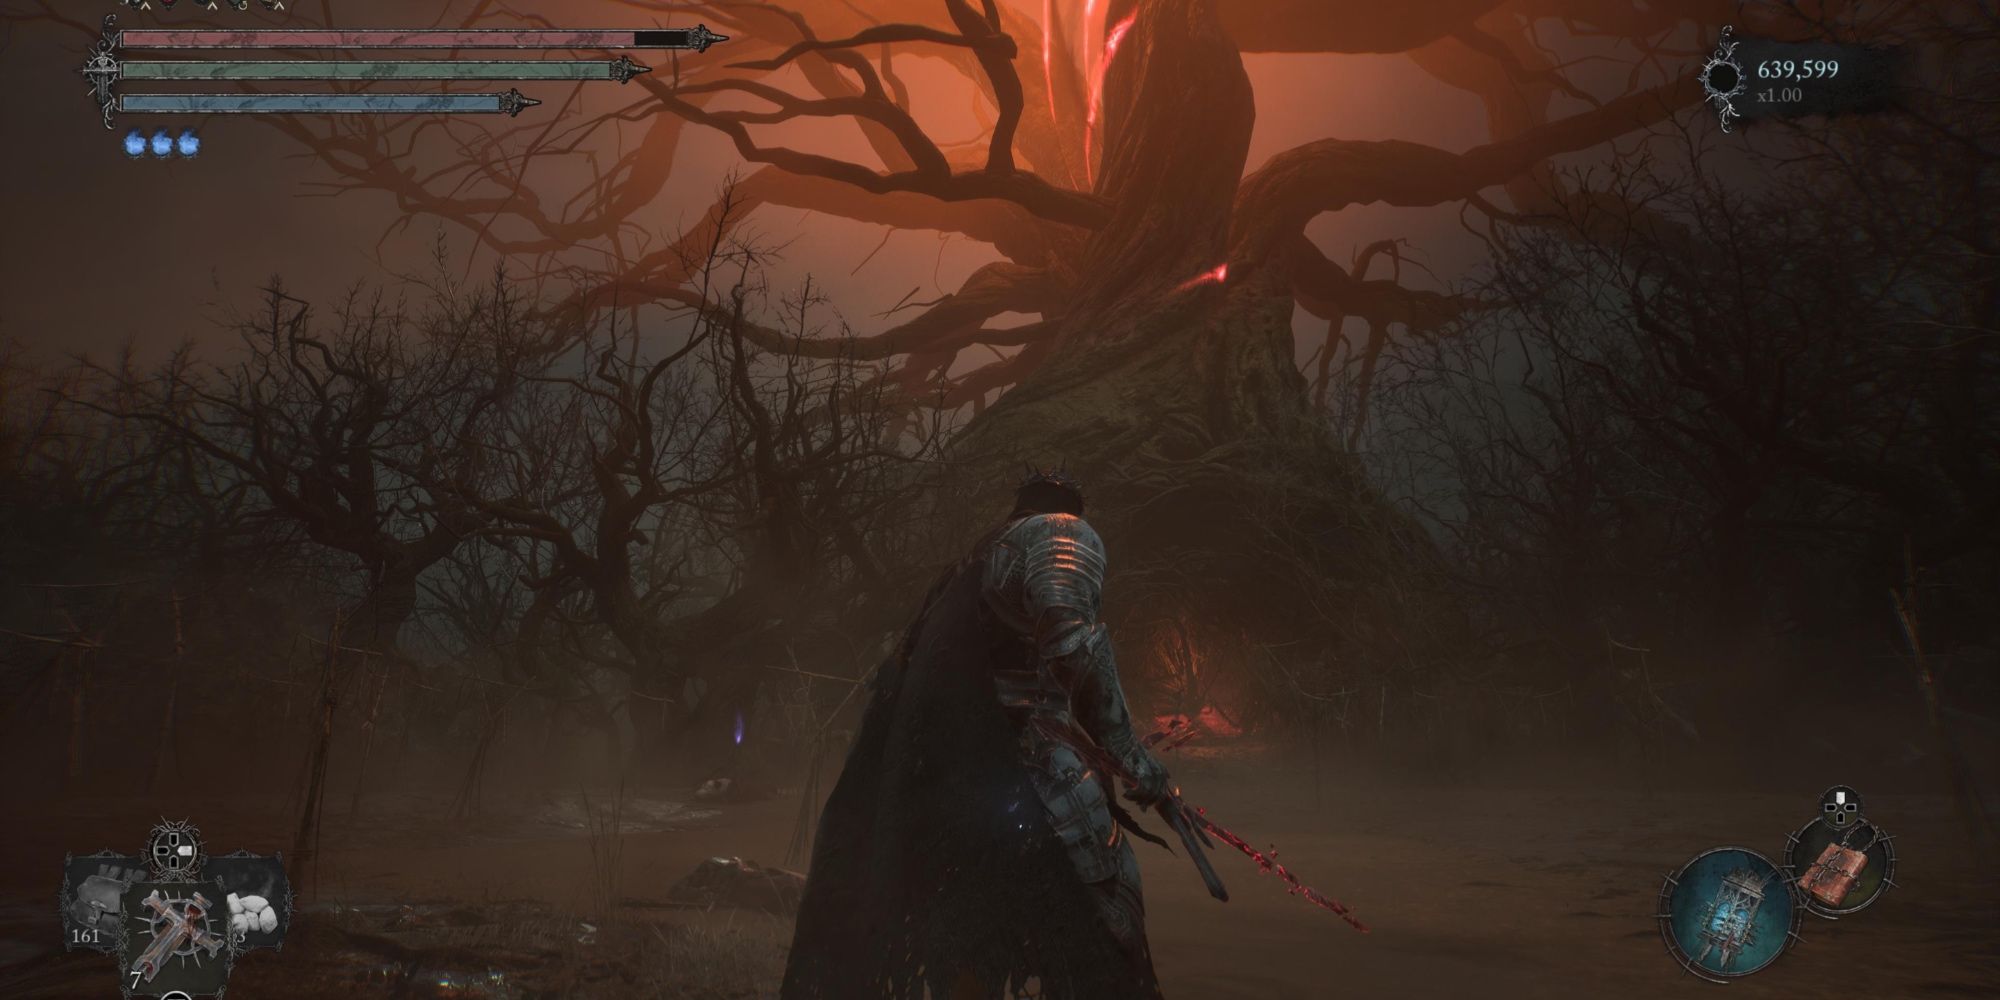
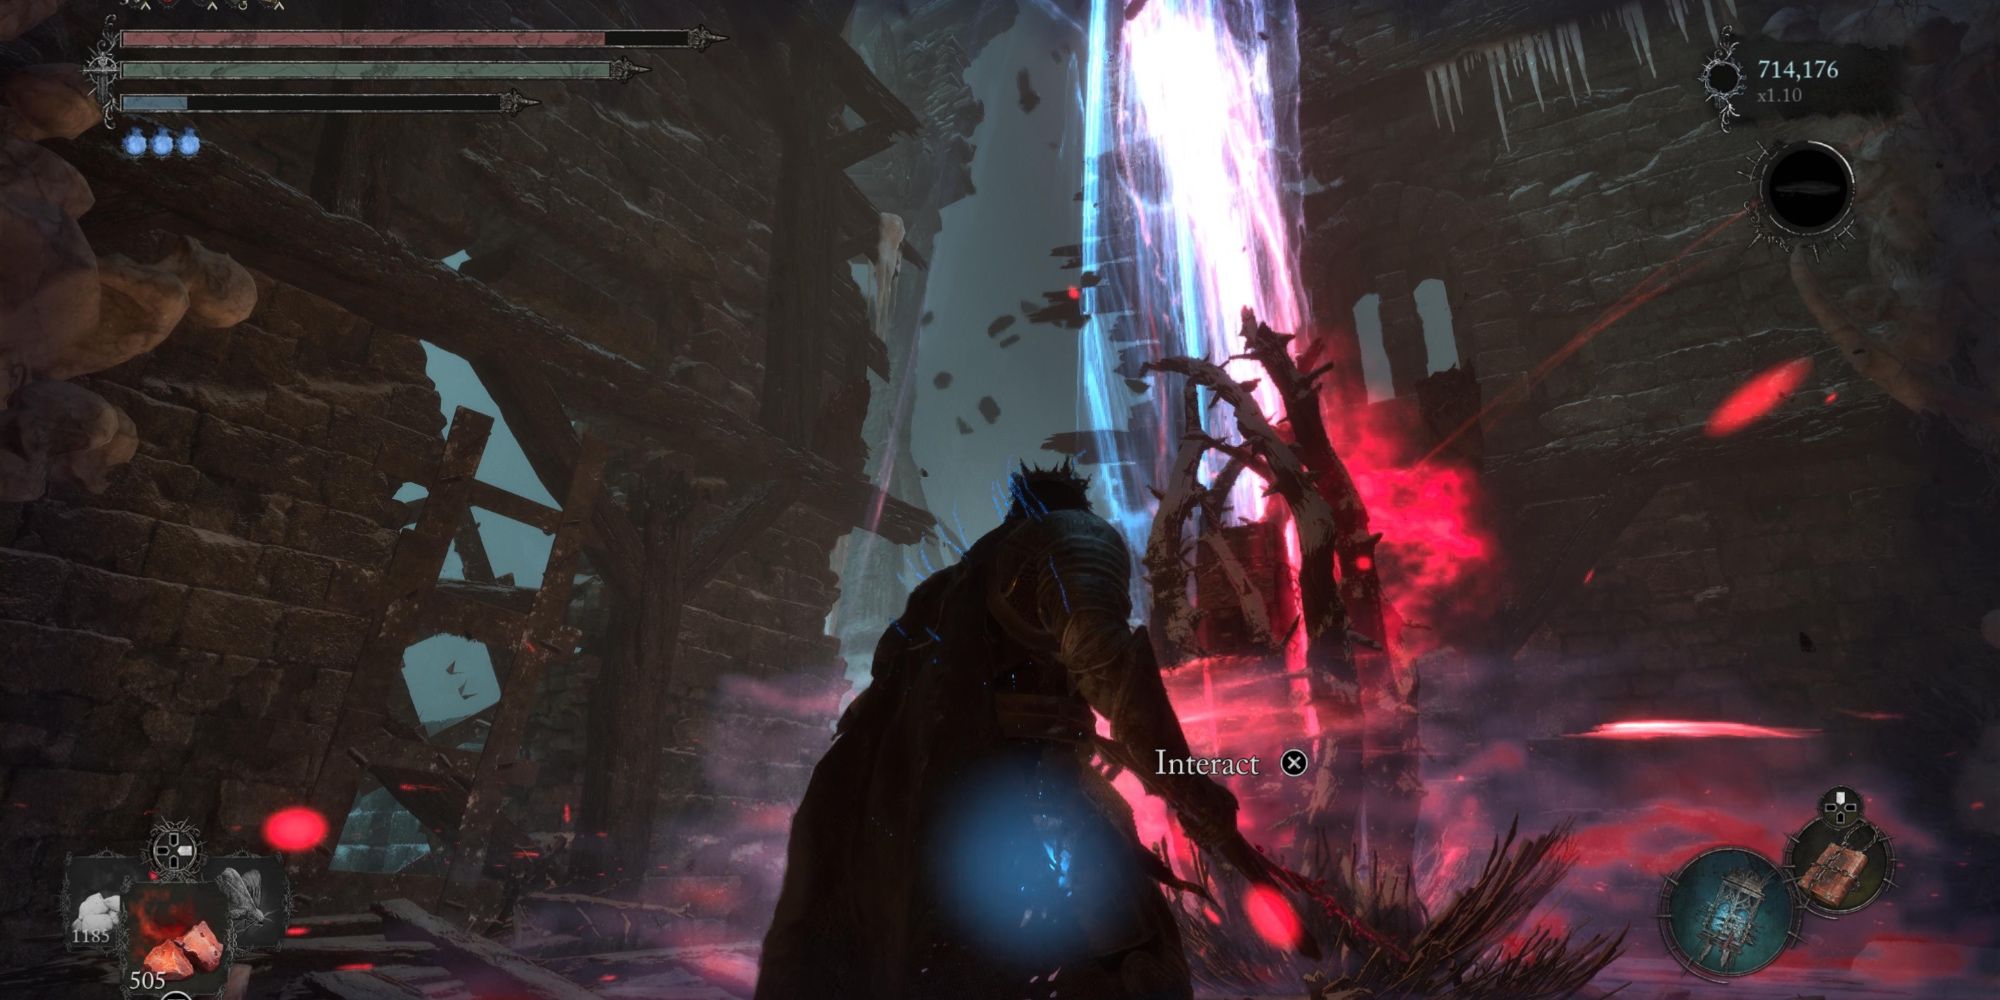
There are five beacons located in different parts of Lords of the Fallen‘s world. The following table explains in detail how you can reach all of them:
|
Location |
What It Looks Like |
How To Reach It |
|---|---|---|
|
Forsaken Fen |
|
After defeating The Congregator of Flesh and reaching the Vestige of Valade, you will have to make your way straight across the wooden bridge. Keep heading left until you reach an open area with torches lit in several spots. Head up the ramp and jump down to the bonfire up ahead. From here, you have to go past the bonfire and head into the wooden archway. Keep following the main path until you reach another wooden archway on your left. Do not go straight; take the left to reach an area where the water level is high. Switch to the Umbral World and Soulflay the corpse on the right up the bone bridge to open the path that the Entity is blocking. From here, stick to the main path until you reach another bonfire. Head left from the bonfire into the wooden archway, proceed all the way to the end, and you will reach the boss fight with The Hushed Saint. You can use a Vestige Seed on a small area to the right before the boss if you are not sure you can win on the first try. After dealing with the boss, you can interact with the beacon behind him. |
|
Fief of the Chill Curse |
|
From the Vestige of Loash, also known as The Crow’s Nest, head into the archway to face The Hollow Crow, which can turn into quite a long fight. After defeating the boss, head to the right of the arena into the doorway, which is next to the Umbral Stigma. Head down the ladder and continue left across the multiple bridges until you reach the tower at the end. Head up the set of wooden stairs and then the ladder to reach the beacon. |
|
Tower of Penance |
|
The Tower of Penance can be a frustrating place to explore and navigate through. This is mainly because you can fall from great heights if you do not watch your step. To reach the beacon, you must first go all the way down to the bottom of the Tower of Penance. Head into the tunnels to reach a door, behind which you will face Tancred, Master of Castigations. Defeating him grants you the Tancred’s Key. Head back to the area where you fell and open the door ahead, which was previously locked. Head up the elevator twice to reach the beacon. |
|
The Empyrean |
|
From the Vestige of Iorelo the Cursed Knight, open the doors leading to The Empyrean and head forward to reach the Abbess enemy standing in the middle of the area. Head left towards the broken tower and up the flight of stairs. Change to the Umbral World to proceed further towards the upper section of the Church. Here, you will find a door locked by the entity for which you have to Soulflay the corpse using the Umbral Lamp on the left path. After opening the path, head through the doorway and left, avoiding the Abiding Defender enemies. At the end of the walkway, you can find a chest inside, which has a key. After acquiring the Empyrean Church Key located inside the chest upstairs, head back to the main door and unlock it. Keep straight, and you will reach the Judge Cleric, the Radiant Sentinel boss fight. After defeating her, you will be able to interact with the beacon up ahead. |
|
Upper Calrath |
|
After acquiring the Rune of Adyr in the Abbey of the Hallowed Sisters, make your way to Skyrest Bridge and head back out past the arena where you faced Pieta. Head to the door on the left and stay on the main path until you reach the door behind which The Lightreaper awaits. The Lightreaper will not be here if you have already defeated him in a previous location. Head right of the arena and hug the left wall to the beacon. |
Lords of the Fallen (2023)
- Released
- October 13, 2023
- Developer(s)
- HEXWORKS
- Genre(s)
- Action RPG
