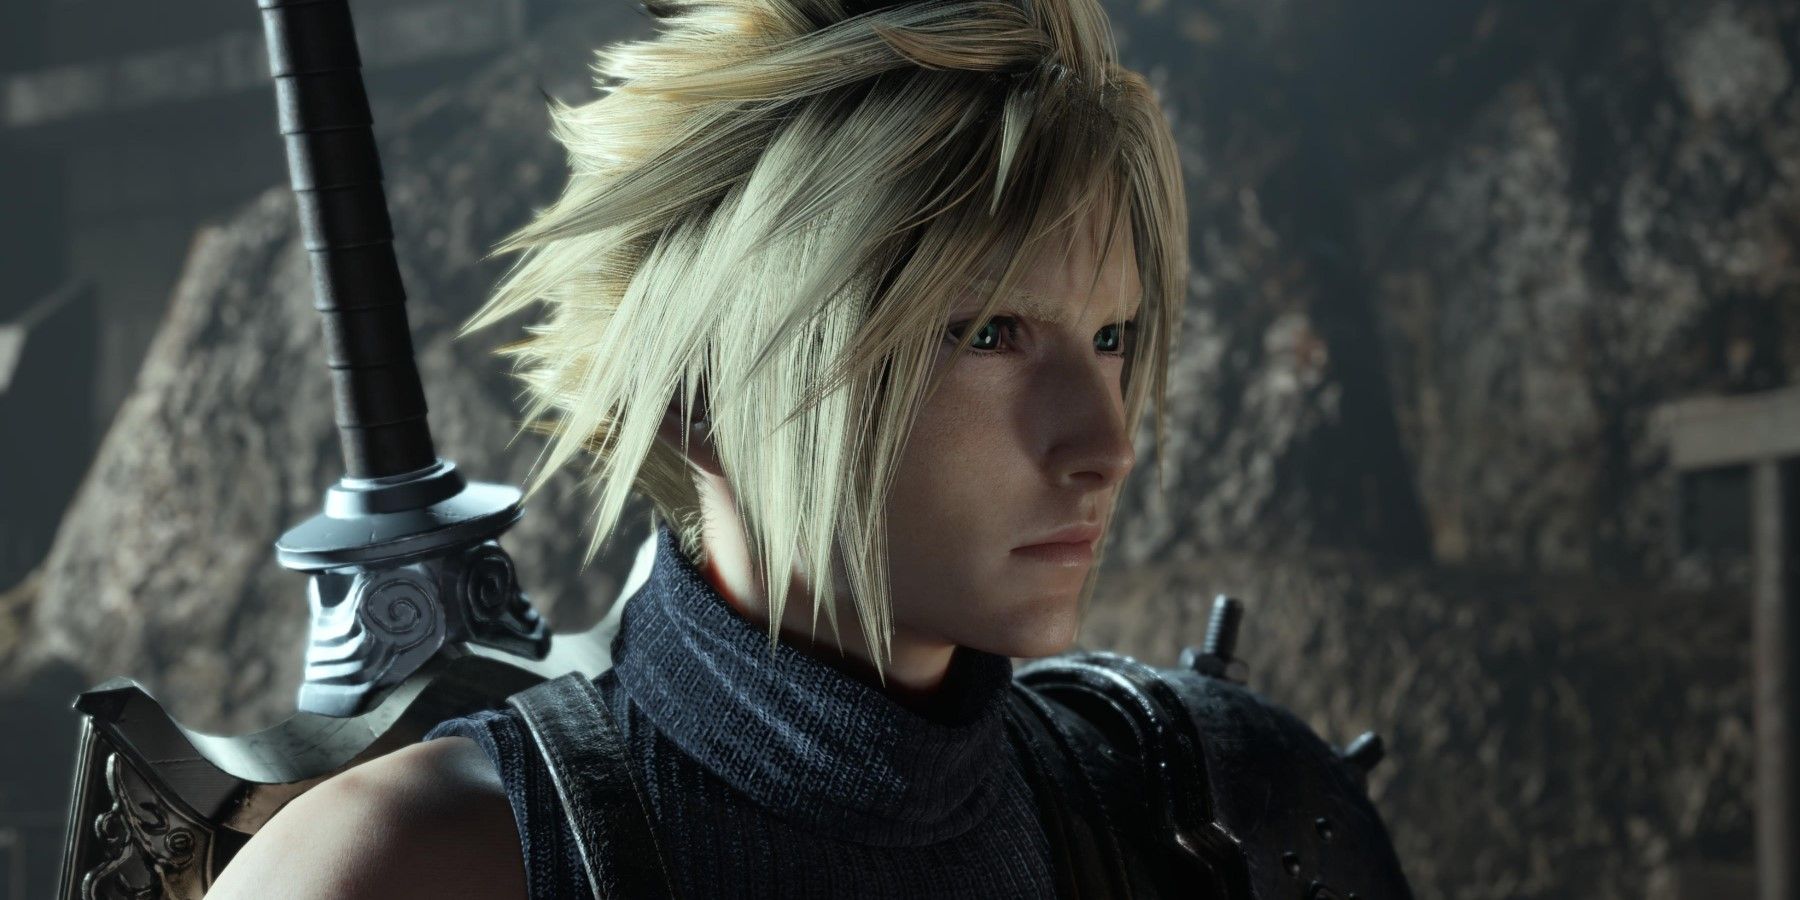
After you complete the second chapter of Final Fantasy 7 Rebirth, the game will take a temporary break from the open world format. For the third chapter, Deeper Into the Darkness, you will be exploring the Mythril Mines in search of a way through to the other side. The mysterious black-robed figures seem to be heading somewhere, and that is the only lead that Cloud and the others have as they search for Sephiroth.
Despite being more linear than the previous chapter, there is a lot of ground to cover and obstacles to overcome in this chapter. So here is what you can expect as you begin Deeper Into the Darkness.
This walkthrough contains spoilers, so players should proceed with caution.
Final Fantasy 7 Rebirth Review
Final Fantasy 7 Rebirth is an epic-scale adventure with an unforgettable cast of characters that will keep players busy for dozens of hours.
Explore the Mines
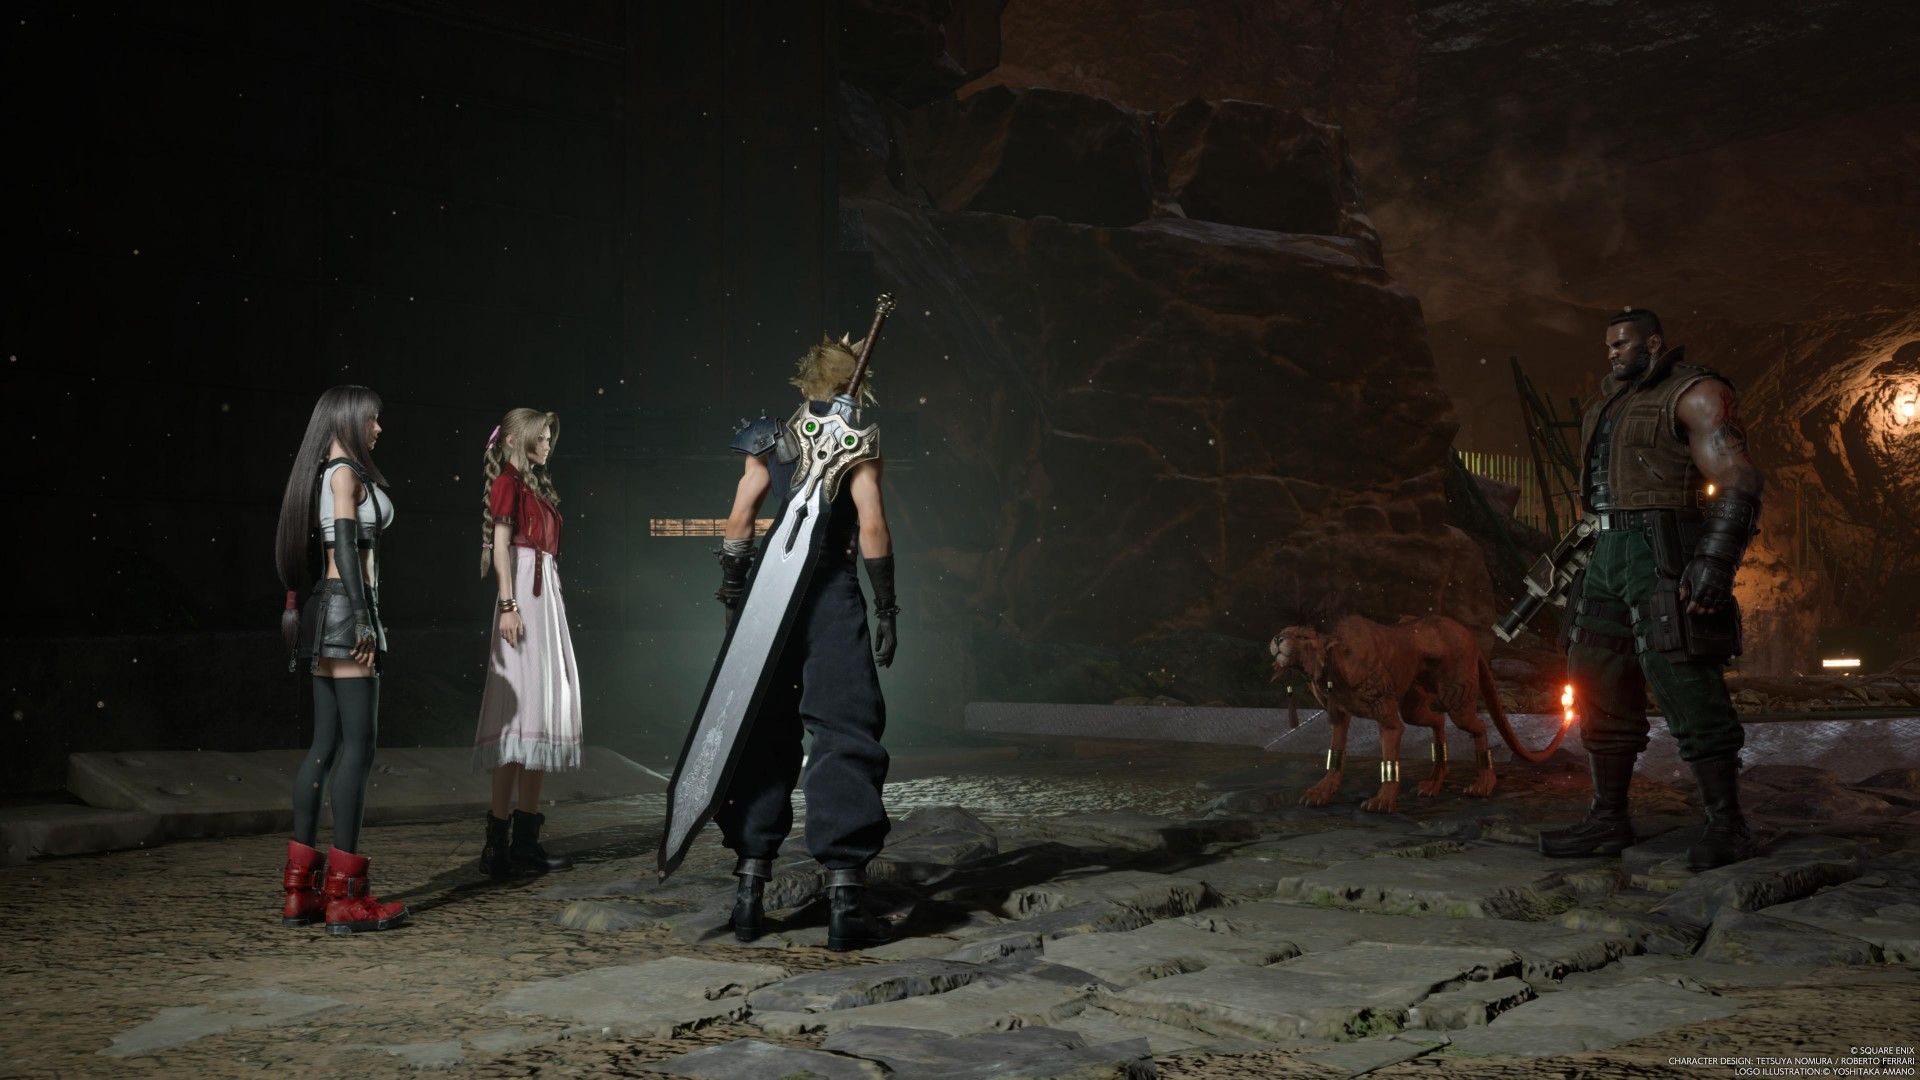
Once the cutscene is over, make your way into the mines. There is a rest stop and a vending machine further into the mines, so make use of them as needed. When you are ready to proceed, keep going until you come across a group of people in robes. Once you get close enough, a cutscene will play and Barret and Red XIII will temporarily leave the party.
Once Barrett and Red XIII leave your party, you will be temporarily unable
to fast travel
. Keep that in mind if you are not ready to proceed.
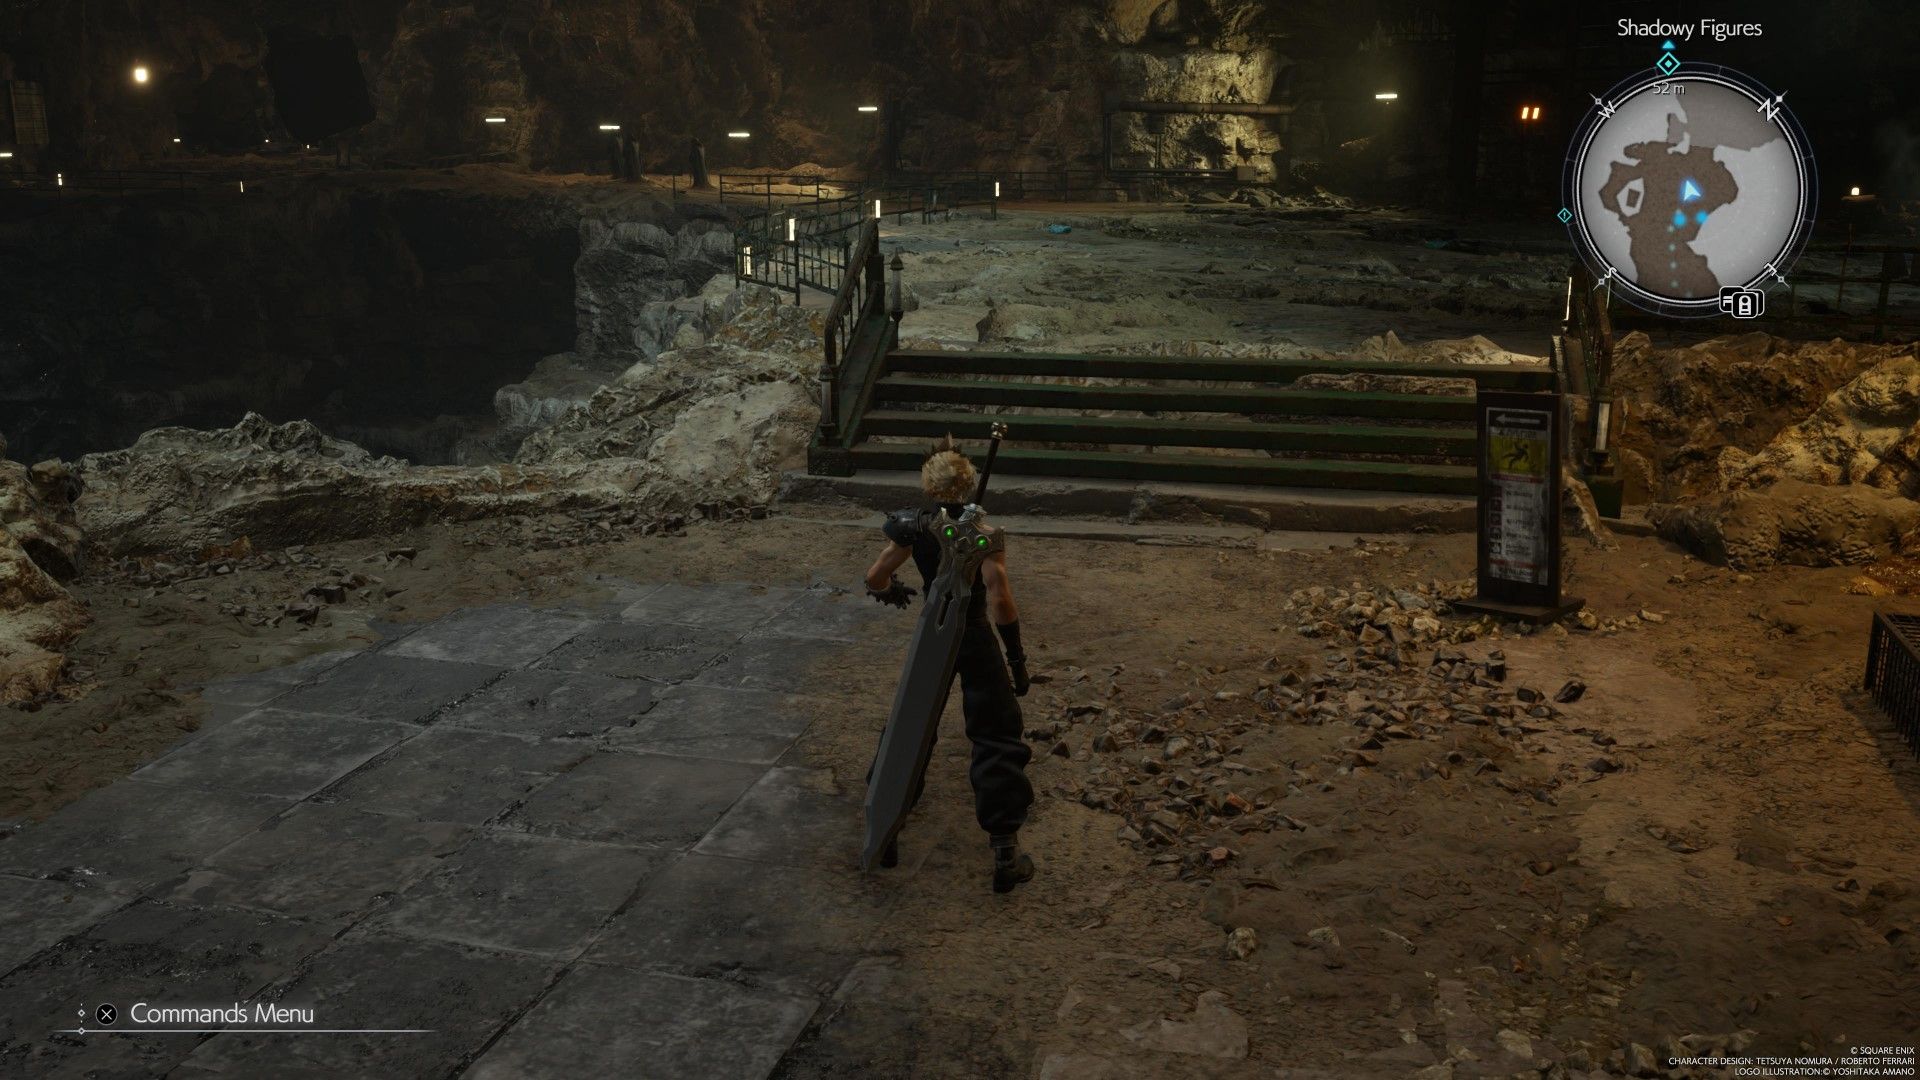
Follow the tunnel until you reach a set of broken stairs and a narrow space that leads to a secluded part of the map. When you reach the other side, look to your left at the bottom of the steps to find blue materia. After that, go down the ladder and take out the two monsters lurking at the bottom. Before going down the nearby ladder, make sure to open the purple chest and claim the sylph gloves.
After going down another ladder, go across the tunnel and loot the chest. Turn around and head west toward the tunnel with the “Workers” sign above it. In this next area, there is an Ogre. While not as tough as Midgardsormr, the Ogre can deal a lot of damage. It is weak to fire damage, so use any magic or abilities that deal fire damage to take it down quickly.
How to Get Past the Broken Ladder and Elevator
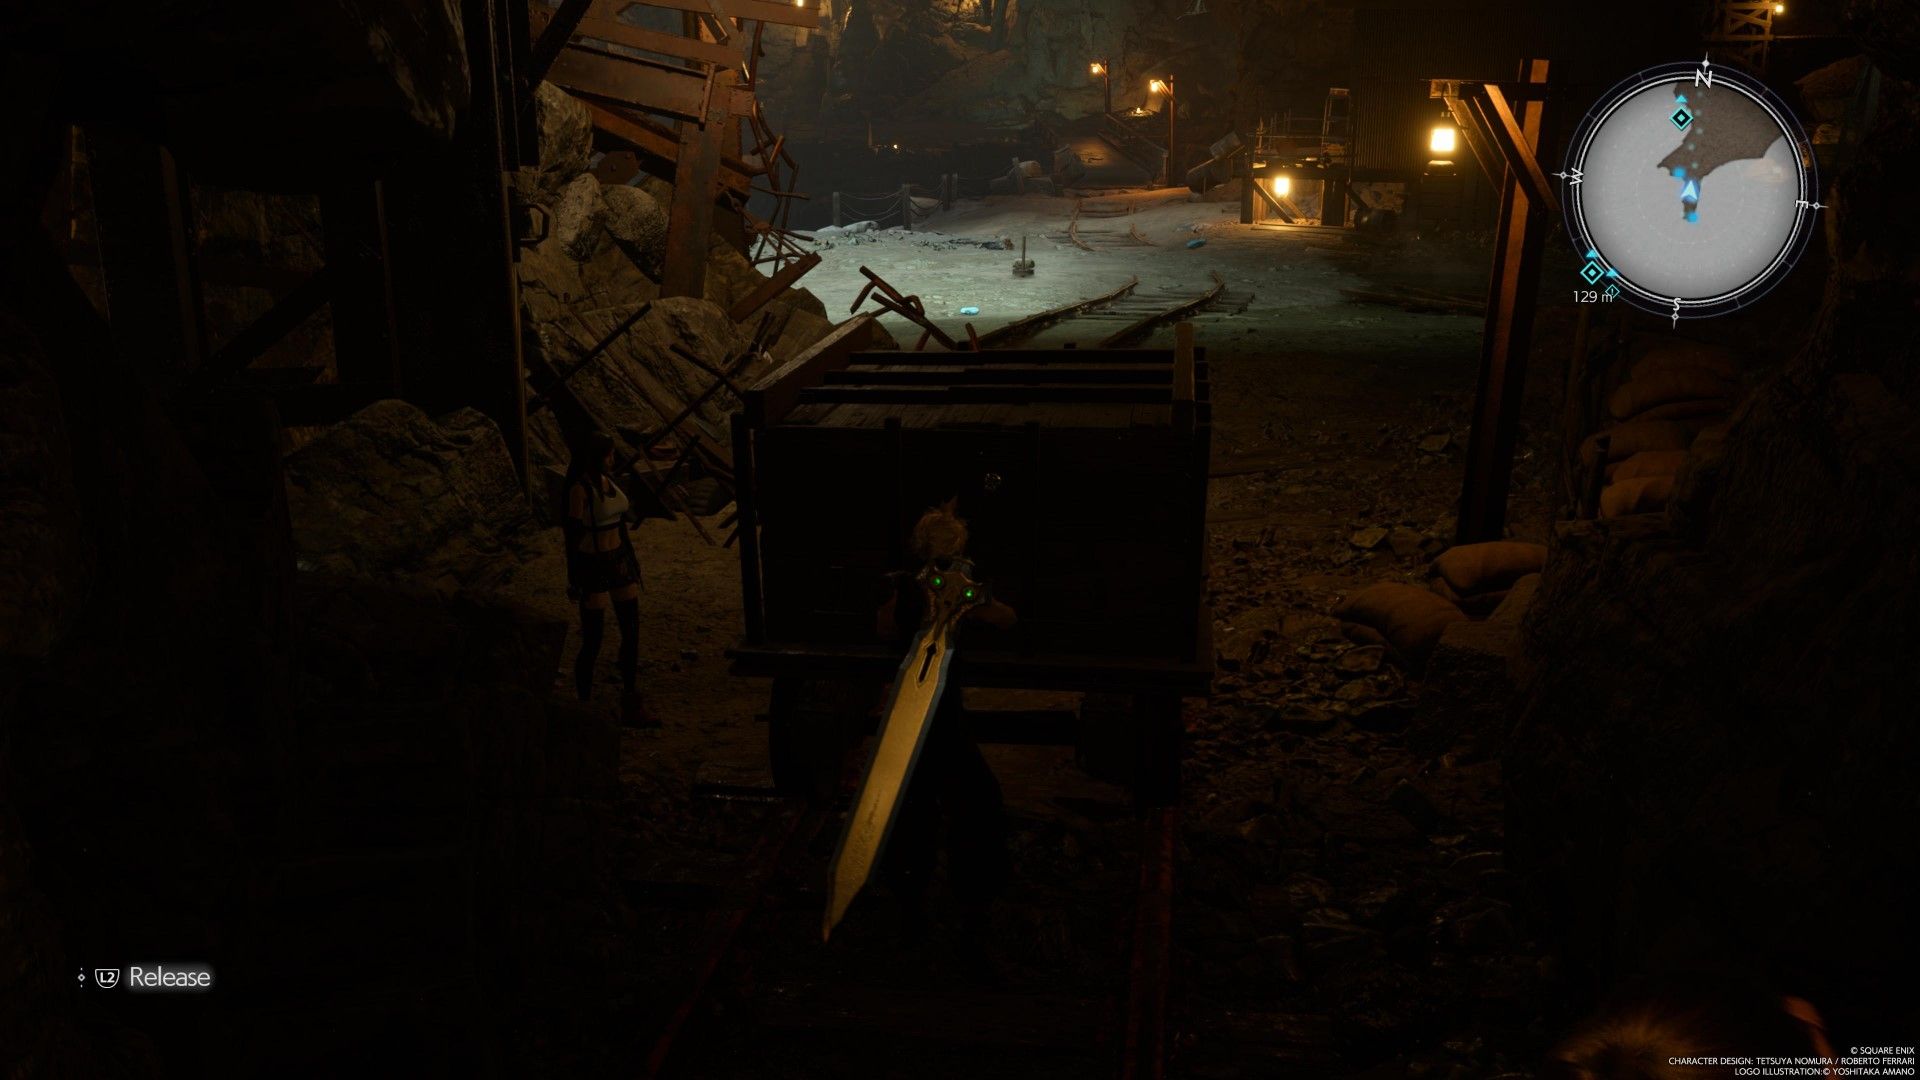
Continue down the tunnel and follow the mine cart tracks. Eventually, you will reach a large mine cart that blocks the path ahead. Hold down L2 and pull it further back into the tunnel. After you have pulled the cart past at least two sets of support beams, there will be enough space to get through. After a brief cutscene, go left across the bridge and deal with the monsters on the other side.
Right where you fought the monsters, there is a ladder and an elevator. Unfortunately, both are broken and cannot be used. Loot the chest next to the elevator and then go left toward what appears to be a dead end. Walk past the left side of the mine cart and then push it along the tracks toward where the broken ladder is. Once you see the blue symbol appear on the top of the mine cart, you can use it to climb up past the broken ladder and onto the platform above.
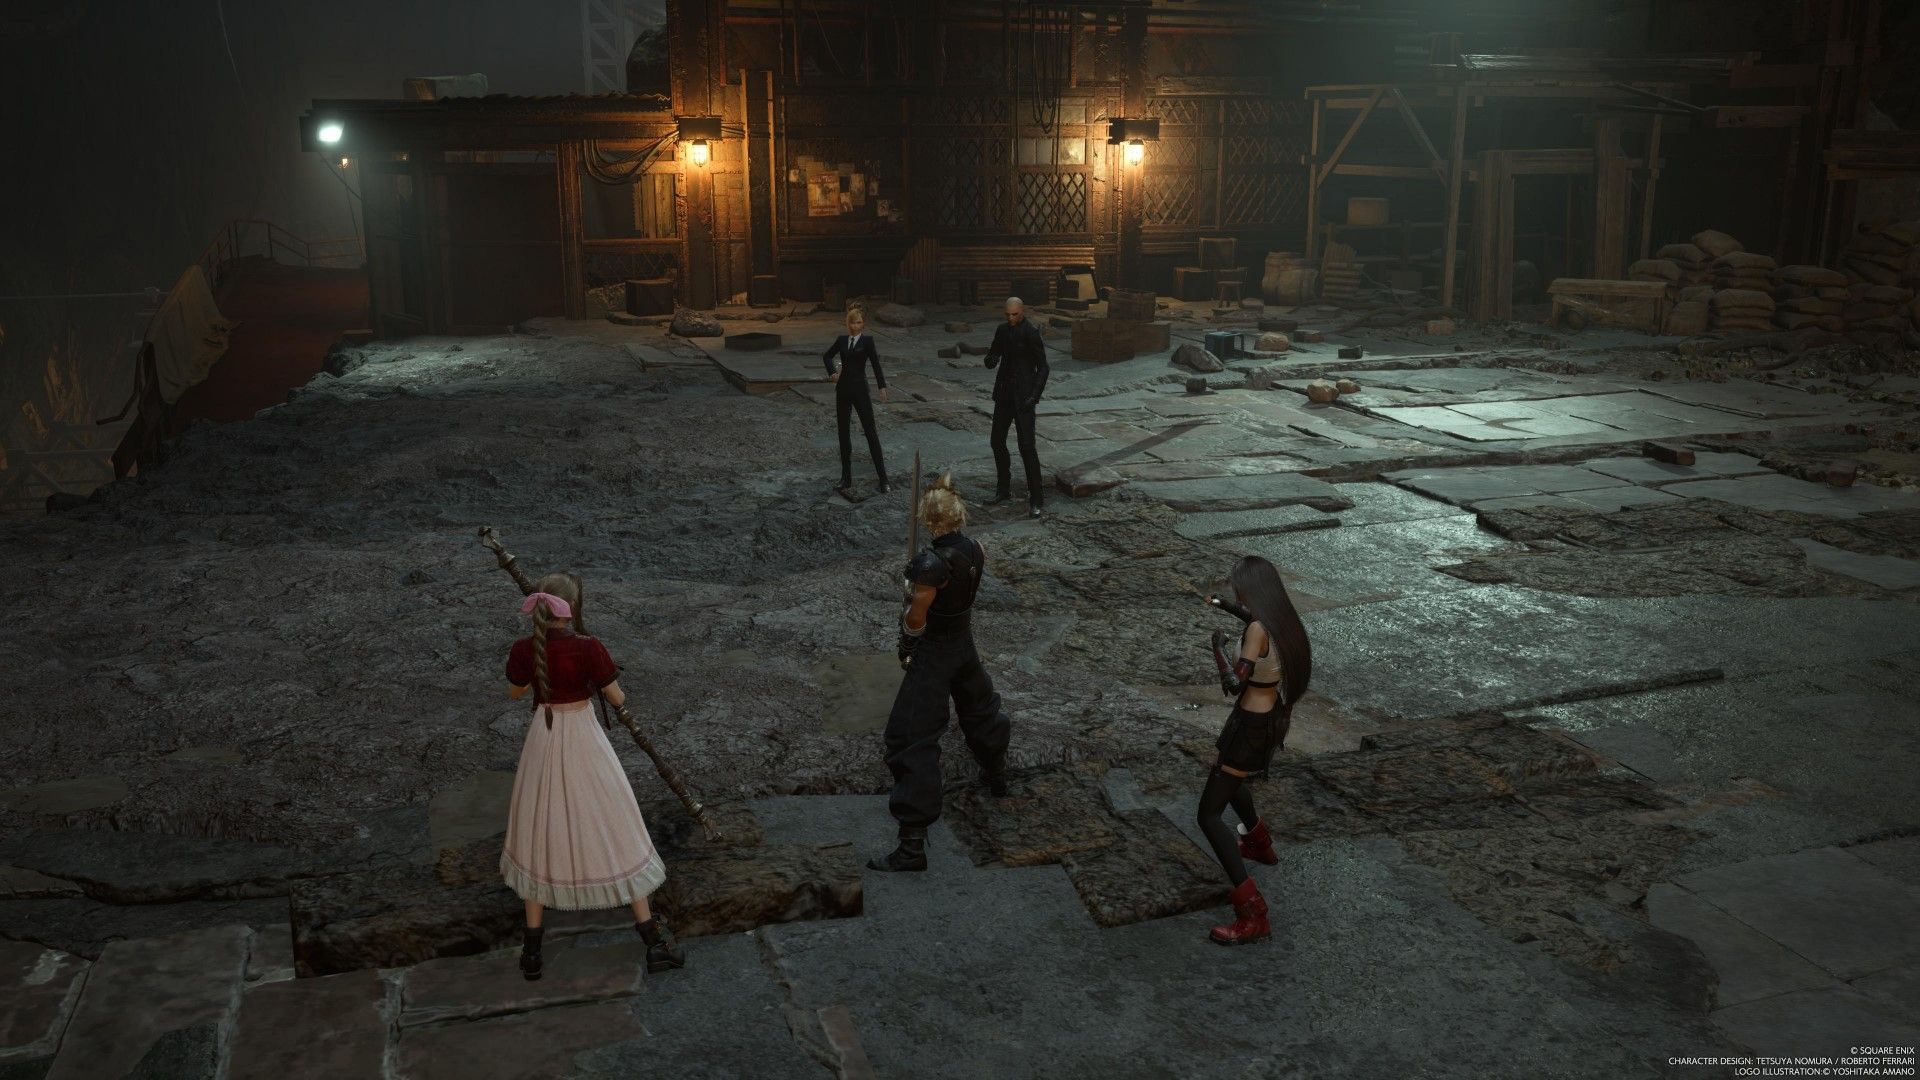
On the other side and up the stairs, you will encounter two Ogres. After you have gotten rid of them, go up the ladder and along the slopped platform. Follow this path, and you will eventually reach a rest station with a couple of vending machines. As you go up the stairs, move to the blue circle to listen in on the conversation. After the cutscene, there will be a boss fight.
How to Beat Rude and Elena
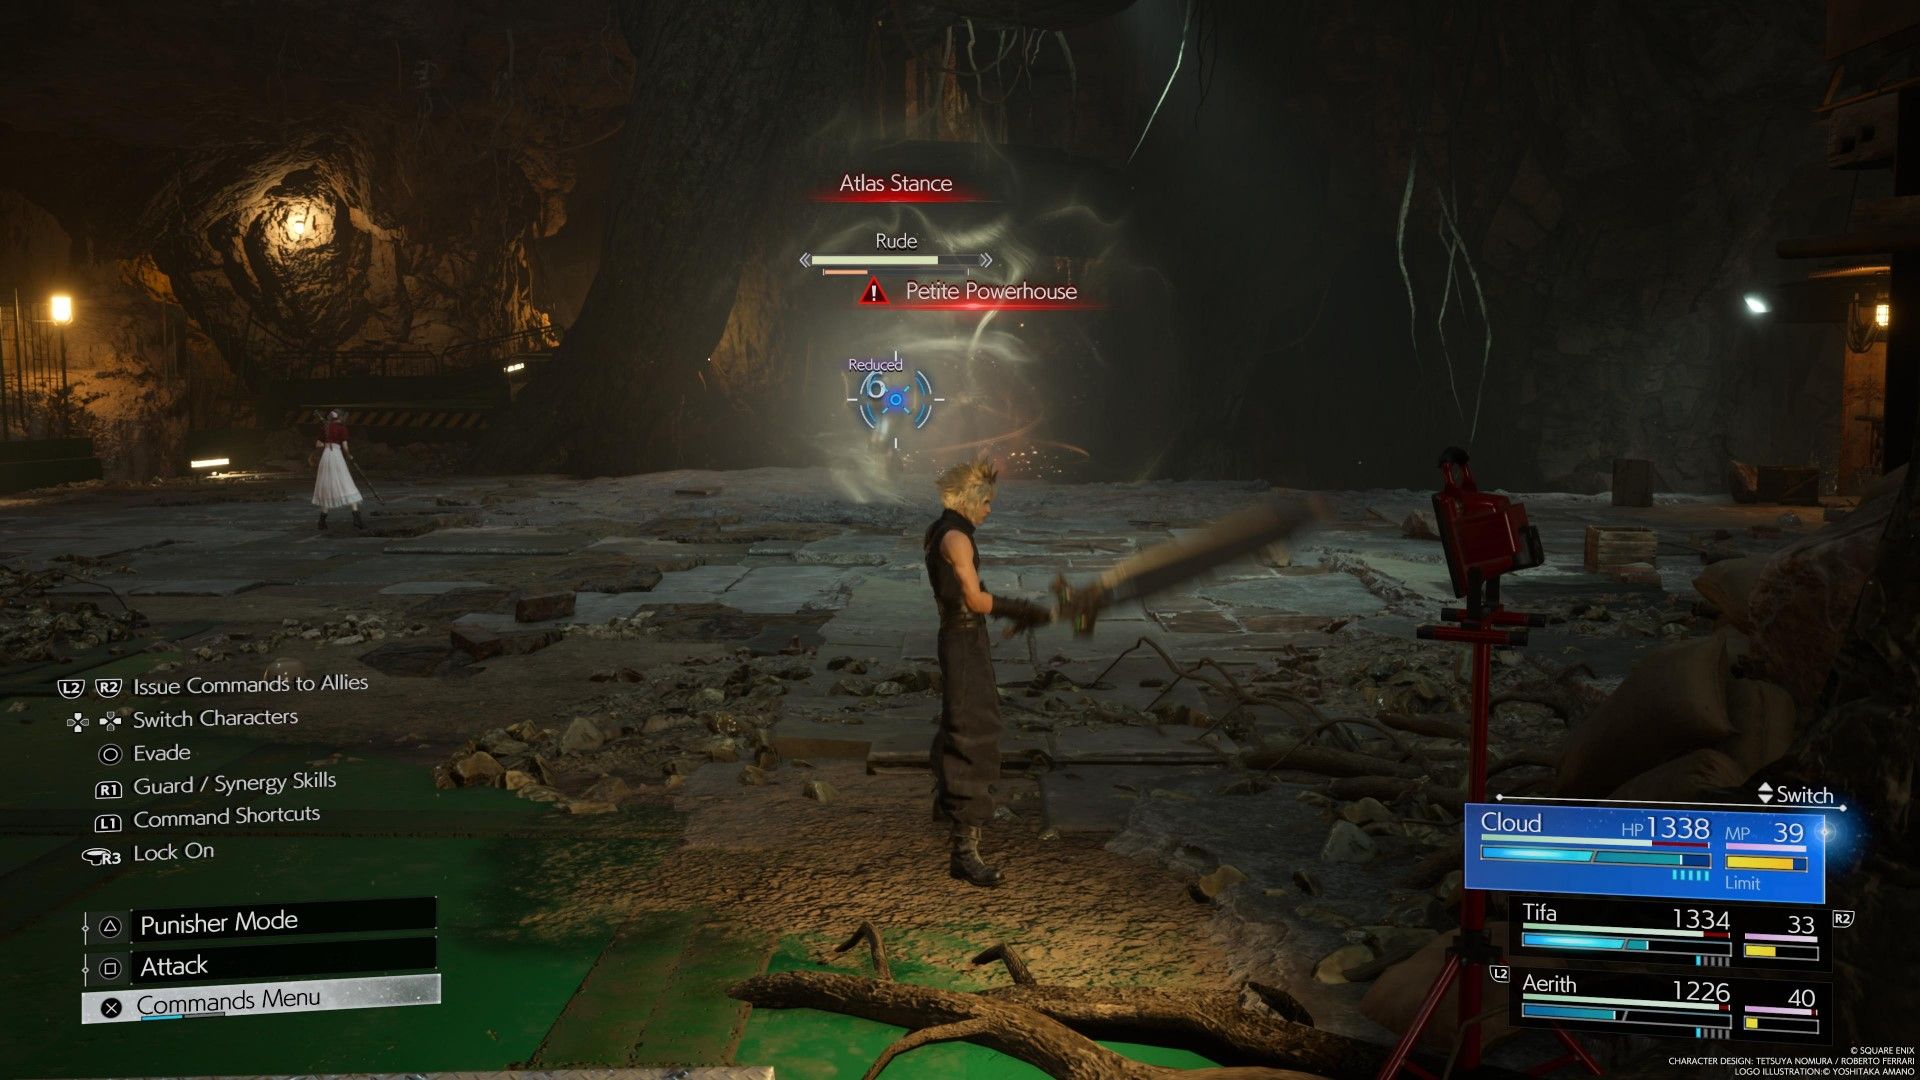
To begin with, Rude will focus on melee attacks while Elena will mix things up with melee attacks and ranged attacks with daggers. She will also occasionally jump into the air and throw stun grenades to the ground, move away from them as they cannot be blocked. Rude will also periodically use Spirit Geyser, which causes clouds of yellow energy to shoot up at random locations. This attack must also be dodged.
Rude is weak to air damage while Elena is weak to lightning. Keep fighting them while doding their attacks until an in-battle cinematic occurs. At this point, Elena and Rude will enter Atlas Stance and use Petite Powerhouse. During this time, Elena cannot be targeted. Once Elena is done charging this ability, she will hit all three party members. Focus on staggering either Rude or Elena as it is difficult to do both at the same time.
Once one of them is staggered, use Limit Breaks or Synergy on them to deal as much damage as possible. The fight becomes much easier once one of them has been defeated.
How to Escape the Depths
After the cutscene ends, you will be in control of Barret as he and Red XIII search for a way to get back up and escape the depths. Move forward to where the vending machine is and open the chest next to it to receive Renegade’s Collar. There is a rest station right next to the vending machines as well.
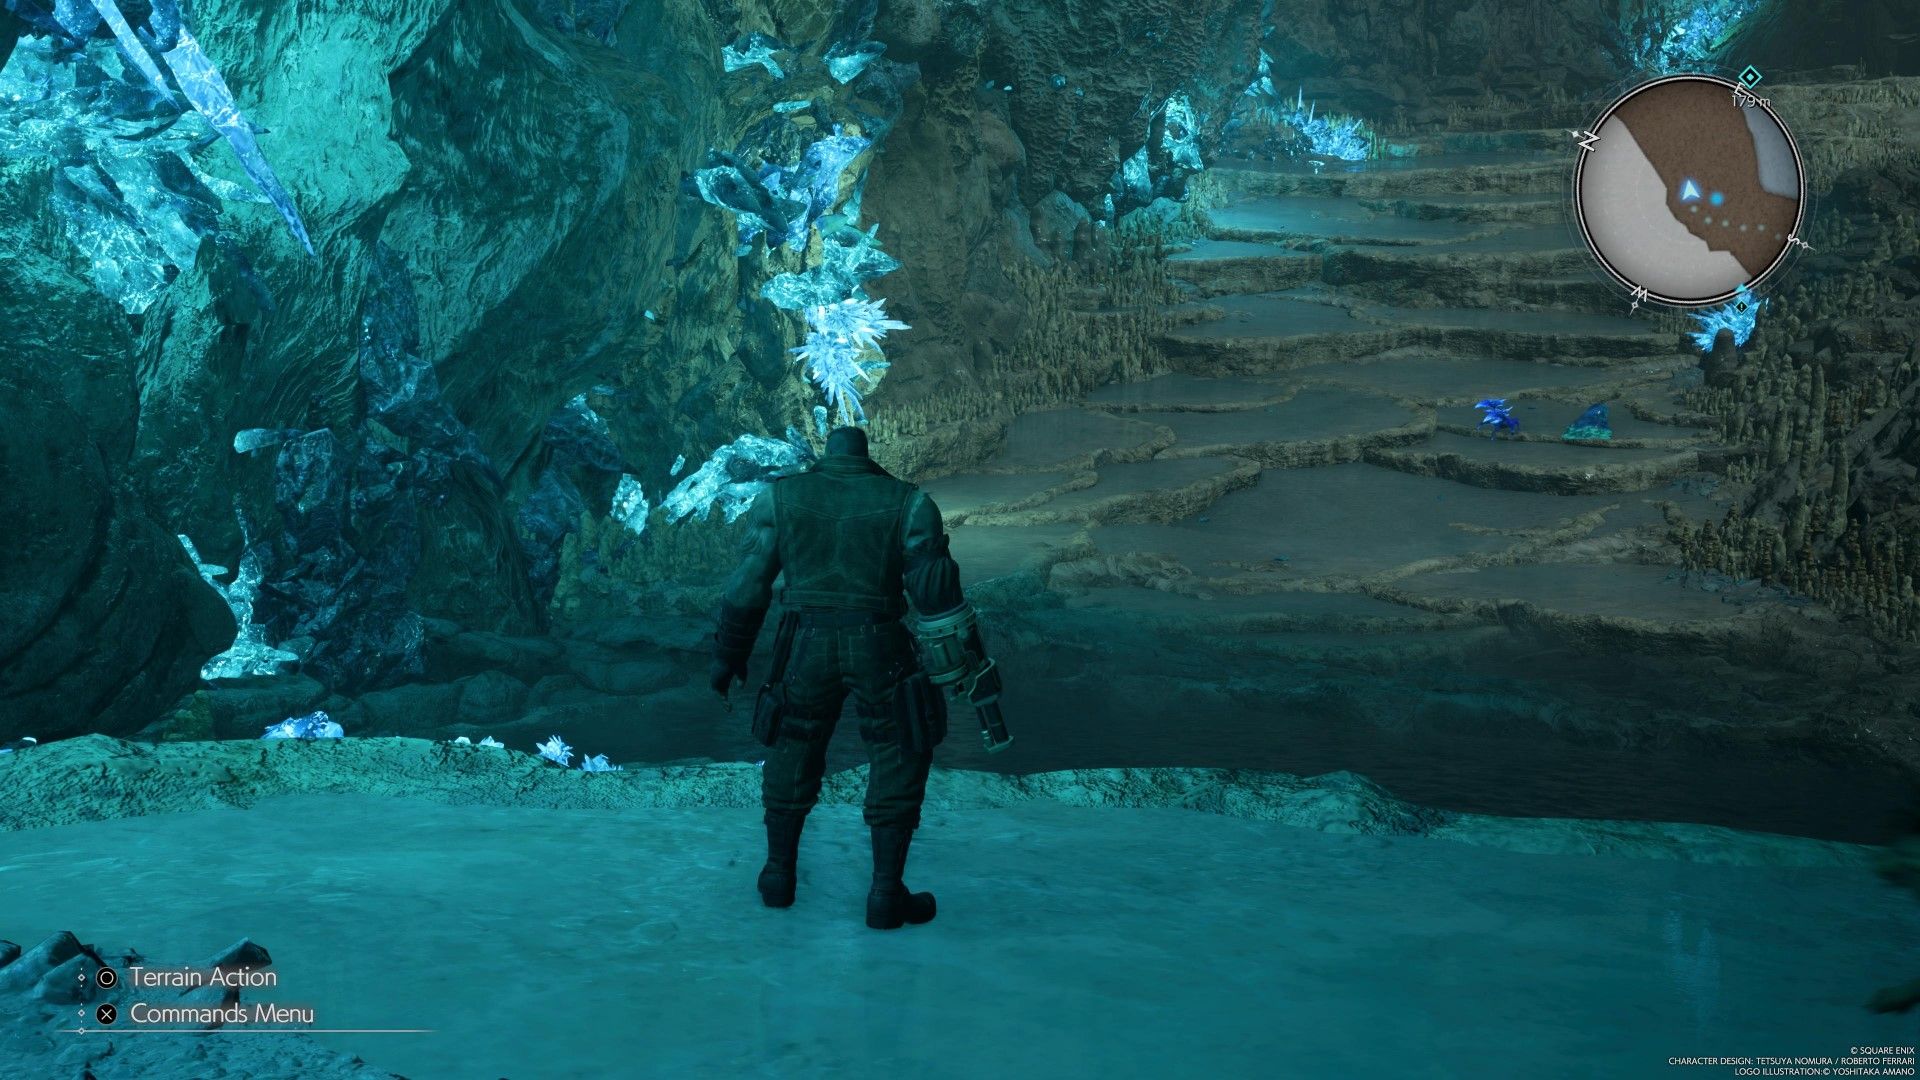
While exploring the depths, you will periodically see a blue circle with an arrow appearing on your screen. The arrow points in the direction of crystals that Barret can destroy with his gun. Follow the path and go northeast. Jump into the water and swim across to the other side. Climb up the ledges and then go east. The blue diamond will point to an area where you can climb up. Once you reach the top, approach the rocks and then use Barret’s gun to destroy them.
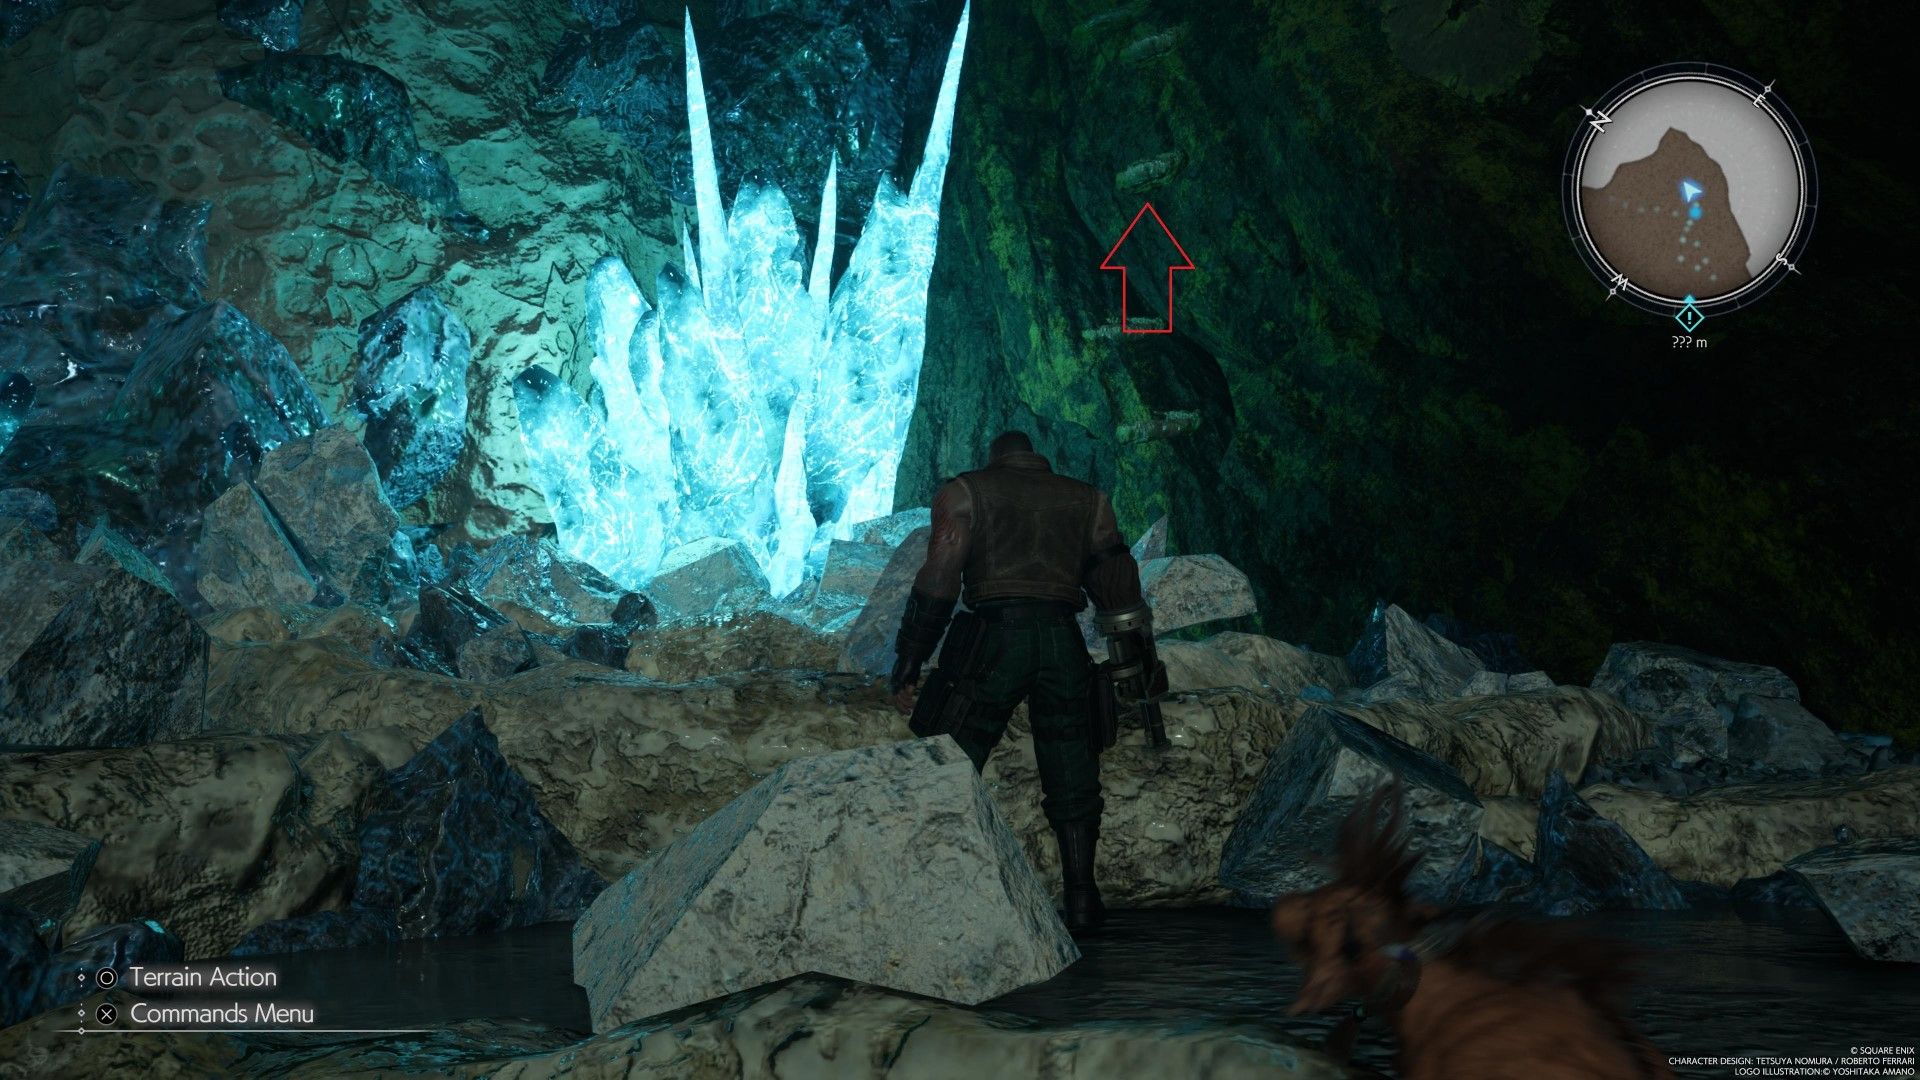
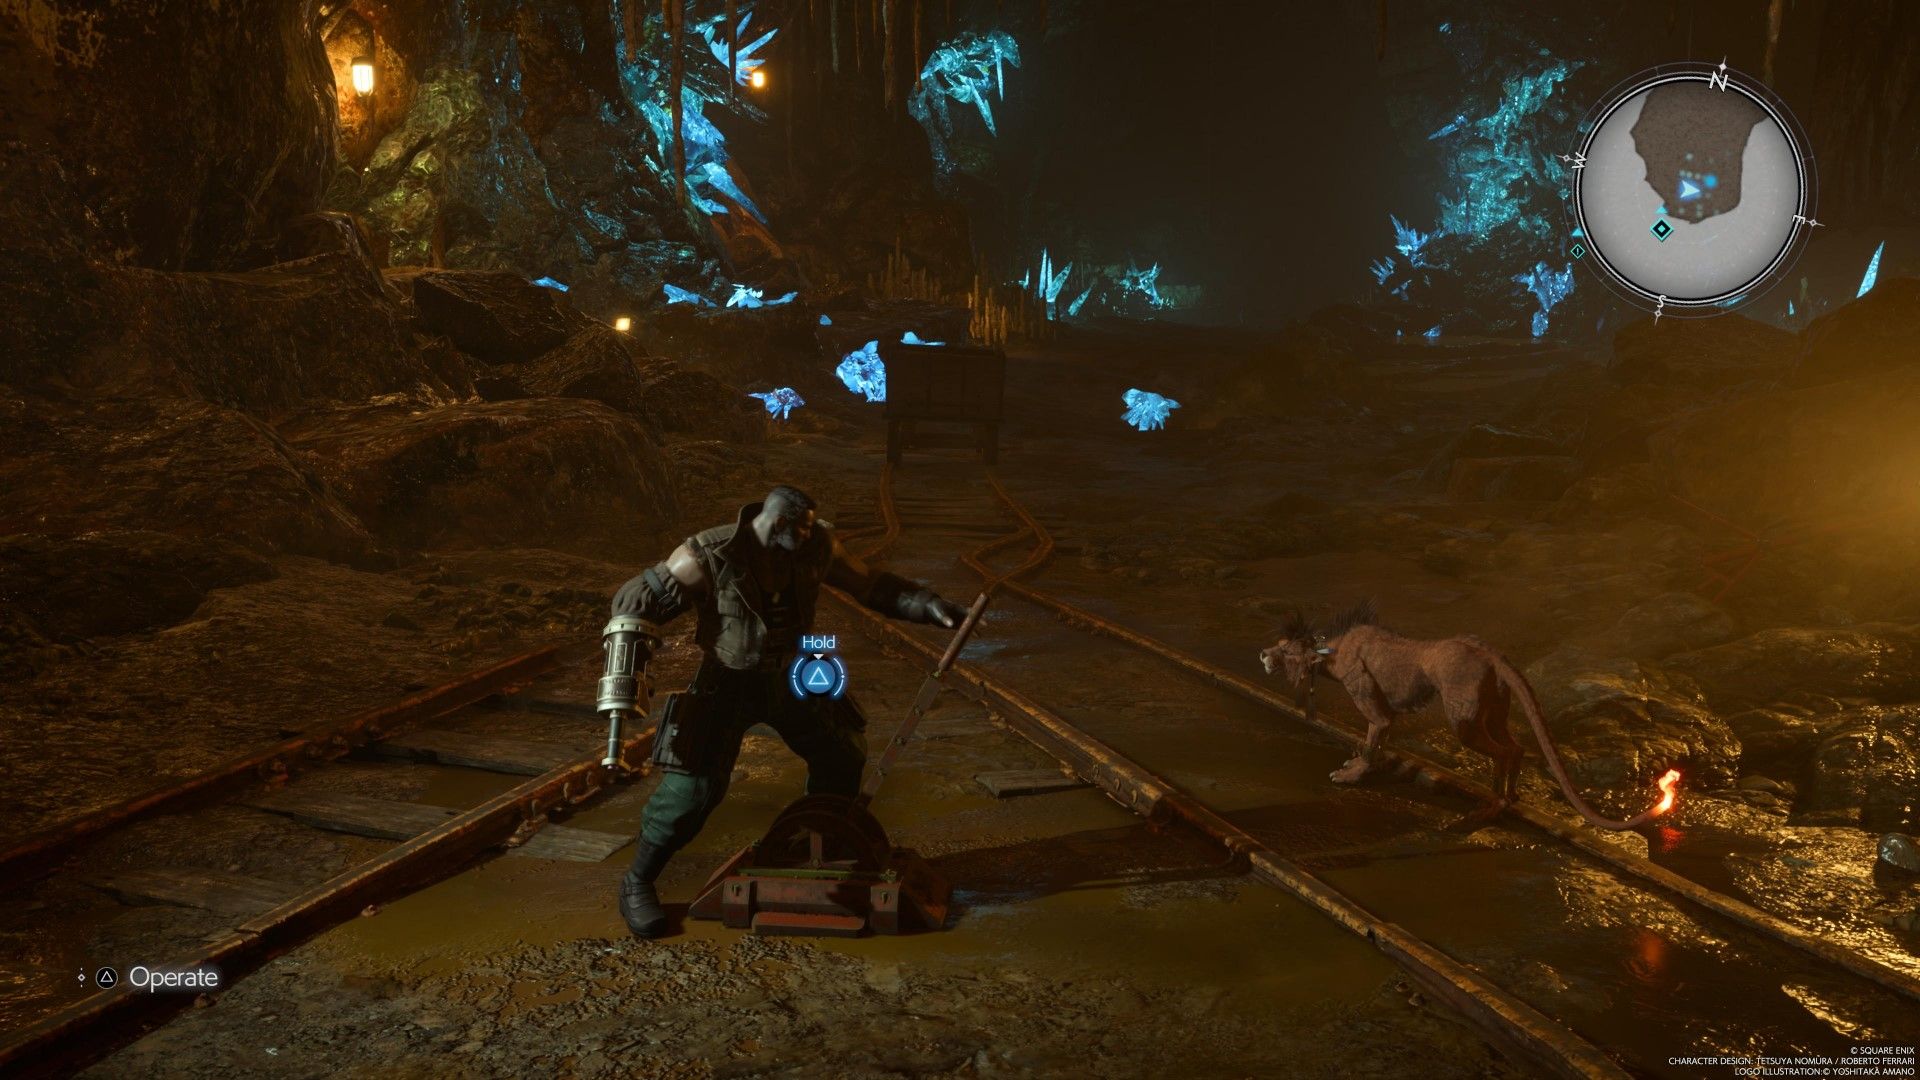
In order to progress, look for another tree that you can climb as depicted in the image above. This will allow you to go further up. Go through this next tunnel while dealing with the enemies in your way. While going through this tunnel, look for a chest on your left that contains Beast Bones. Eventually, you will reach a dead end with a lever next to two mine cart tracks.
This lever will allow you to switch the tracks for the nearby cart so that you can use it to get up to the ledge that is otherwise inaccessible. The lever can also be used to move the mine cart into a position where you can claim a chest that contains a bulletproof vest. Keep going through the narrow tunnels beyond this point and deal with an Ogre that is guarding the area. The rock blocking the way forward can be destroyed with Barret’s gun.
Approach the cliff side to trigger a cutscene. Once it is done, turn left and use Barret’s gun to dislodge both ladders that are stuck. Go up the ladder and enter the small side room with the mine cart. Use the lever to open the gate and then push the mine cart out. Destroy the rock blocking the way and continue pushing the mine cart. Off to the right on a balcony is a chest containing a hi-ether.
Keep pushing the mine cart until you come across a spot with another lever. Push the cart all the way to the end of the track and then pull the lever to change the track. Push the cart until a cutscene is triggered, and the bridge rises up for Cloud and the others. Go back into the room where the mine cart was. Aerith will pull the lever and the gate blocking your path forward will open. Make sure to grab the lightning materia on your way out. As you enter a wide, open area, you can probably guess what is about to happen next.
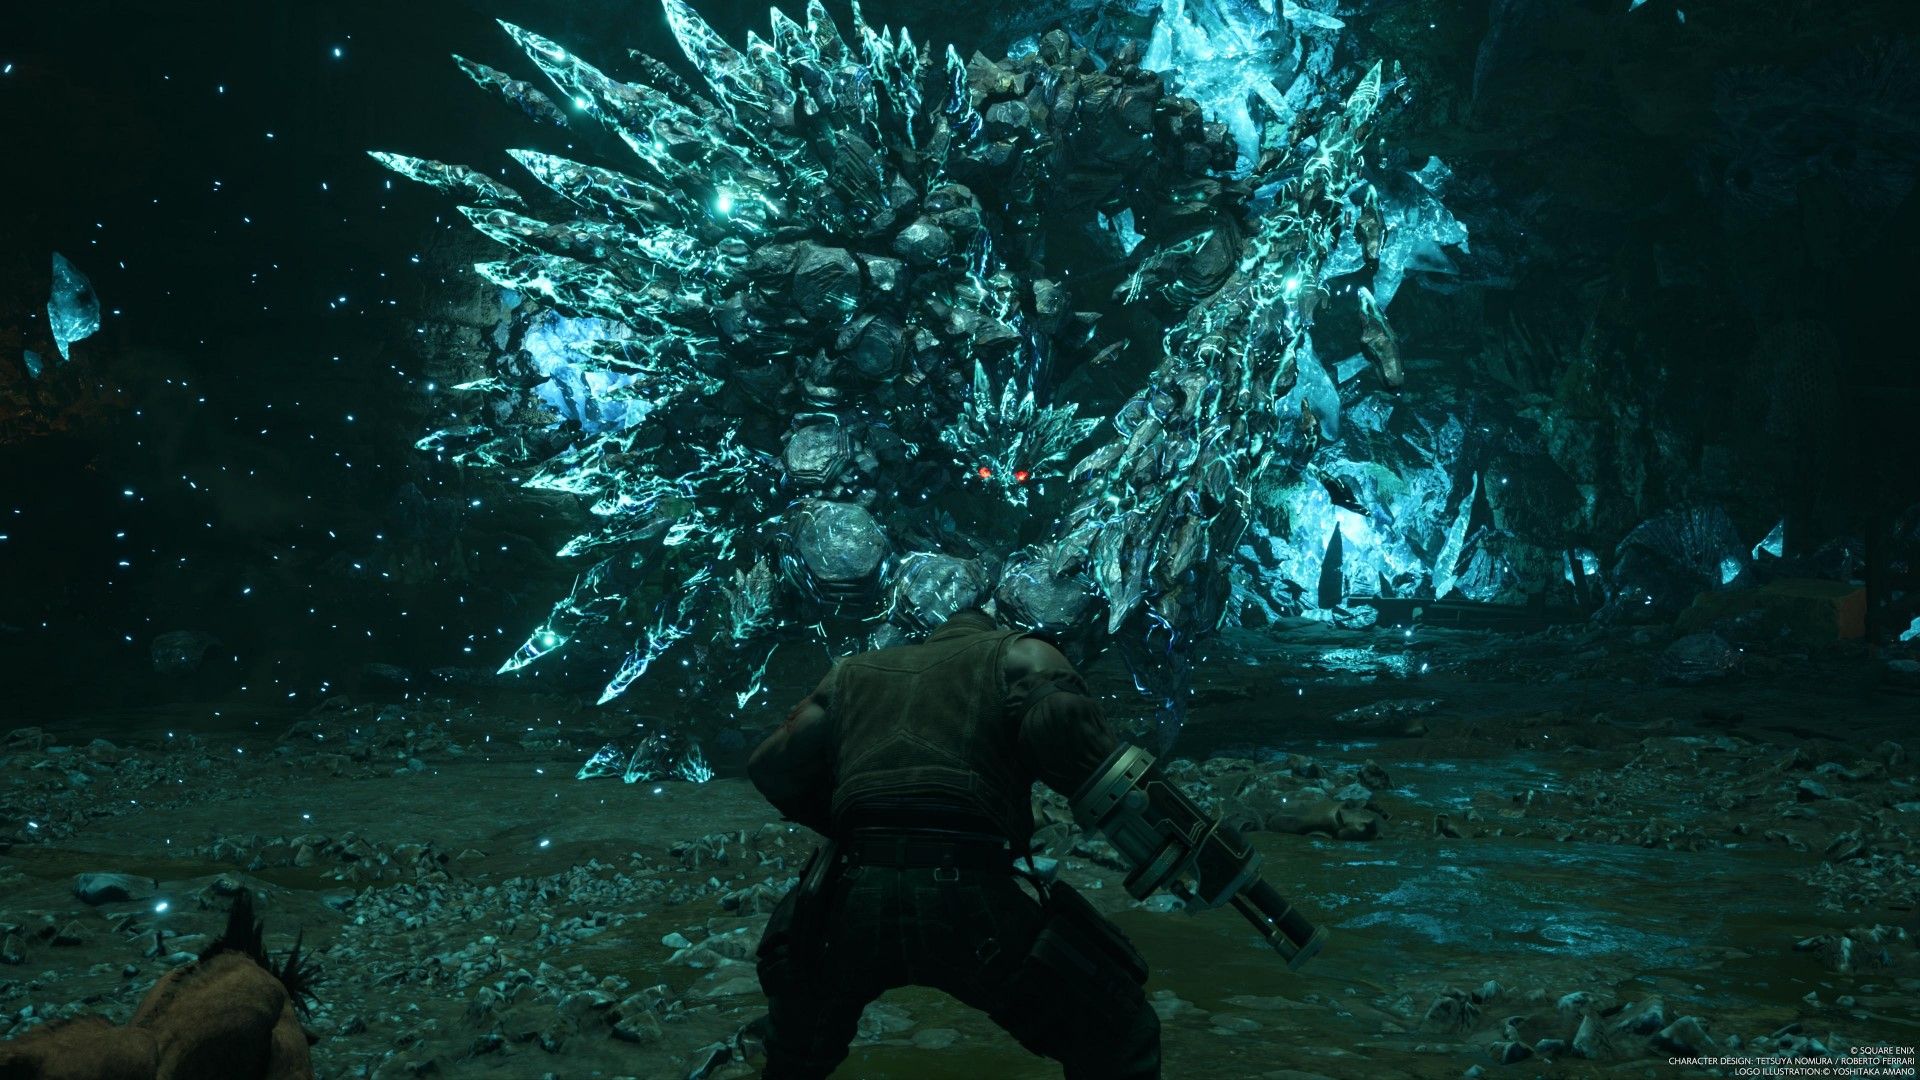
How to Beat Mythril Golem
At the start of the fight, you will only be able to attack the head of the Mythril Golem. Attack it until it runs out of health, and then you’ll be able to focus on the Mythril Golem itself. Move out of the way when it swipes at you with its arm. The boss will be much easier to stagger once its head has been destroyed. Unleash as much damage as you possible can while it is staggered.
When Mythril Golem recovers from being staggered, its head will regenerate. Move away from the boss when it uses Myhtril Hammer. Keep an eye for any glowing rocks that drop down on the ground, as they explode a few seconds later. As the fight progresses, Mythril Golem will have new parts that can be targeted: the spine and the right arm. Destroying these parts will disable some of Mythril Golem’s abilites.
Once the other body parts have been destroyed, focus on the head again and destroy it to stagger Mythril Golem. Save some of your most powerful abilities like Limit Breaks for when it is staggered so that you can do as much damage as possible while the boss can’t fight back. Repeat the process of destroying its head, staggering it, and then dealing damage until the boss dies.
Catch Up With the Others
As you go across the newly formed bridge, you will find yourself in the area where Aerith opened the gate. Go past the lever and loot the nearby chest to obtain mythril ore. Walk along the narrow platform and approach the rest of your party. This triggers another cutscene, and you will have full control over the entire party again. Continue going through the tunnel directly ahead of you and deal with the ogres.
As you go further up the tunnel, it will become much brighter as daylight pours into the mines from the exit. Once you go outside and approach the black robed figures, you will begin the fourth chapter of Final Fantasy 7 Rebirth.
Final Fantasy 7 Rebirth
- Platform(s)
- PlayStation 5
- Released
- February 29, 2024
