The Steam Deck is a portable PC and a gaming device with access to one of the most vast gaming libraries available. Gamers can use it like a handheld gaming device, play it on the TV, switch to Desktop Mode, and use it like a fully functional PC to play games specifically designed for the PC, like RTS and point-and-click titles.
How To Remote Play PS5 Games On The Steam Deck
Here’s how Steam Deck users can play PS5 games remotely.
With the right tools, Steam Deck users can transform it into one of the best available emulation devices and expand their gaming library with their SNES collection. Decades later, the Super Nintendo still has one of the best all-time gaming libraries with titles like Chrono Trigger and Final Fantasy 6. This guide will show players how to install and run SNES games on the Steam Deck.
Before Installing SNES Emulators On The Steam Deck
Before installing emulators and trying to run SNES games on the Steam Deck, users must acquire the following items:
- A High-speed A2 microSD card. The microSD functions as a second hard drive. It is capable of running modern games and better for emulated titles.
- Legally obtained SNES ROM files.
- A keyboard and mouse are optional – but recommended – to install and transfer files on the Steam Deck in Desktop Mode.
Installing The SNES Emulator On Steam Deck
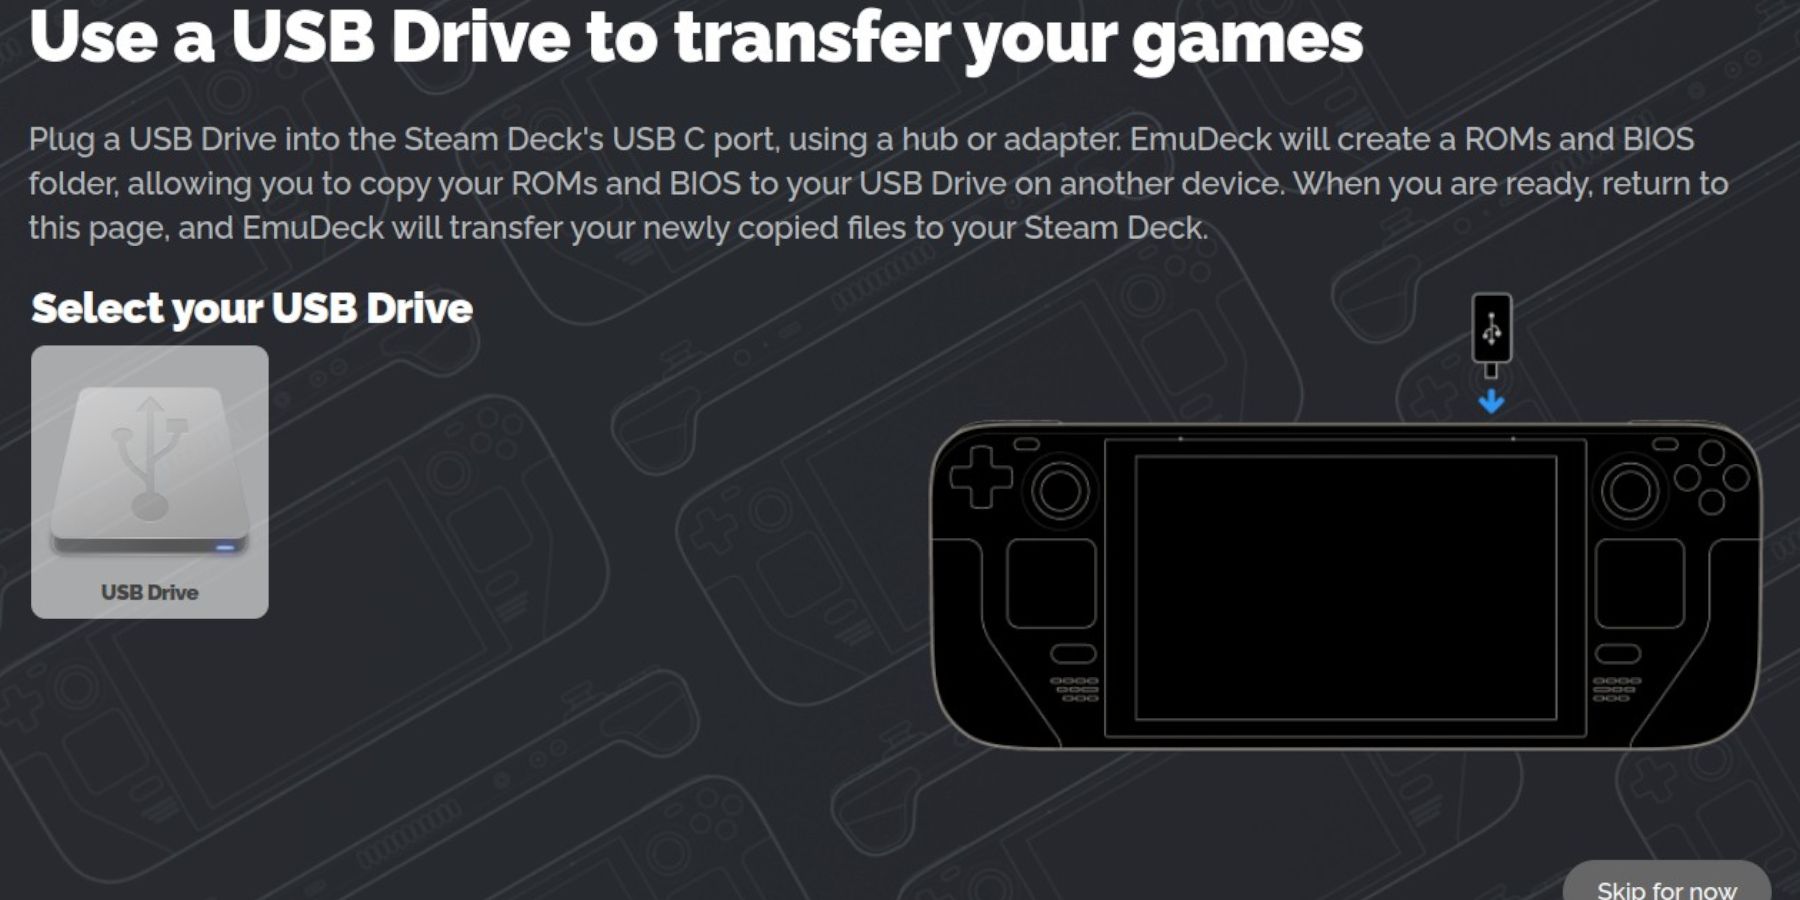
To run SNES games and other emulators on the Steam Deck, users will need RetroArch running on the Emudeck program. Emudeck does all the hard work and places SNES ROMS into the SteamOS library to make them accessible from the home screen and run with the best available programs. Use the following steps to install EmuDeck on the Steam Deck:
- Switch the device to Desktop Mode.
- Open a browser like Firefox and download the EmuDeck installer.
- Click Download and install the SteamOS version of EmuDeck.
- Run the installation and select Custom.
- Select the microSD card image to install EmuDeck.
- EmuDeck will display all available emulators.
- Steam Deck users should install them all. They don’t take up a lot of space, and players can utilize all available emulators for different systems like the Sega Megadrive/Genesis, Master System, and more.
- Ensure that the Steam ROM Manager is installed.
- Skip the pages until the screen lands on the Configure CRT Shader for Classic 3D Games.
- Switch this feature on.
- Skip the next few steps and select Finish.
Transferring ROMS on the Steam Deck
Assuming the Steam Deck users have their SNES ROMS downloaded and ready, they must transfer them into the correct folders so Retroarch and Emudeck can identify them. Use the following steps to transfer ROMS:
- Ensure the Steam Deck is in Desktop Mode.
- Open the Dolphin File Manager – the blue folder icon on the bottom taskbar.
- In the left bar underneath Removable Devices, select Primary.
- In the Primary folder, click on Emulation.
- In the Emulation folder, select ROMS.
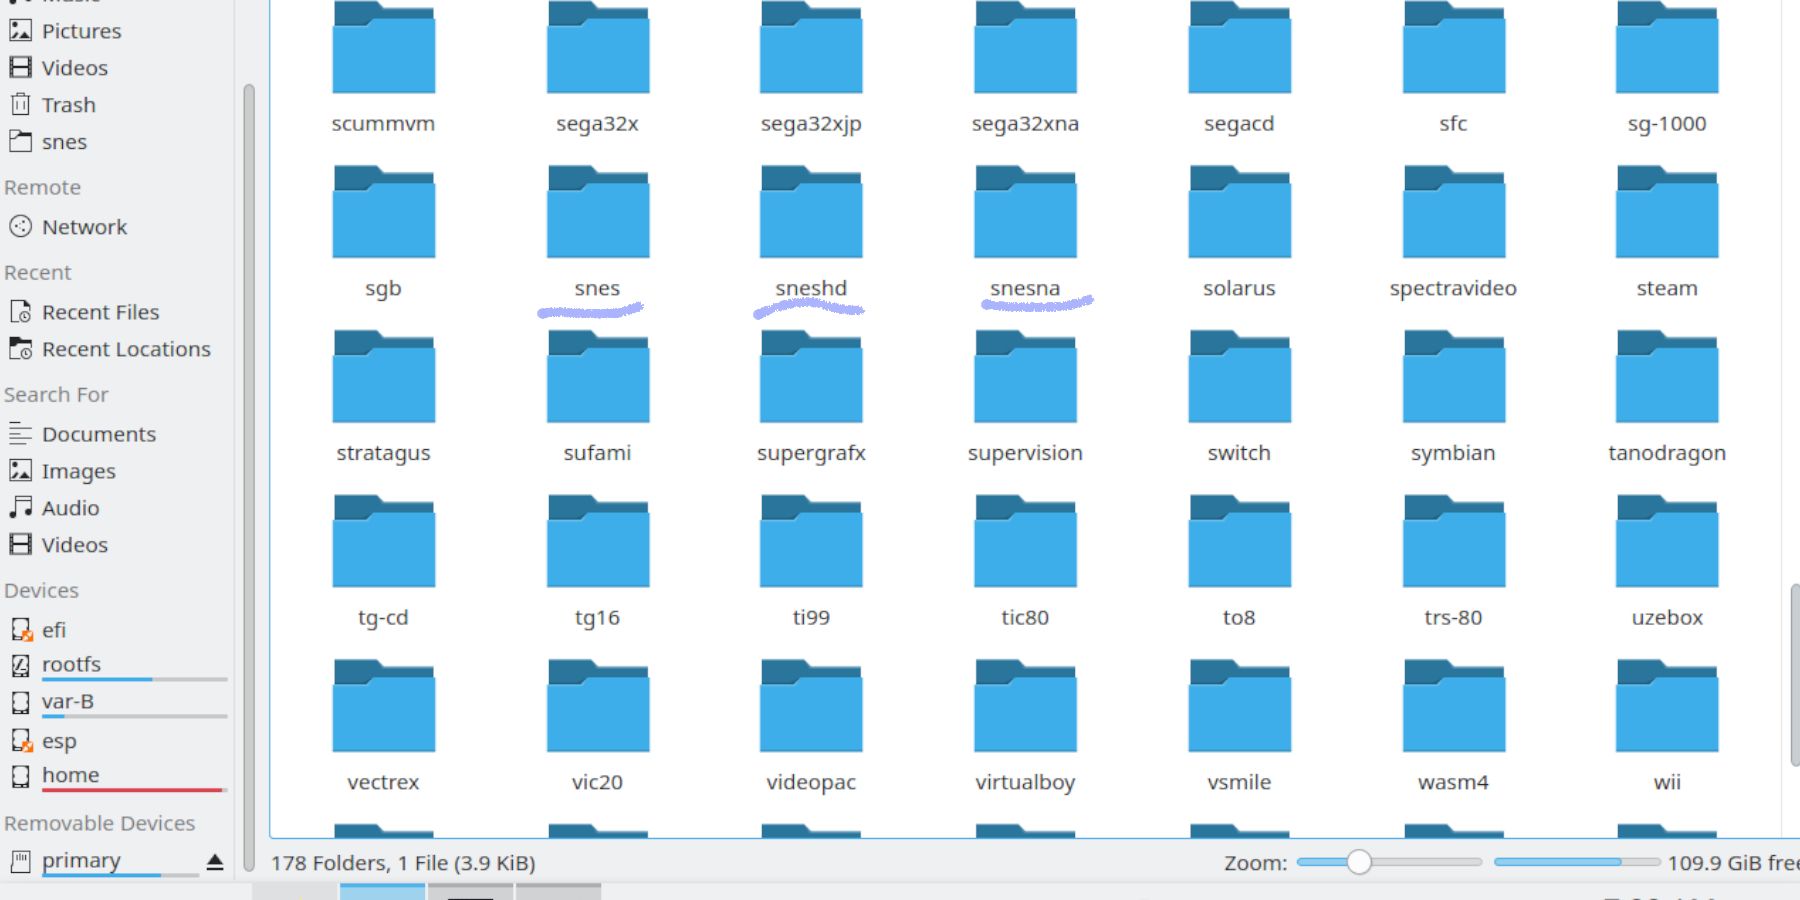
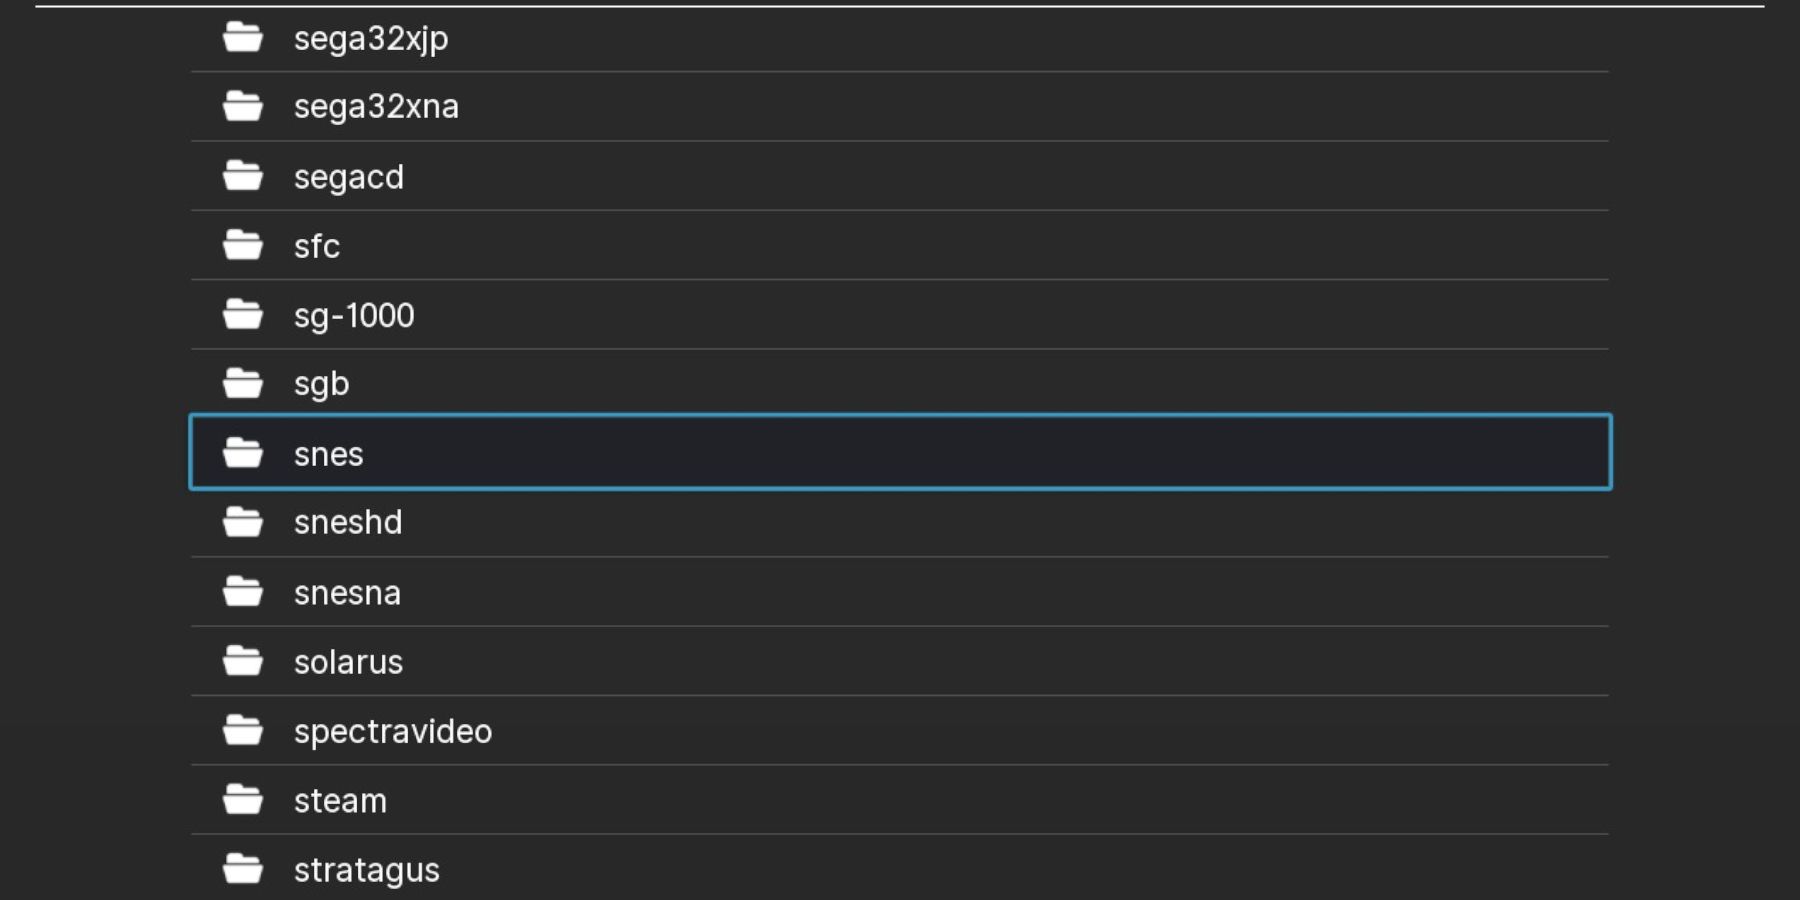
- Locate the SNES folders, then copy the SNES ROMS into one of the folders. SNES HD will try and create a widescreen effect for the SNES games. However, the effect can make some games look worse.
Adding the Games to SteamOS
With EmuDeck, Steam Deck users can add the games to their main library and collections. Use the following steps:
- Ensure the Steam Deck is Desktop Mode.
- Click on the Steam Icon in the bottom left of the taskbar.
- Select All Applications.
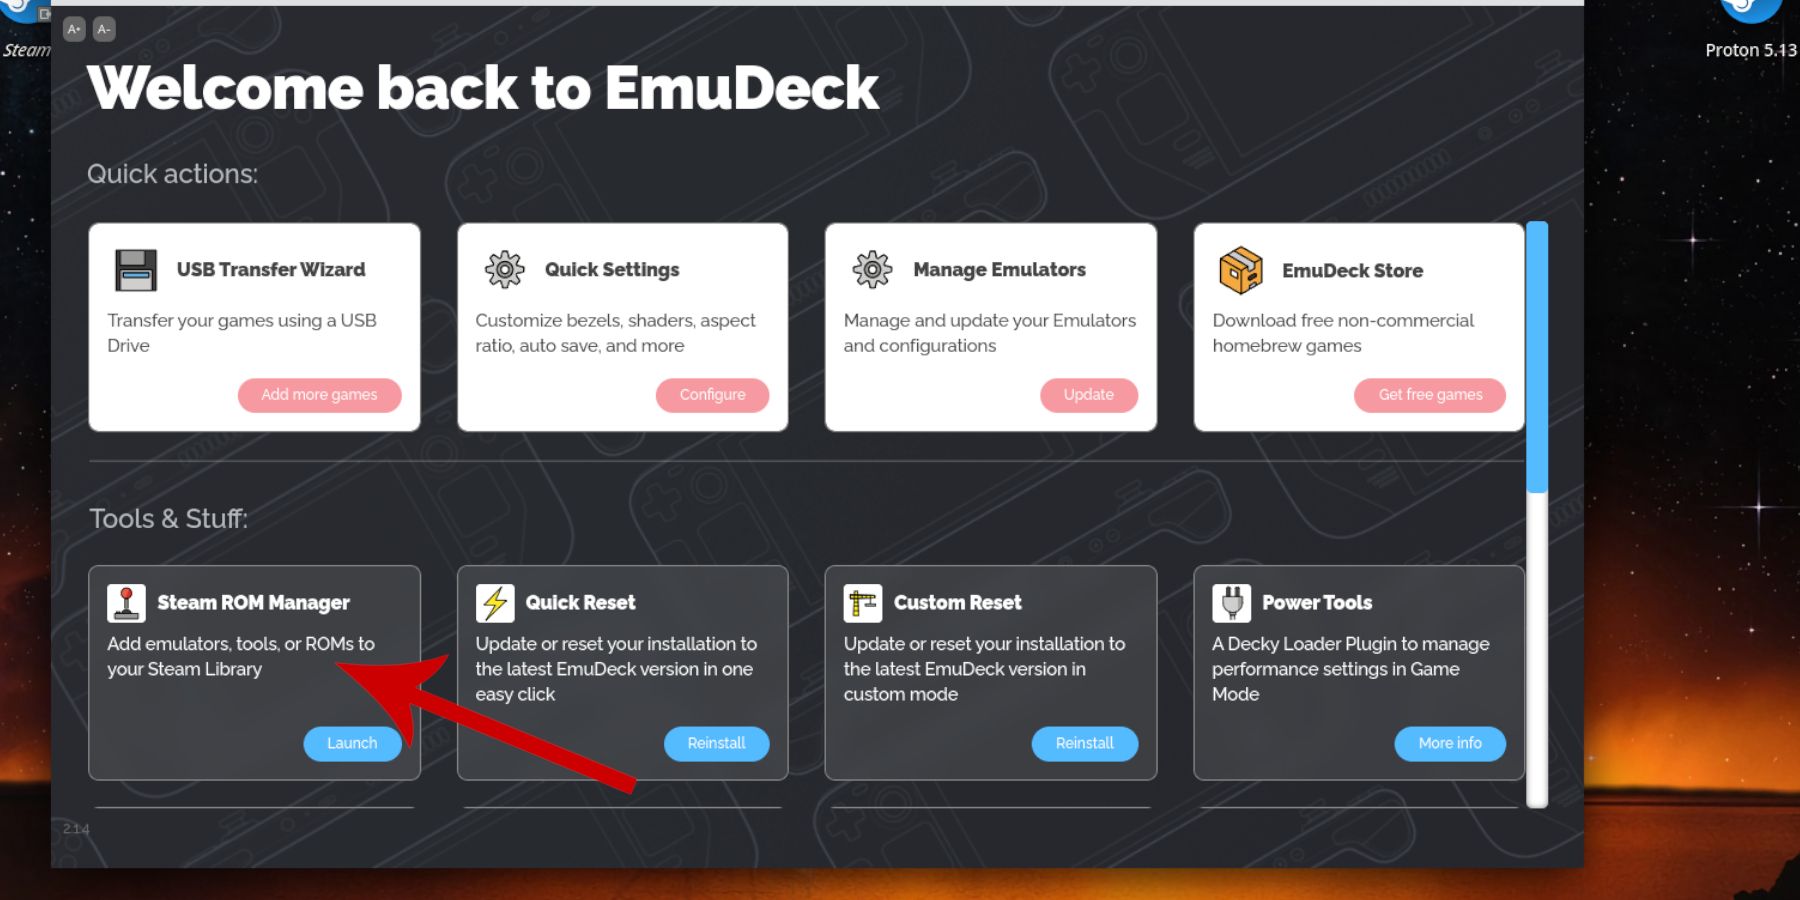
- Locate EmuDeck and launch the application.
- Open the Steam Rom Manager block.
- Switch on Toggle Parsers and click Preview.
- Then click on Parse.
- This will load the SNES games and their artwork into the SteamOS.
- When the app has finished loading the files, select Save to Steam.
- Close the EmuDeck app and click Return to Gaming Mode on the desktop screen.
Steam Deck: How To Install Decky Loader
Decky Loader can unlock the potential of the Steam Deck. Here’s how to install it.
Playing SNES Games On The Steam Deck
The SNES games will be added to the library, accessed by pressing the Steam button. EmuDeck should add a new tab called Collections. Most games will work without issue, but some games can perform like they are in slow motion. Use the following steps to fix this:
- Launch the SNES game from the SteamOS library.
- Press the Quick Access Menu – the button with three dots underneath the right trackpad on the Steam Deck.
- Highlight and select the battery icon for the Performance side menu.
- Switch on Use per-game profile.
- Slide the Frame Limit up to 60FPS.
- The screen will blank for a second, and the game will play at the desired speed.
Using RetroArch
Even though most SNES games should run without issue from the Steam Deck’s library, some users may encounter freezing issues. Sometimes, launching the games from the RetroArch emulator is the best way to run the game. Use the following steps:
- Under the Collections tab in the library, click on the Emulation.
- Select the RetroArch app.
- Under Main Menu, select Load Content.
- Scroll down the list and open the SNES folder.
- Select the game to launch it inside RetroArch.
- Steam Deck users can utilize the History feature to access recently played games, add favorites, and more.
That’s everything needed to run SNES games on the Steam Deck using two methods under the clever EmuDeck application.
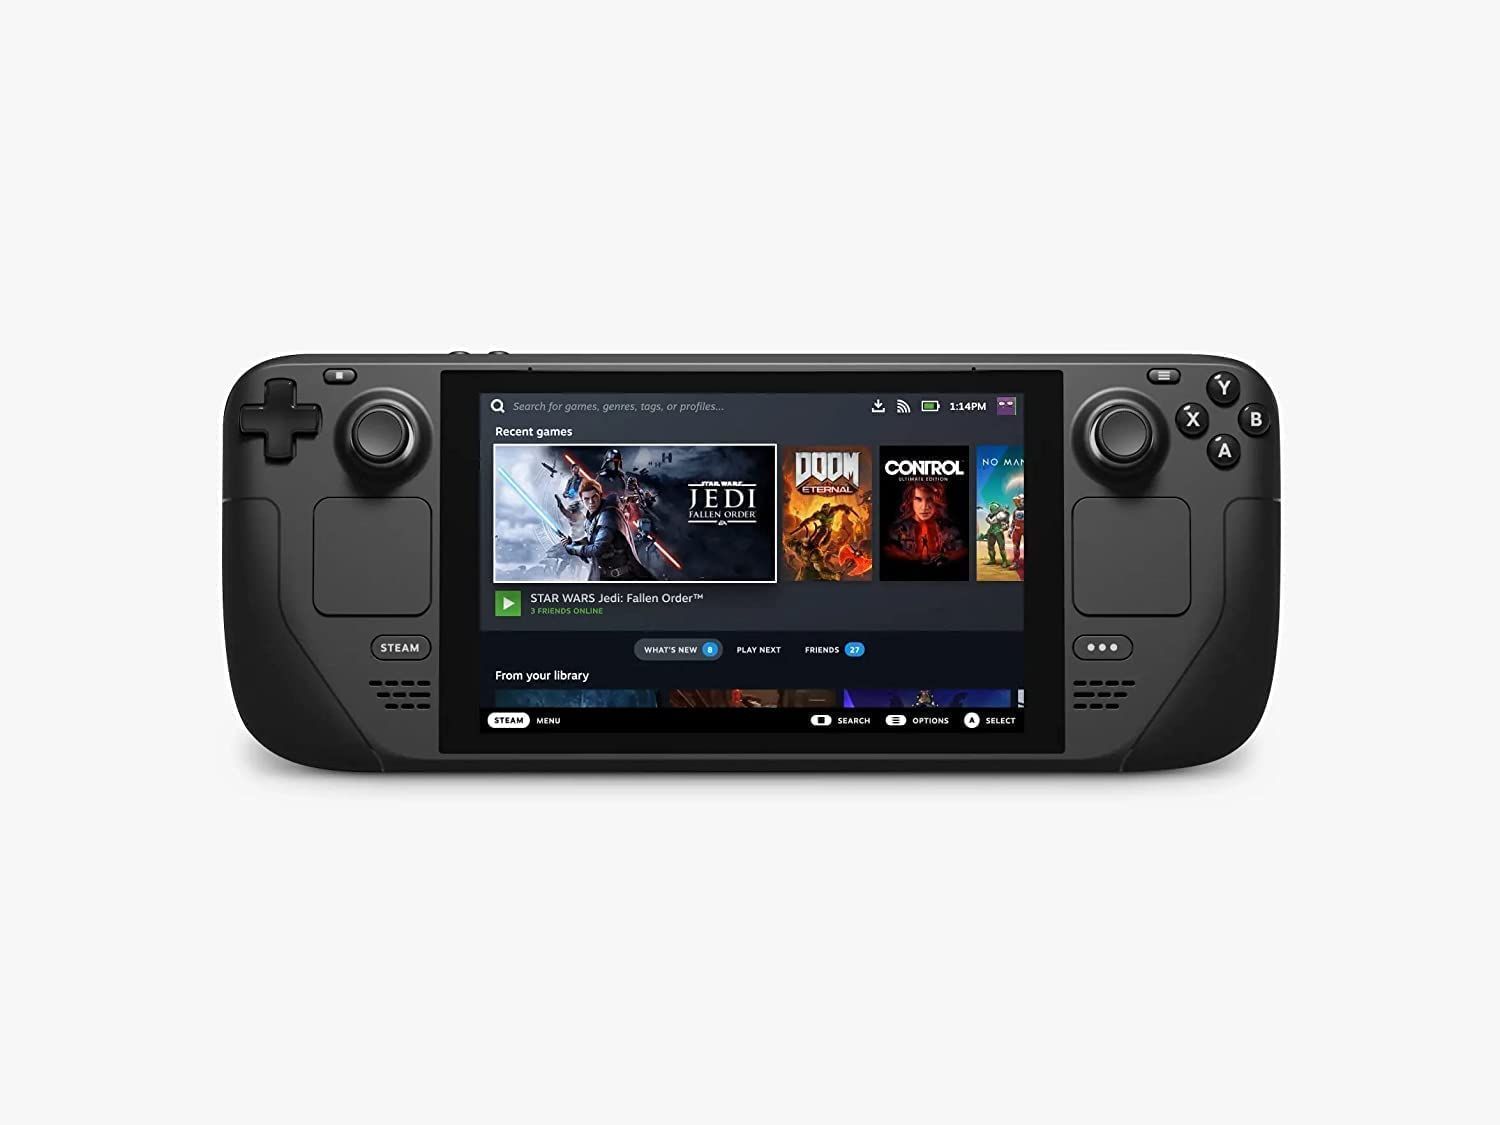
Steam Deck
- Screen
- 7″ diagonal 1280 x 800px (16:10 aspect ratio) 60Hz
- CPU
- AMD APU Zen 2 4c/8t, 2.4-3.5GHz
- Battery
- 40Whr battery. 2 – 8 hours of gameplay
- Connectivity
- Bluetooth 5.0 and Dual-band Wi-Fi radio, 2.4GHz and 5GHz
- Ports
- 1x USB-C with DisplayPort 1.4 Alt-mode support; up to 8K @60Hz or 4K @120Hz, 1x USB 3.2 ,1x Micro SD slot, 1x 3.5 audio jack
- Dimensions
- 298mm x 117mm x 49mm
- Weight
- Approx. 669 grams
- Audio
- Stereo with embedded DSP for an immersive listening experience and Dual Microphone Array
