Highlights
- Newer Valorant players can start learning the game with more accessible Agents before diving into the more specialized ones like Iso.
- Each of the mentioned Agents has unique abilities that can be mastered to rise through the ranks and excel in specific gameplay styles.
- The article highlights the key abilities and playstyles of each Agent, providing insights on how to effectively use their kits for success in Valorant gameplay.
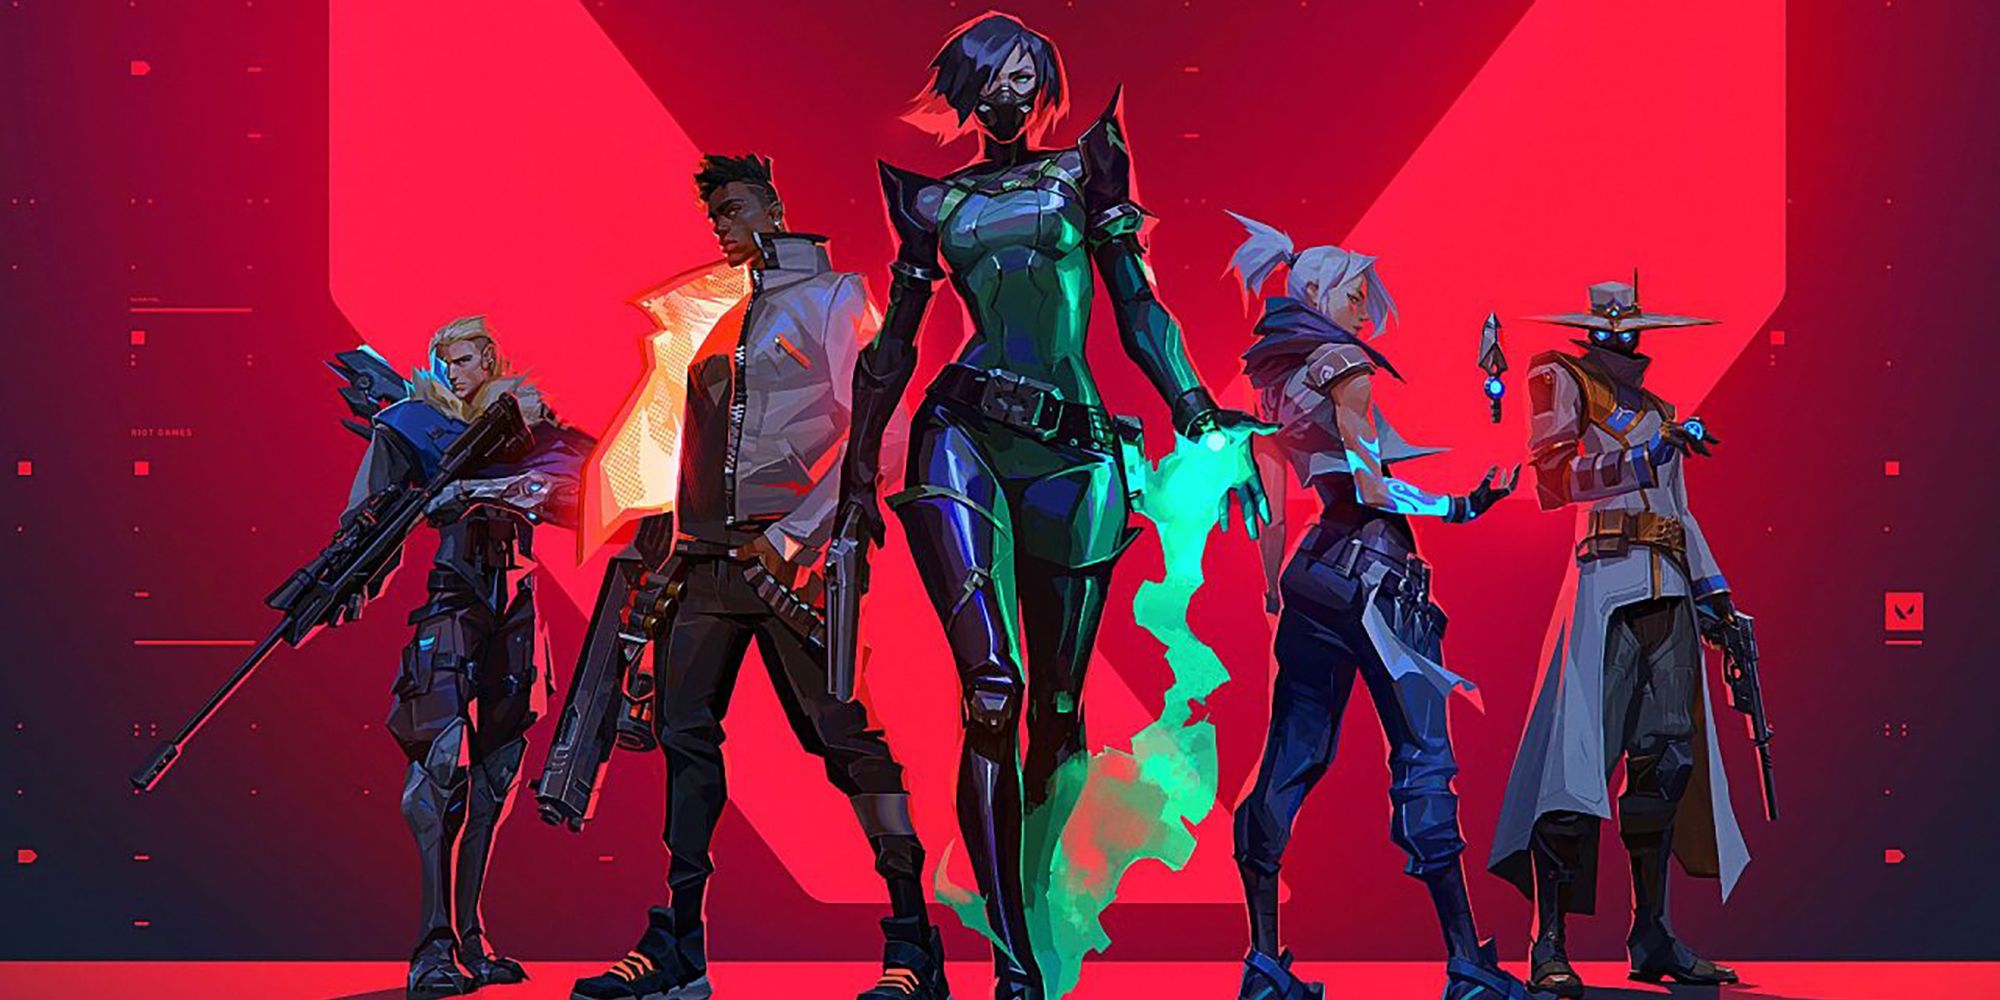
It’s easy for newer Valorant players to feel intimidated when the likes of Iso threatens the meta with a moving impenetrable wall, a Vulnerable projectile, and even an Ultimate that forces a one-on-one duel. However, newcomers to the acclaimed FPS don’t necessarily need to dash into a fight with the new Duelist recklessly, especially if they start learning how to use the game’s more accessible Agents.
Valorant: Every Status Effect, Explained
New Valorant players who may not know the game’s status effects will find everything they need right here.
Learning how to use their abilities properly can help players rise through the ranks, eventually mastering key gameplay styles that will eventually aid them to use more specialized Agents such as controlled flashes with Skye, more aggressive bombing with Raze, and map mastery with Omen. Among Valorant’s easiest Agents to learn include the game’s resident firestarter, an acclaimed engineer, an infamous archer, and even a popular lurker.
10 Deadlock
Train Area Denial With Powerful Wall, Debuffing Traps

| Role | Sentinel |
|---|---|
| Basic Ability 1 | GravNet |
| Basic Ability 2 | Sonic Sensor |
| Signature Ability | Barrier Mesh |
| Ultimate Ability | Annihilation |
Despite the current low pick rate of Agent Deadlock among pro players, the Sentinel’s kit balances Sage’s area denial and Killjoy’s gadget utility. A key aspect of Deadlock’s skillset is her Barrier Mesh (Signature) that creates a heavily-fortified cross-shaped barrier that can fit most corners and let bullets (but not people) pass through.
Working in tandem with this wall is her suite of detection skills, with Sonic Sensor (Basic 2) activating a concussive AOE when enemies near it make sounds, while GravNet (Basic 1) detonates into an AOE that forces enemies to crouch-walk slowly. Lastly, her Annihilation (Ultimate) wraps an opponent it catches, insta-killing them should they reach the Ult’s origin point unless enemies destroy the cocoon.
9 Harbor
Dominate Wall Control With Assortment Of Waves

| Role | Controller |
|---|---|
| Basic Ability 1 | Cascade |
| Basic Ability 2 | Cove |
| Signature Ability | High Tide |
| Ultimate Ability | Reckoning |
Walling remains one of the most essential skills of a Valorant Agent, and is something that Harbor can teach with his wave-heavy kit. At its core, walls can block enemy sight from entries (and fake entries), allowing Harbor and his teammates to secure sites for entry and defense in a myriad of ways. Key to his arsenal is his High Tide (Signature), perhaps the most flexible wall in the game for its ability to both curve and adjust based on elevation. With the right aim, Harbor can have High Tide block either “hell” or a “heaven” in a location with vertical spaces.
Harbor can also rely on a “smaller” wall via Cascade (Basic 1) which moves in front of him and can be stopped at will, perfect for pushes and fake pushes. He can throw an orb with Cove (Basic 2) that surrounds an area in a temporarily bullet-proof dome, perfect for protecting planting and defusing allies, as well as becoming a pseudo-smoke. Lastly, his Reckoning (Ultimate) envelops an area with water that triggers a concussion in areas enemies are standing on, making it unadvisable for them to remain in the area.
8 Fade
Master Enemy Detection And Debuff Stacking To Punish Foes

| Role | Initiator |
|---|---|
| Passive | Terror Trail |
| Basic Ability 1 | Prowler |
| Basic Ability 2 | Seize |
| Signature Ability | Haunt |
| Ultimate Ability | Nightfall |
Able to manipulate fear itself, Fade can deter enemy assaults with her skills, forcing them to push back into site with her Initiator kit that debuffs foes close to her. Crucial to her kit are her Terror Trails (Passive) that Mark enemies with dark mist should they get seen by her throwable Haunt (Signature). On top of Marking enemies, the Haunt is a nifty detection tool as it’s disabled when destroyed, which still detects opponents in the vicinity.
Should Fade players find the right setup for surprise Haunt throws, the rest of her kit can help the team punish opponents. While she can control the direction of her Prowler (Basic 1), it can automatically chase a Marked enemy and Nearsight them. She can also throw Seize (Basic 2) that not only temporarily stuns enemies but also make them Deafened and Decayed for 75 HP. Lastly, Nightfall (Ultimate) combines Prowler and Seize into a wave, Marking all enemies alongside inflicting Decay and Deafen.
7 Killjoy
Learn To Lockdown Sites With Deployable Robots

| Role | Sentinel |
|---|---|
| Basic Ability 1 | Alarmbot |
| Basic Ability 2 | Nanoswarm |
| Signature Ability | Turret |
| Ultimate Ability | Lockdown |
Possessing a kit perfect for defensive plays in Valorant gameplay, Killjoy and her robots can transform areas into death traps once enemies try to breach them. And while Killjoy’s static-heavy gameplay is made fun of in memes about opponents “never entering her site,” this setback will train players on planning setups for rotations. Ideally, Killjoy can leave her Turret (Signature) stationed in one site while she defends another, which is where the rest of her kit comes into play.

Best Ultimates In Valorant, Ranked
Each in-game avatar has an Ultimate that is stronger than their other abilities, but the best Valorant Ultimates are in a league of their own.
Upon deployment, her Alarmbot (Basic 1) notifies her of enemy trespassers while making them take more damage via temporary Vulnerability. This works in tandem with her Nanoswarm (Basic 2) that transforms a surface into a damage-over-time radius that may kill opponents who stay there long enough. Lastly, Killjoy can deploy her Lockdown (Ultimate) at any point in the map, extending into a large radius that locks enemy in place for a while when caught.
6 Brimstone
Master Map Control With Smokes And Familiar FPS Tools

| Role | Controller |
|---|---|
| Basic Ability 1 | Incendiary |
| Basic Ability 2 | Stim Beacon |
| Signature Ability | Sky Smoke |
| Ultimate Ability | Orbital Strike |
Fans of tool-heavy Call of Duty games get the closest approximation to a special forces soldier with Brimstone, leader of the Valorant Protocol. As the first Controller players have access to, Brimstone’s kit trains players in some of the most fundamental aspects of Valorant gameplay: angling mollies, smoke-based map control, and timing ally buffs. Brimstone being a Controller in particular emphasizes team guidance through Sky Smoke (Signature), arguably the most accessible mini-map smoking mechanic among members of the Role.
Meanwhile, Brimstone can also aid pre-entry with Stim Beacon (Basic 2) that boosts teammates’ speed (movement, equip, reload, recovery) and fire rate that can prove crucial in encounters. The Controller can also deal AOE in tight spots with his ricocheting Incendiary (Basic 1), or assume full control over an area with a large-scale Orbital Strike (Ultimate) that guarantees death to enemies who stay in its radius.
5 Phoenix
Train Walls, Flashes That Lead To Precision Kills

| Role | Duelist |
|---|---|
| Passive | Heating Up |
| Basic Ability 1 | Blaze |
| Basic Ability 2 | Curveball |
| Signature Ability | Hot Hands |
| Ultimate Ability | Run It Back |
Players who want to master outplaying enemies in Valorant gameplay without relying on Jett’s movement-reliant kit should consider training with Phoenix. Thanks to his fire-based healing via Heating Up (Passive), his risk-heavy moveset is rewarded with survivability. Moreover, the direction-heavy nature of his kit can train players in both map control and precision-targeting for his utilities.
Phoenix’s nature as an offensive Duelist usually leads to two playstyles: a straightforward push with a visual-denying Blaze (Basic 1) wall that deals damage when passed through, or surprise Blinds with angling Curveballs (Basic 2) that take advantage of a player’s aim upon entry. The Duelist can further manipulate the battlefield with Hot Hands (Signature) that release a damaging fire pit, or go all-out with Run It Back (Ultimate) that is practically a timed second life for clutch plays.
4 Gekko
Master Molly Throws With Pokemon Friends

| Role | Initiator |
|---|---|
| Passive | Globules |
| Basic Ability 1 | Mosh Pit |
| Basic Ability 2 | Wingman |
| Signature Ability | Dizzy |
| Ultimate Ability | Thrash |
Thanks to Gekko, Valorant gameplay bridges the gap between FPS and Pokemon games with his “buddies.” Gekko’s creatures become Globules (Passive) after usage, with the Agent capable of reclaiming them and using them another time after a short cooldown. The “rechargeable” nature of most of Gekko’s kit can be explained by their straightforward abilities, such as floating Dizzy (Signature) that temporary Blinds enemies that look at it with plasma blasts or Mosh Pit (Basic 1) that releases a toxic surface that deals damage over time before exploding.

The Best Ability Combos In Valorant
These successful ability combos in Valorant, when executed properly, can make or break a game.
Where Gekko shines as an Initiator is Wingman (Basic 2) that can alternate between Concussing the first enemy he sees and planting or defusing the Spike. Gekko’s area control is improved even further with Thrash (Ultimate) that releases a beast he controls that can stuns all players (ally or enemy) in an area. Gekko’s nature as an Initiator-Sentinel hybrid makes him a worthwhile Agent to learn for newcomers who want to explore Agents that accommodate multiple roles.
3 Reyna
Independent Gameplay Perfect For Solo Lurkers

| Role | Duelist |
|---|---|
| Passive | Soul Harvest |
| Basic Ability 1 | Leer |
| Signature Ability | Devour Dismiss |
| Ultimate Ability | Empress |
Infamously known as the game’s most “selfish” Agent, Reyna has a self-reliant kit that makes her one of the best Duelists to learn for players who don’t want the pressure of team play early on in their playthrough. Reyna’s Leer (Basic) alone provides a decisive advantage in duels, as looking at this floating eye won’t affect allies but will momentarily Nearsight enemies. Moreover, her Soul Harvest (Passive) lets her use the rest of her kit when she absorbs Soul Orbs from enemies she kills, encouraging hyper-aggressive roaming plays that are perfect for newcomers from other FPS like Counter-Strike 2 and Apex Legends.
Soul Orbs lasting only for a few seconds also forces players to train split-second decision-making, with her kills either healing her with Devour (Signature 1) or giving her a short Intangible float via Dismiss (Signature 2). Even Reyna’s Empress (Ultimate) encourages tactical aggression, with the skill forcing her into a “frenzy” that enhances her overall speed (equip, reload, healing), boosts firing rate, and offers unlimited charges of her Soul Harvest abilities.
2 Sage
Debilitate Enemy Teams With Heals, Slows, Area Control

| Role | Sentinel |
|---|---|
| Basic Ability 1 | Barrier Orb |
| Basic Ability 2 | Slow Orb |
| Signature Ability | Healing Orb |
| Ultimate Ability | Resurrection |
Serving as the game’s token healer is Sage, whose reputation as the Balm of Shaanxi extends her efficiency as a “guaranteed safe” Sentinel for both newcomers and pros. Setting Sage apart from the rest of the FPS title is her Healing Orb (Signature) that can heal herself or her allies as well as the reviving Resurrection (Ultimate), with both abilities capable of turning the tide in a losing round.
Defining her flexibility as a Sentinel is the rest of her kit that experiment with the map’s offerings. Sage can delay with Slow Orb (Basic 2) and cut off entrances entirely with Barrier Orb (Basic 1), both serving as area-denial effects that can give the team precious seconds to plant, defuse, prepare for an attack, or simply delay the timer. More aggressive Sages can use her walls for offense, leaving inconspicuous segments open for surprise attacks or getting a better view by lifting themselves and allies upon activation.
1 Sova
Master Perfect Target Detection With Unexpected Ricochet Lineups

| Role | Initiator |
|---|---|
| Basic Ability 1 | Owl Drone |
| Basic Ability 2 | Shock Bolt |
| Signature Ability | Recon Bolt |
| Ultimate Ability | Hunter’s Fury |
Hailing from Russia is perhaps the most skilled archer in Valorant gameplay, with Sova boasting a straightforward detection kit perfect for newcomers who want to learn an Initiator. Courtesy of the ricocheting Recon Bolt (Signature), Sova players can get creative where they want to line up enemy scans without the bolt being shot. They can also launch their Owl Drone (Basic 1) to scout nearby areas and “tag” opponents about to attempt entries and flanks.
When initiating combat, Sova can hit opponents from surprising angles through ricocheting Shock Bolts (Basic 2) that explode on the ground. Meanwhile, his Signature is best paired with his Hunter’s Fury (Ultimate) that releases up to three large wall-passing beams that can almost always obliterate foes on impact.
Valorant
- Platform(s)
- PC
- Released
- June 2, 2020
- Developer(s)
- Riot Games
- Genre(s)
- Shooter